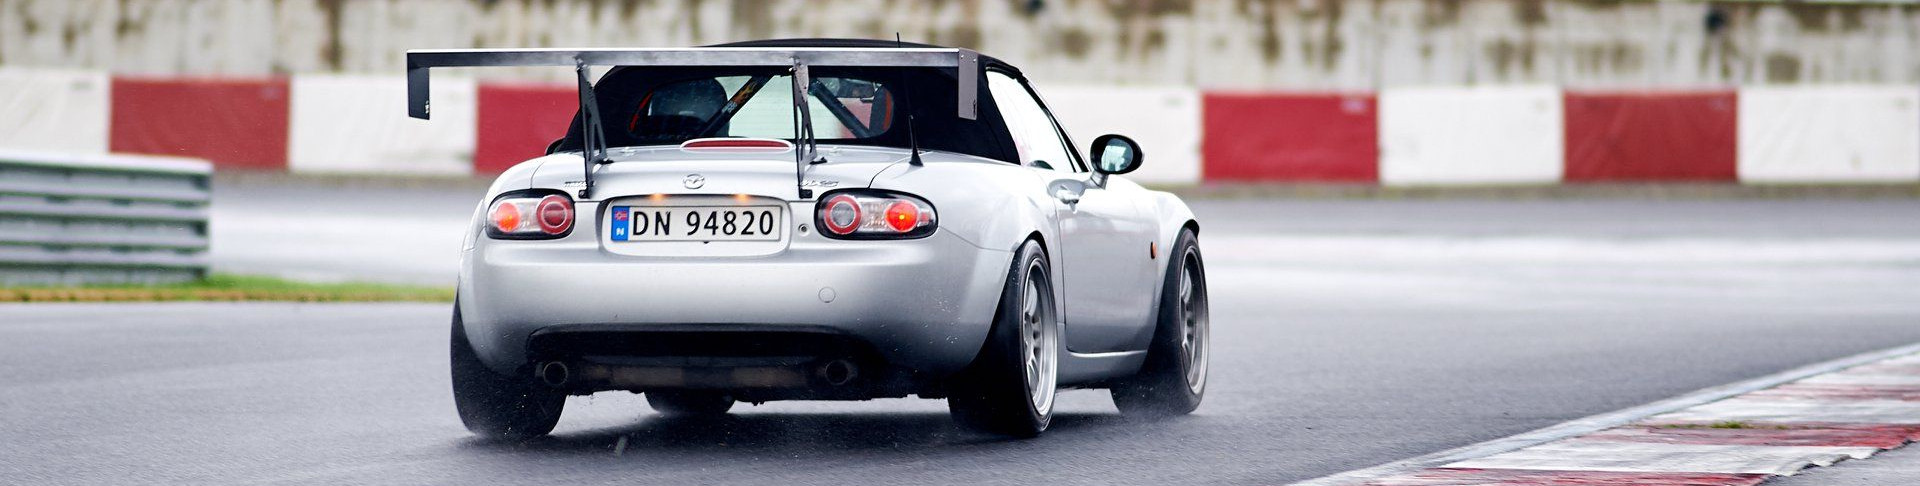
Chrysler 74mm throttle body upgrade
January 2018 the user whalesac on miata.net posted a very detailed post on using the Chrysler 74mm drive by wire throttle body as a replacement for the stock 60mm unit: https://forum.miata.net/vb/showthread.php?t=660117
LOTS of information in that thread complete with part numbers, calibration, availability etc. Based on IND’s flow calculations in the same thread the stock TB should support closer to 600 CFM before a significant pressure drop starts to occur.
I’m not even close to that with my 15 psi 2.0.
But .. this mod is so cheap I could not resist.
Also I never managed to nail the stock TB calibration in the AEM for decel.
Whatever PID or or idle setting I try to tune the decel is horrible with erratic idle spikes causing stalling if idle is set to anything below 1000 rpm.
The Chrysler TB already has a profile in the Infinity for a Dodge Viper so I’m eager to try this and possibly gain some power somewhere in the rev range.
Also this mod is useless on the stock plastic IM as there is no easy way to enlarge the IM opening. And if it was, I suspect the innards are too restrictive. For N/A the new 1Goal manifold would work, but be prepared to sacrifice bottom end tq . I will modify my FMSC manifold which has enough meat to enlarge to a 74mm opening.
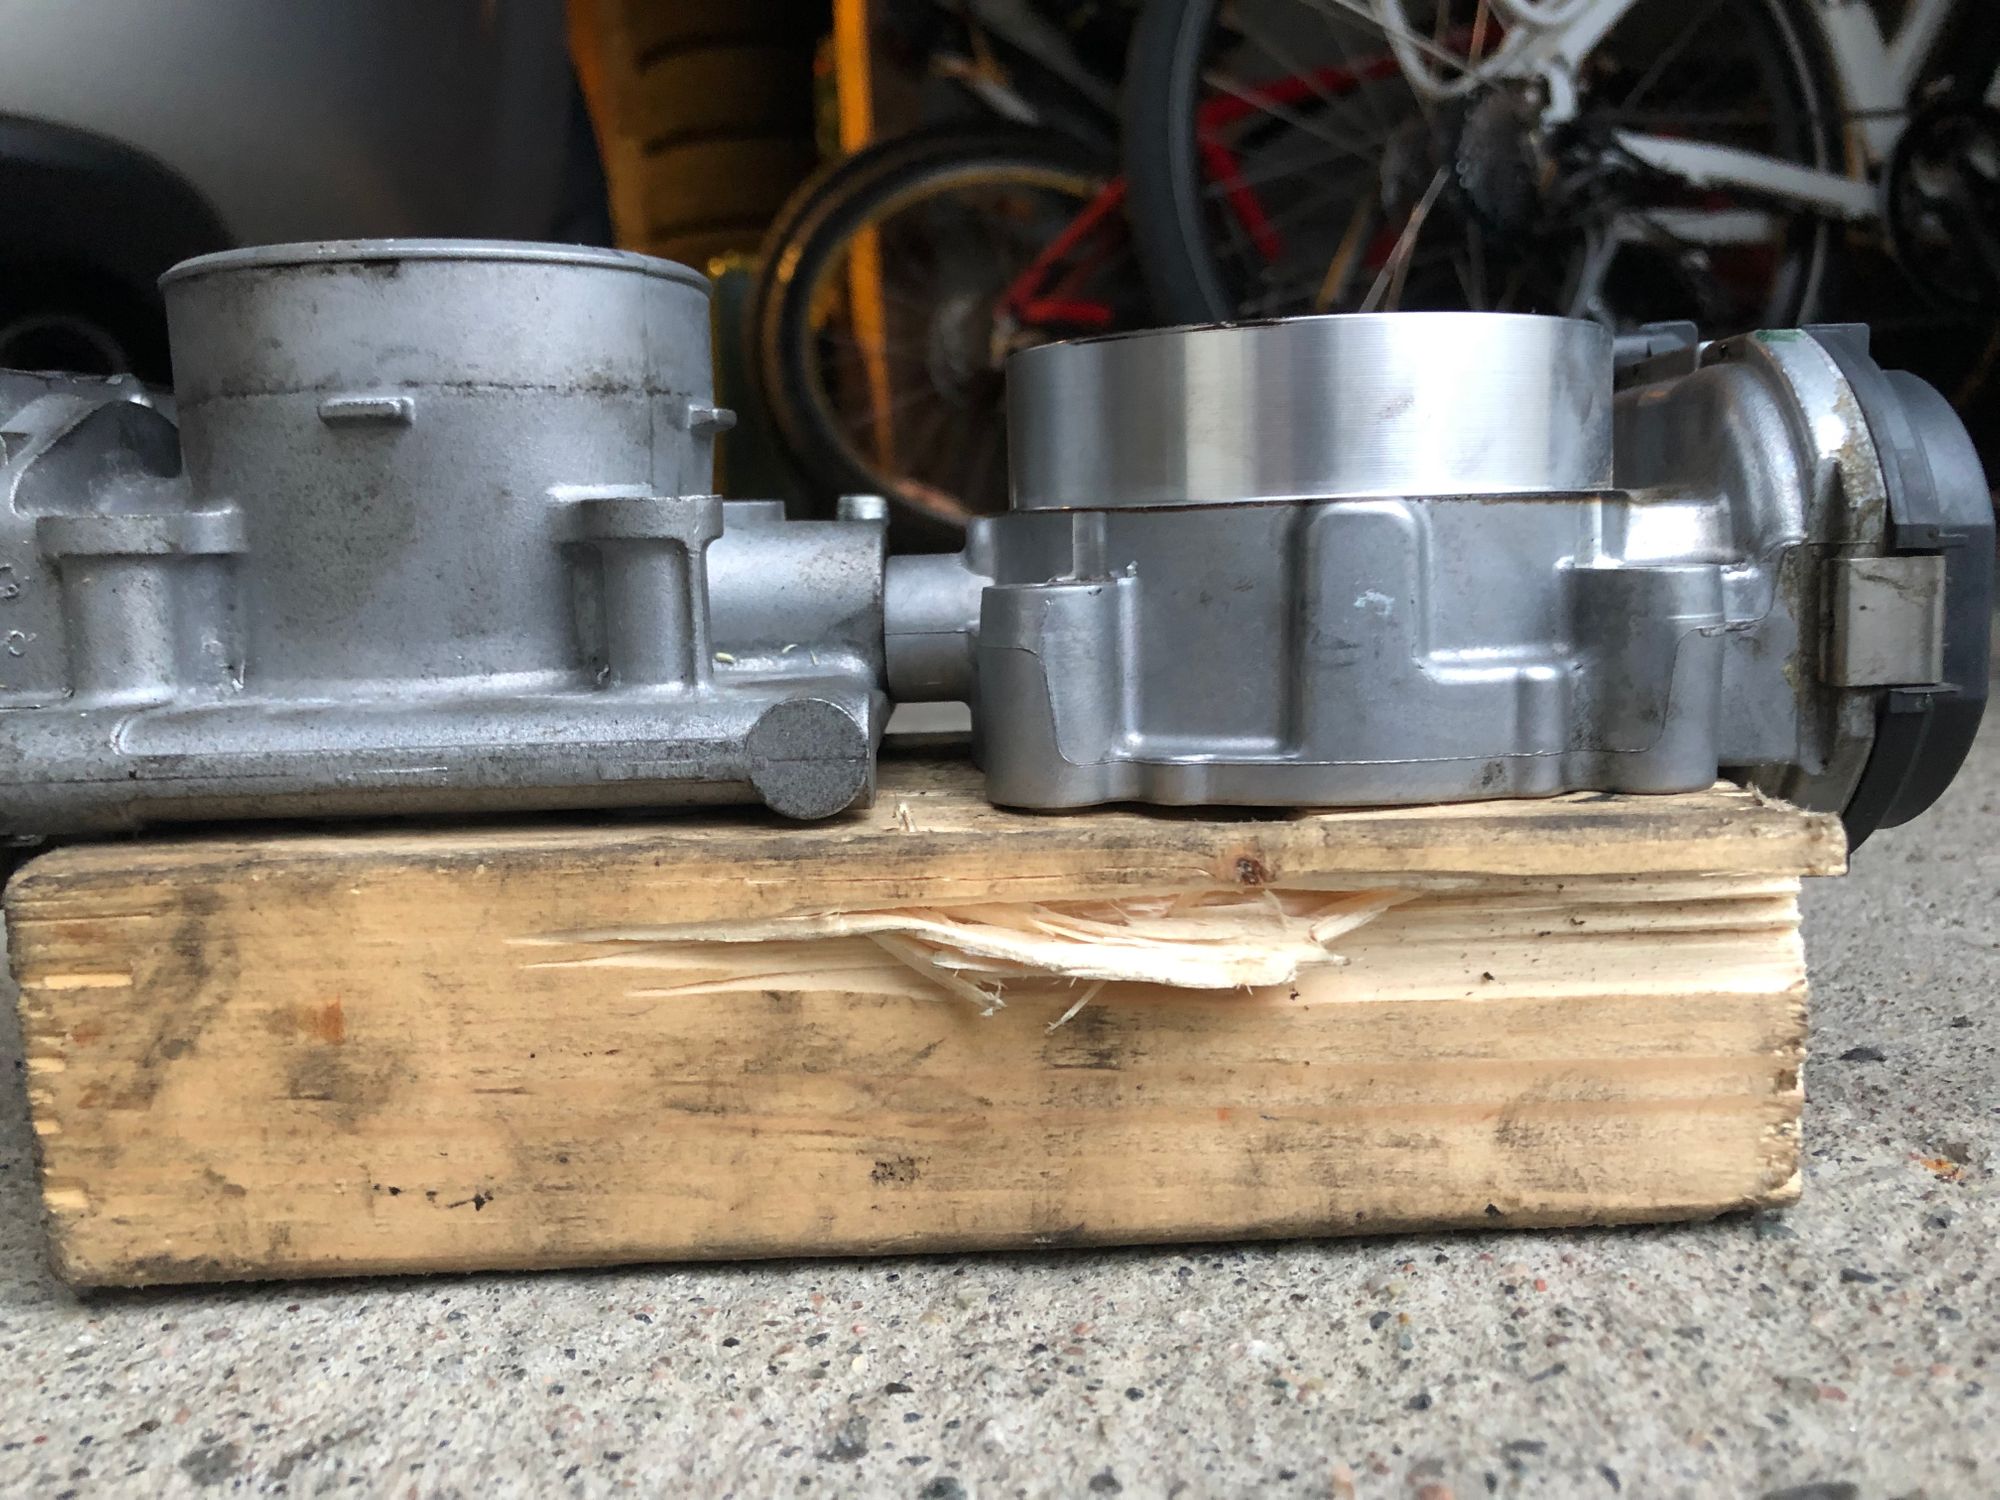
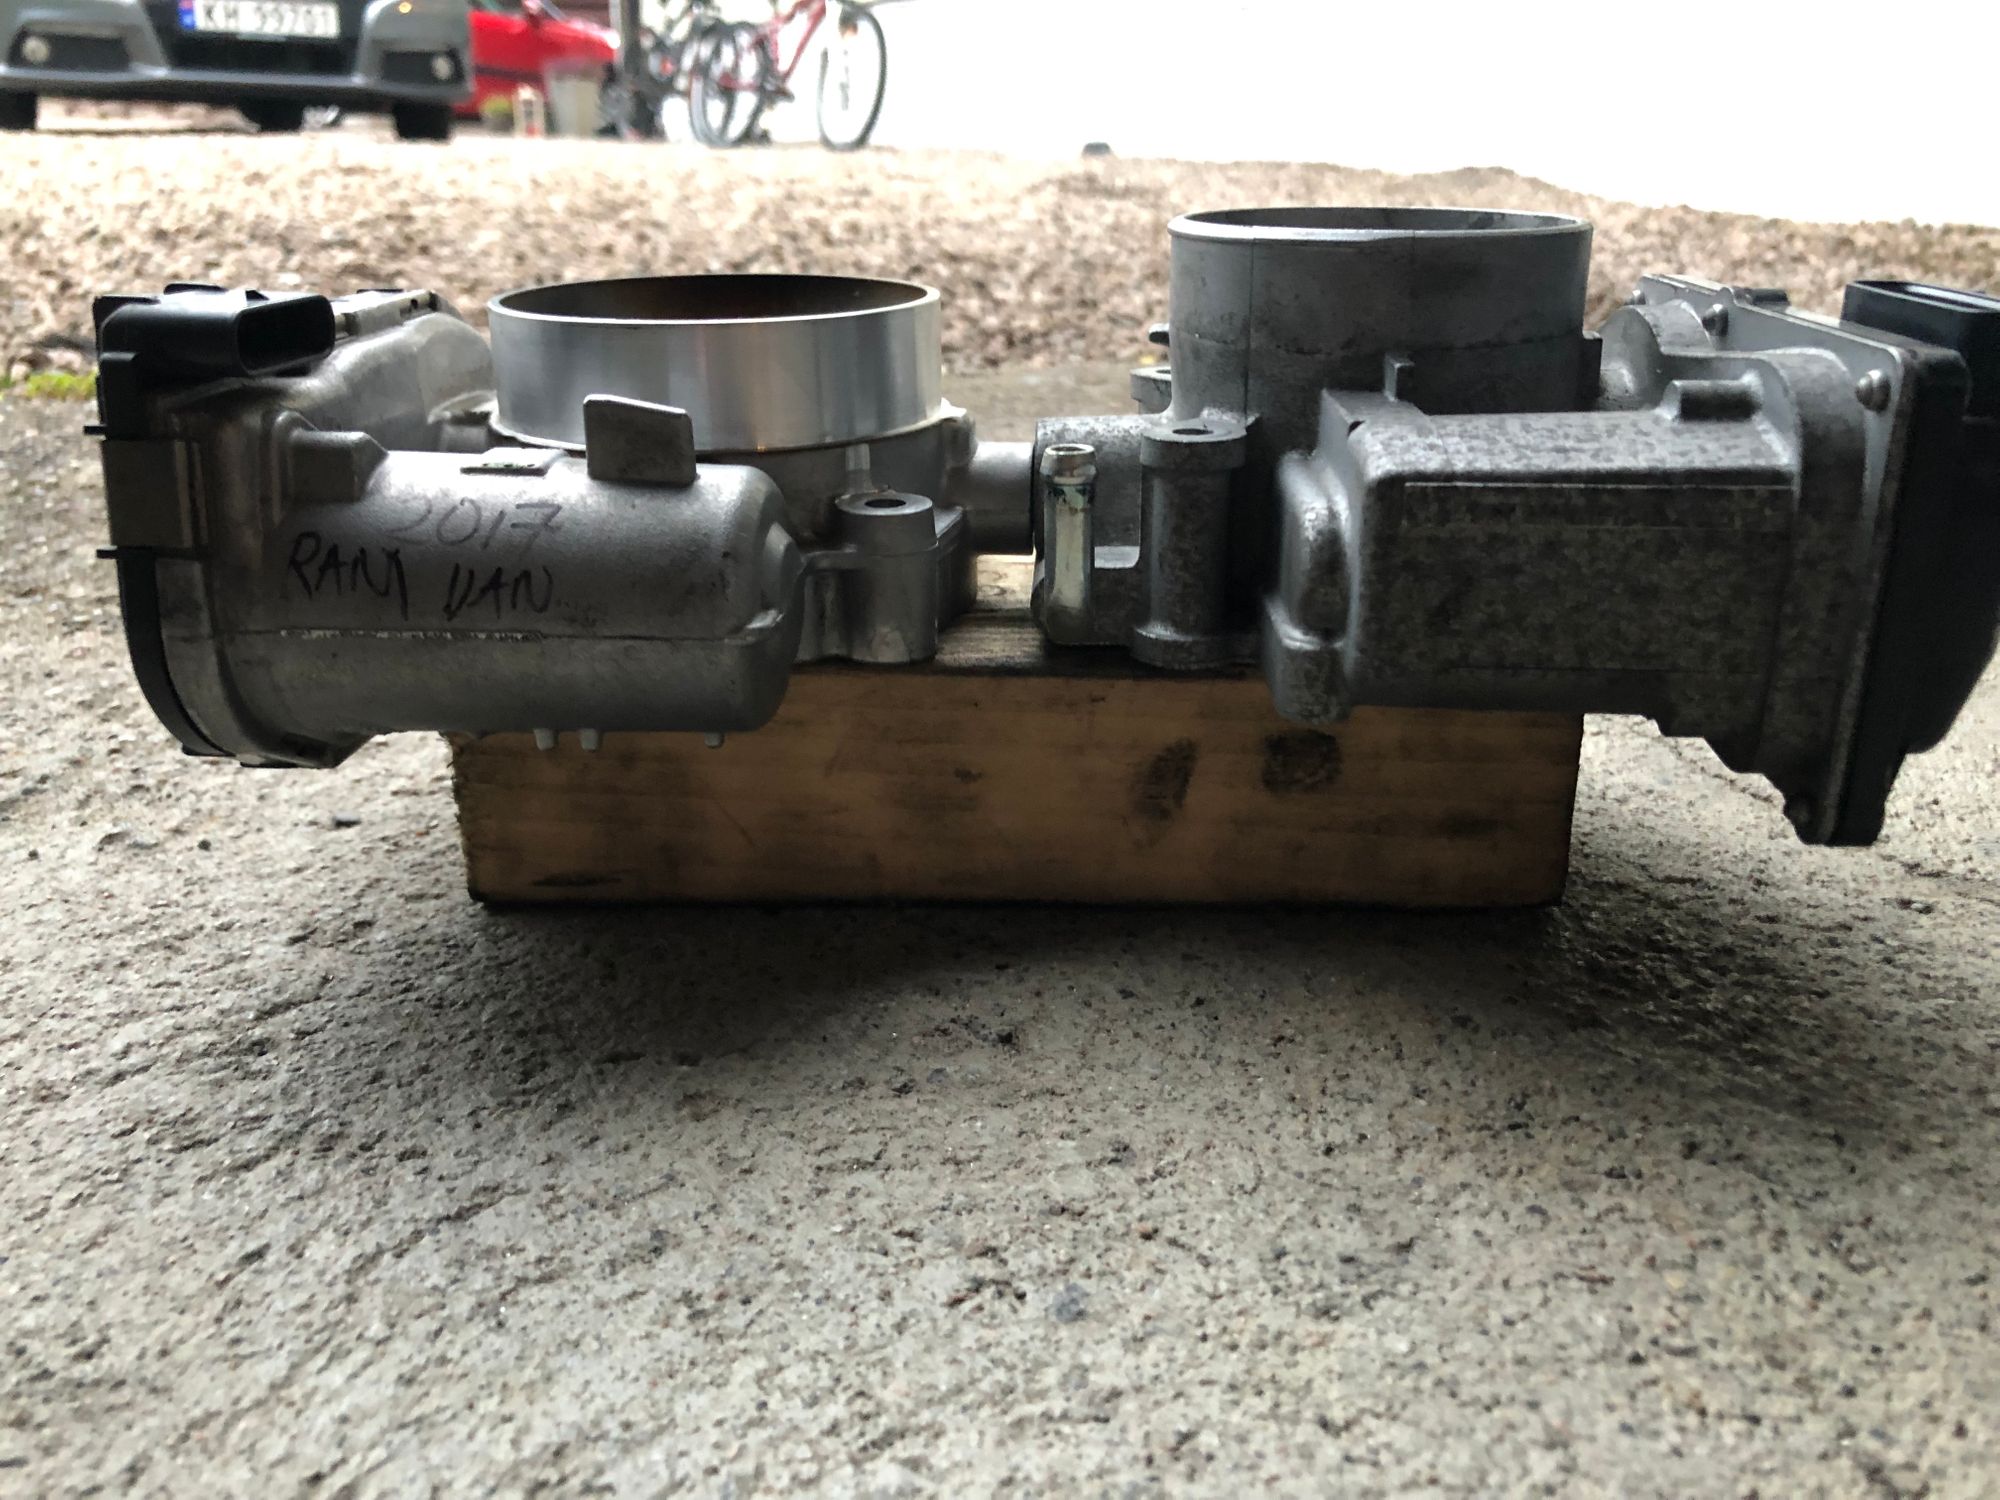
Comparison with the stock TB. It has a lower profile, different placed connector and a slightly different bolt spacing.
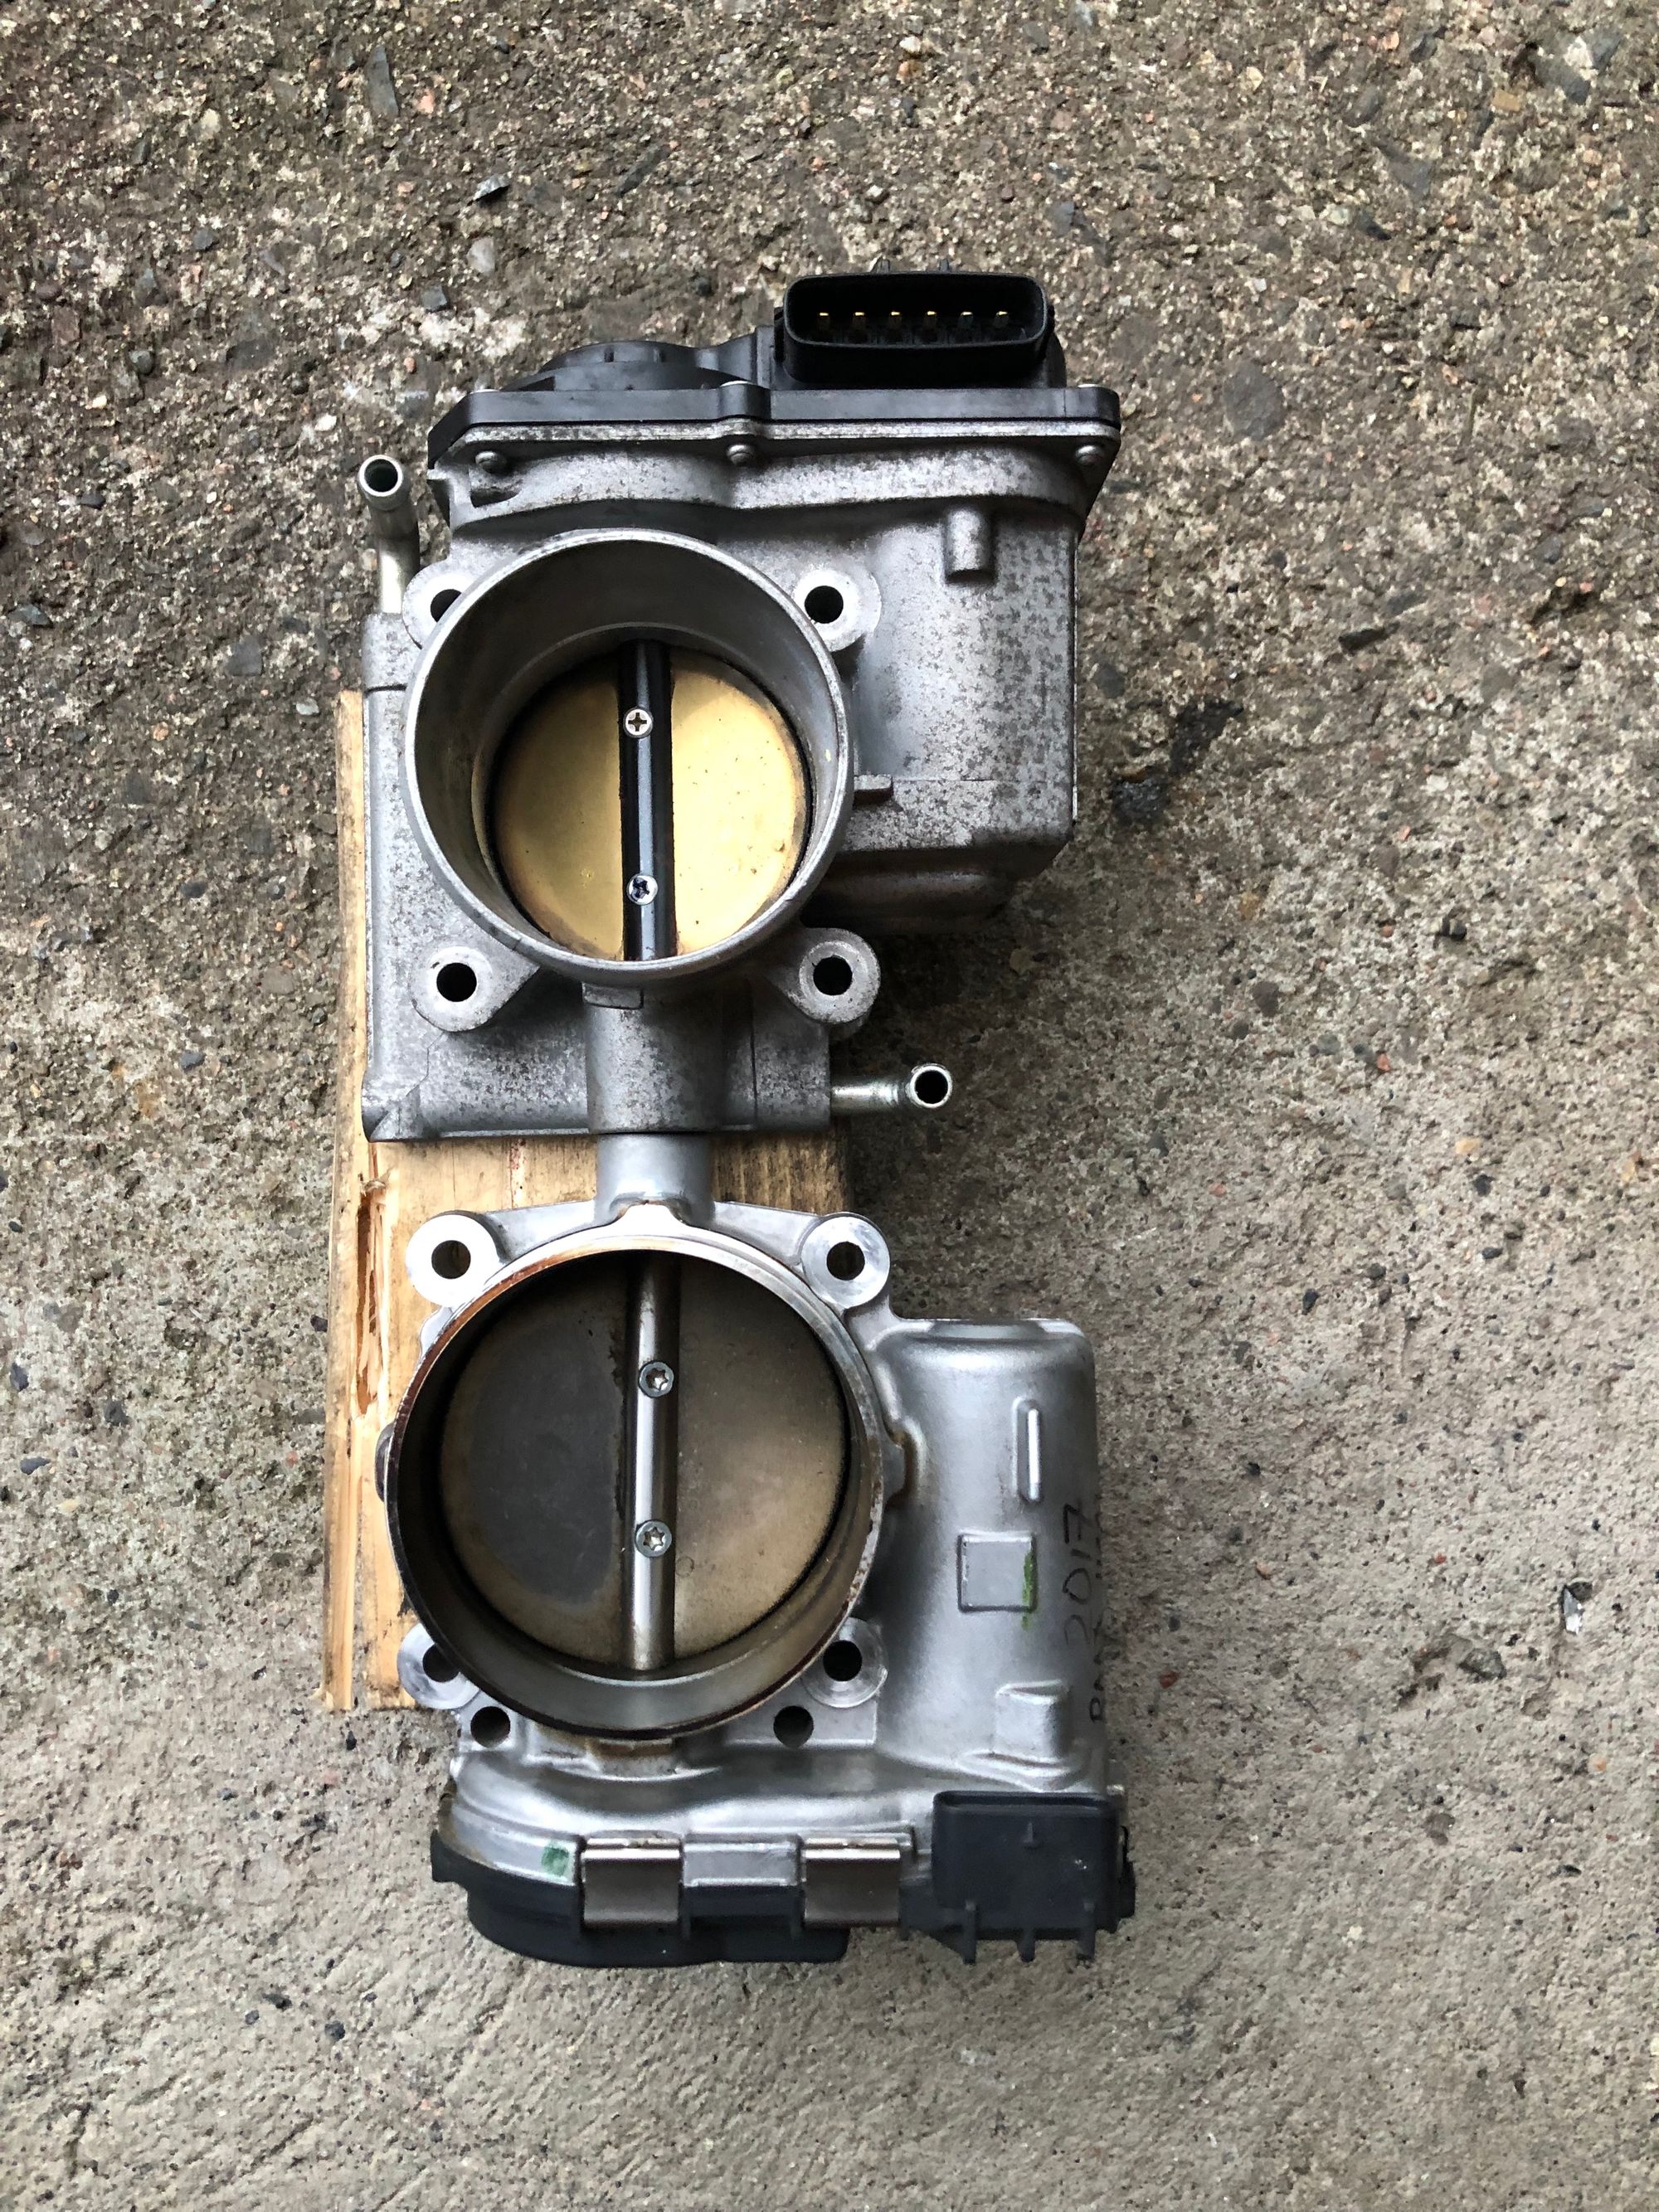
I bought mine on eBay for $69, but I guess they could be had for a lot less.
Had to try a couple of times though as the Global Shipping program has for some reason export restrictions for this part to Norway.
The bolt spacing was fixed with this guy.

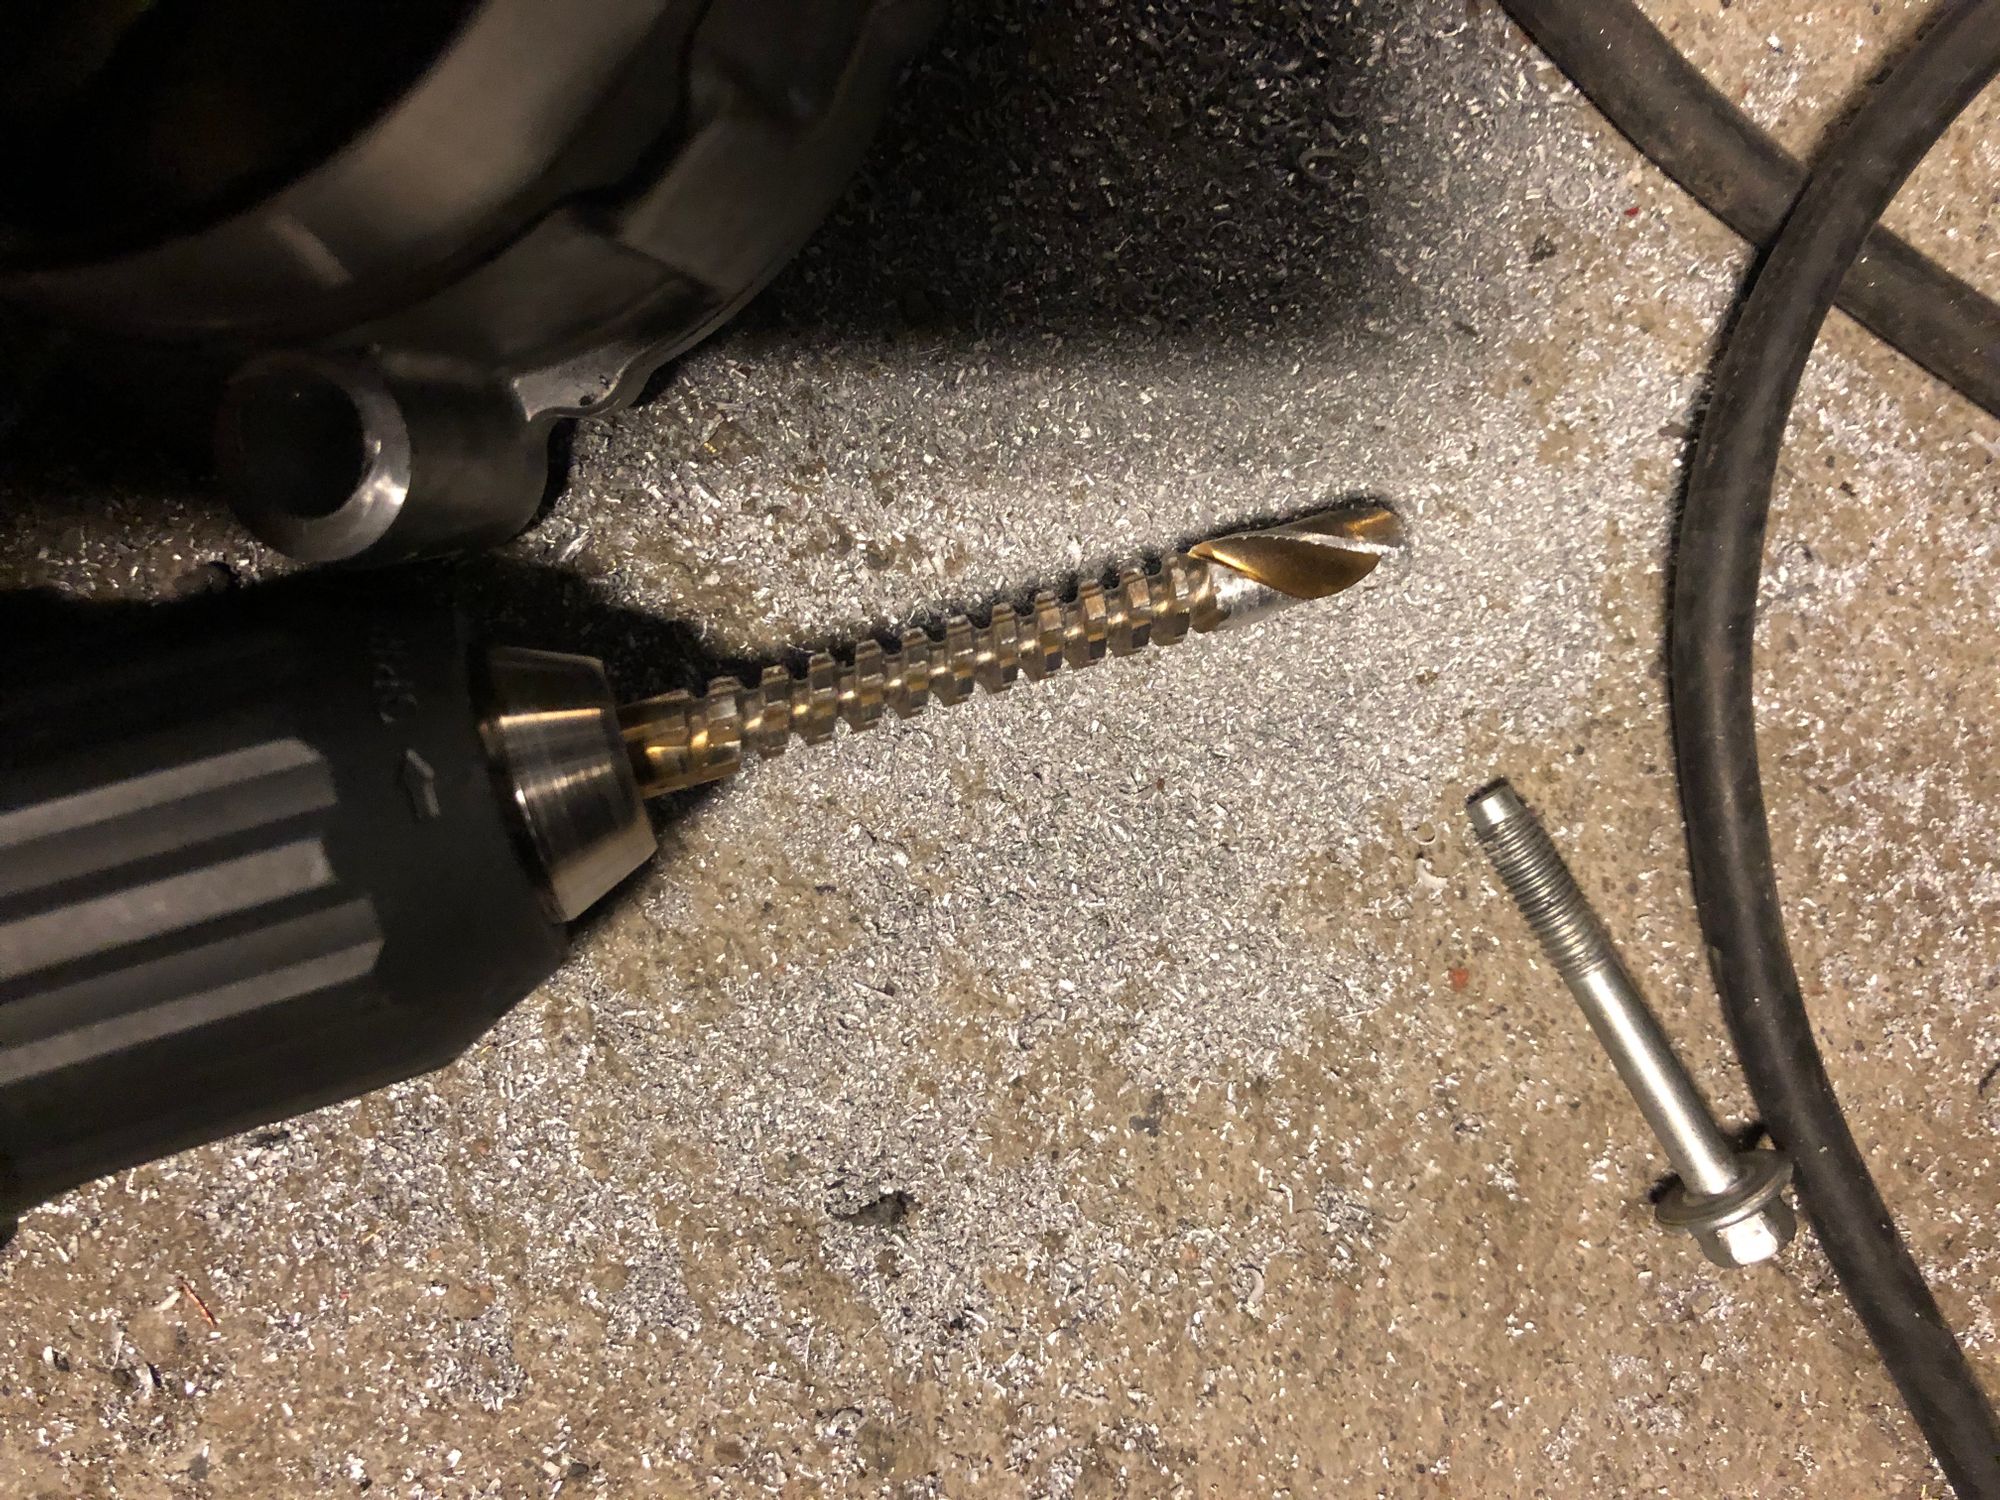
Stock bolts was both too long and did not fit with the flange.
I replaced them with some hex bolts and washers.
Test fit on the FMSC manifold.
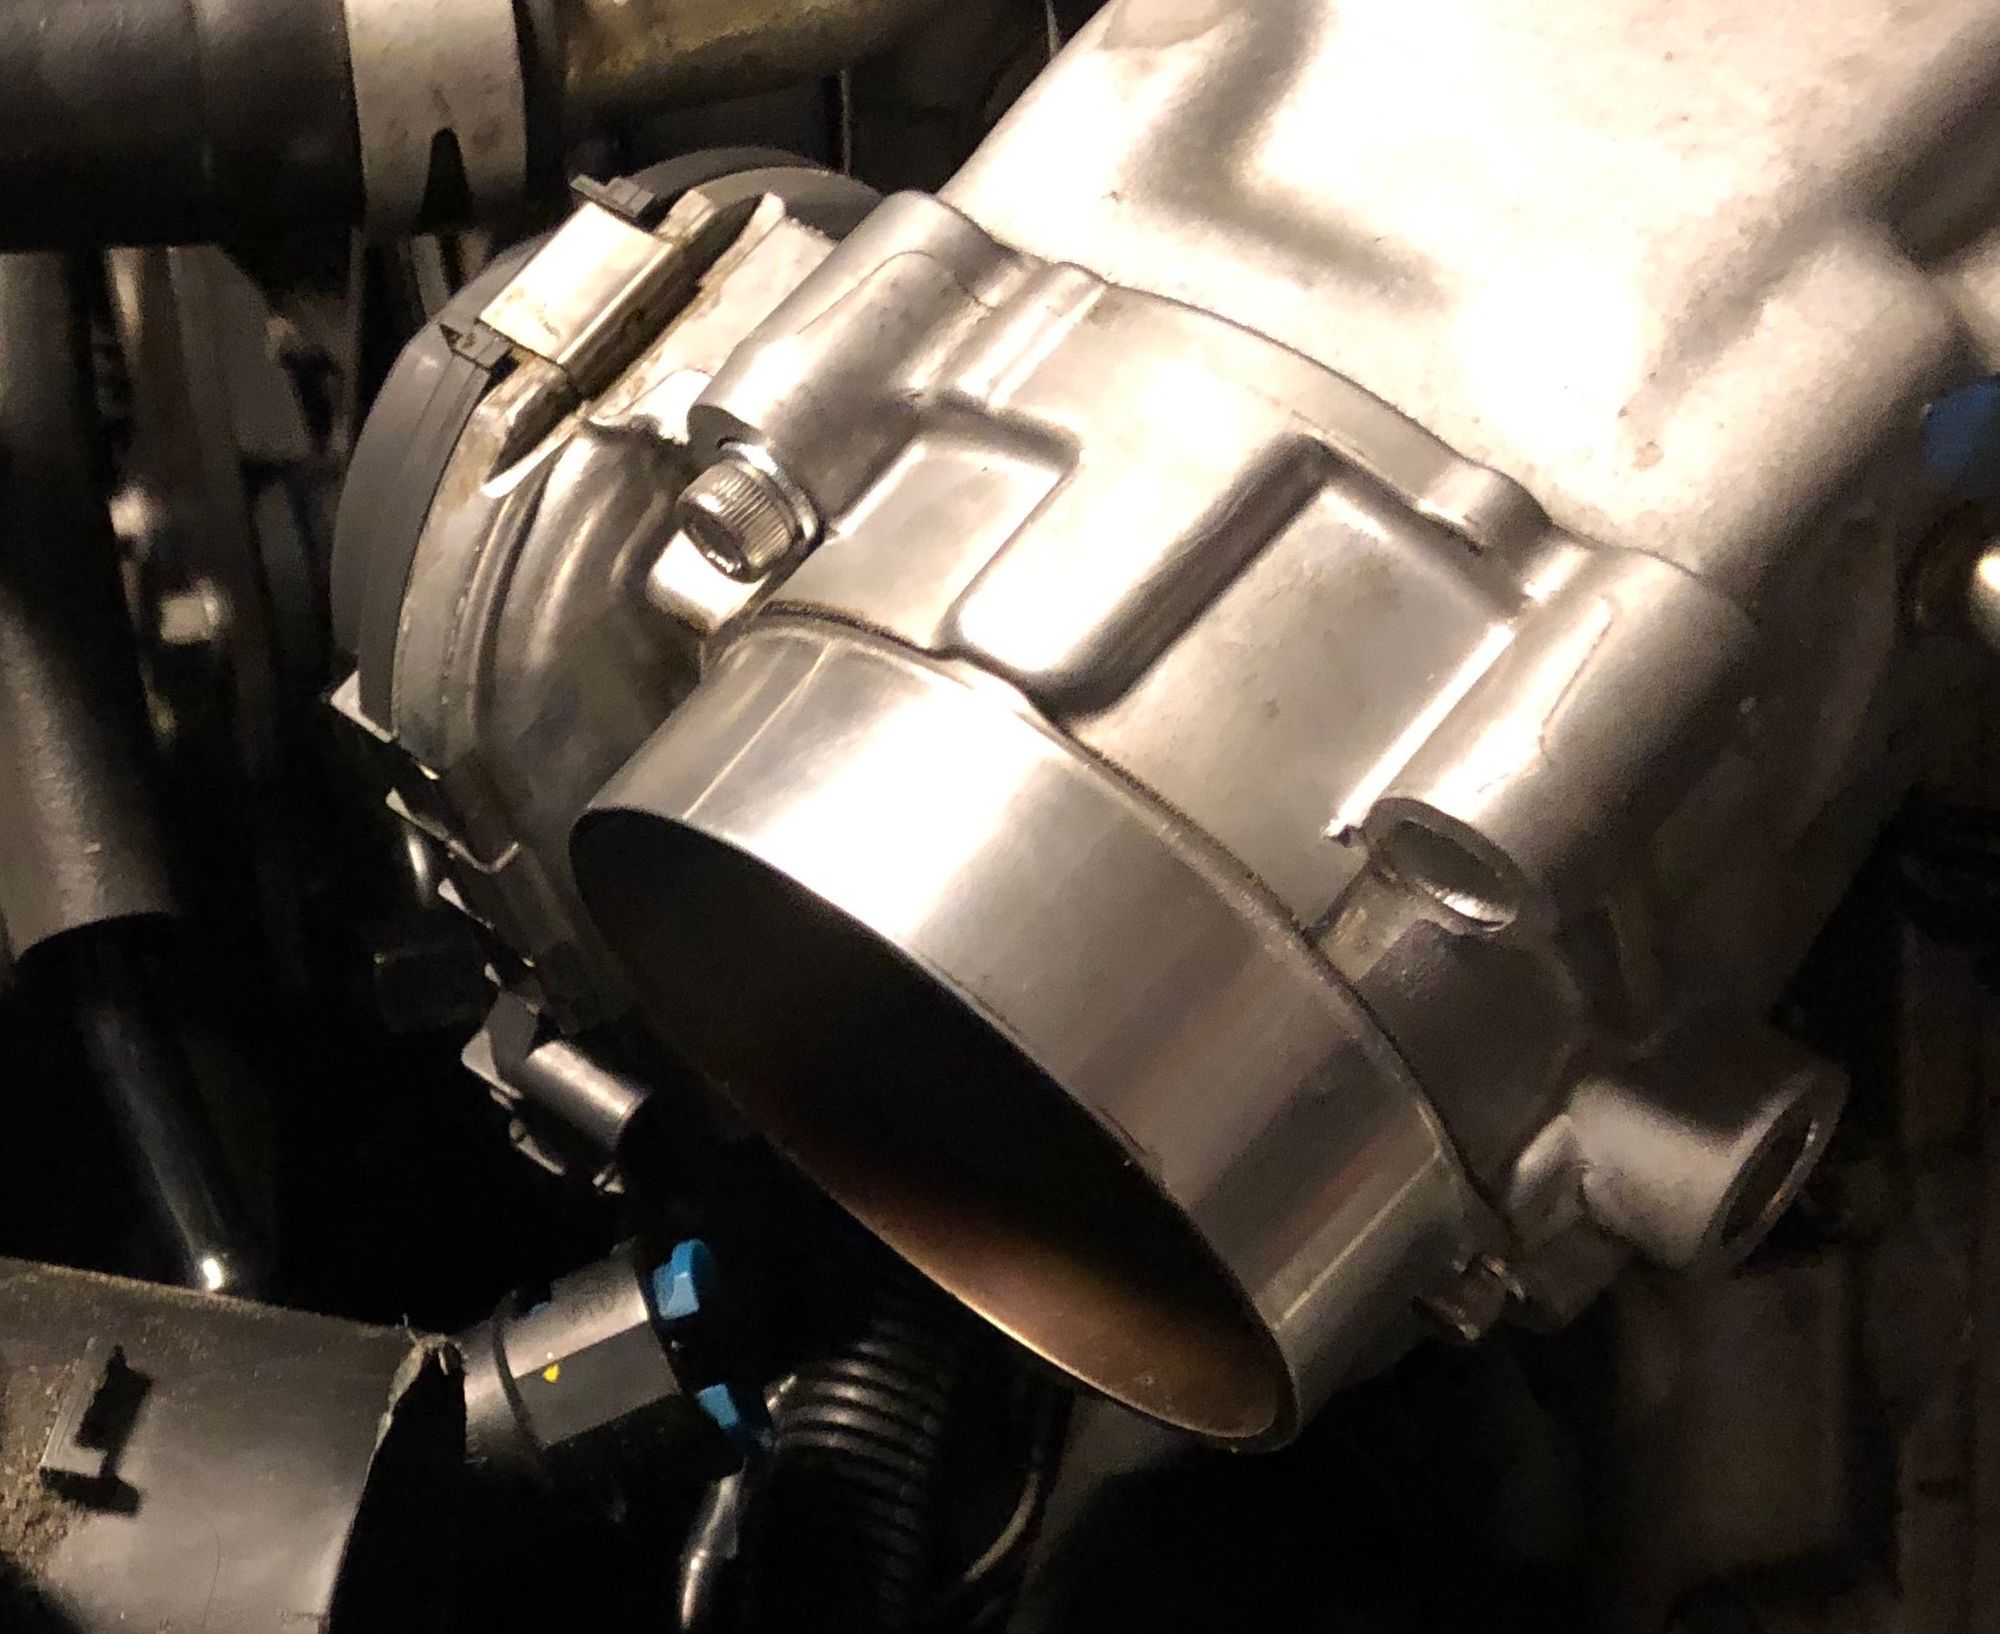
It had to be clocked 180 deg compared to the stock TB to fit.
The TB came without a pigtail. A new one would cost me the same as the TB, so I did what Turbo Yoda from MCM fame would do:
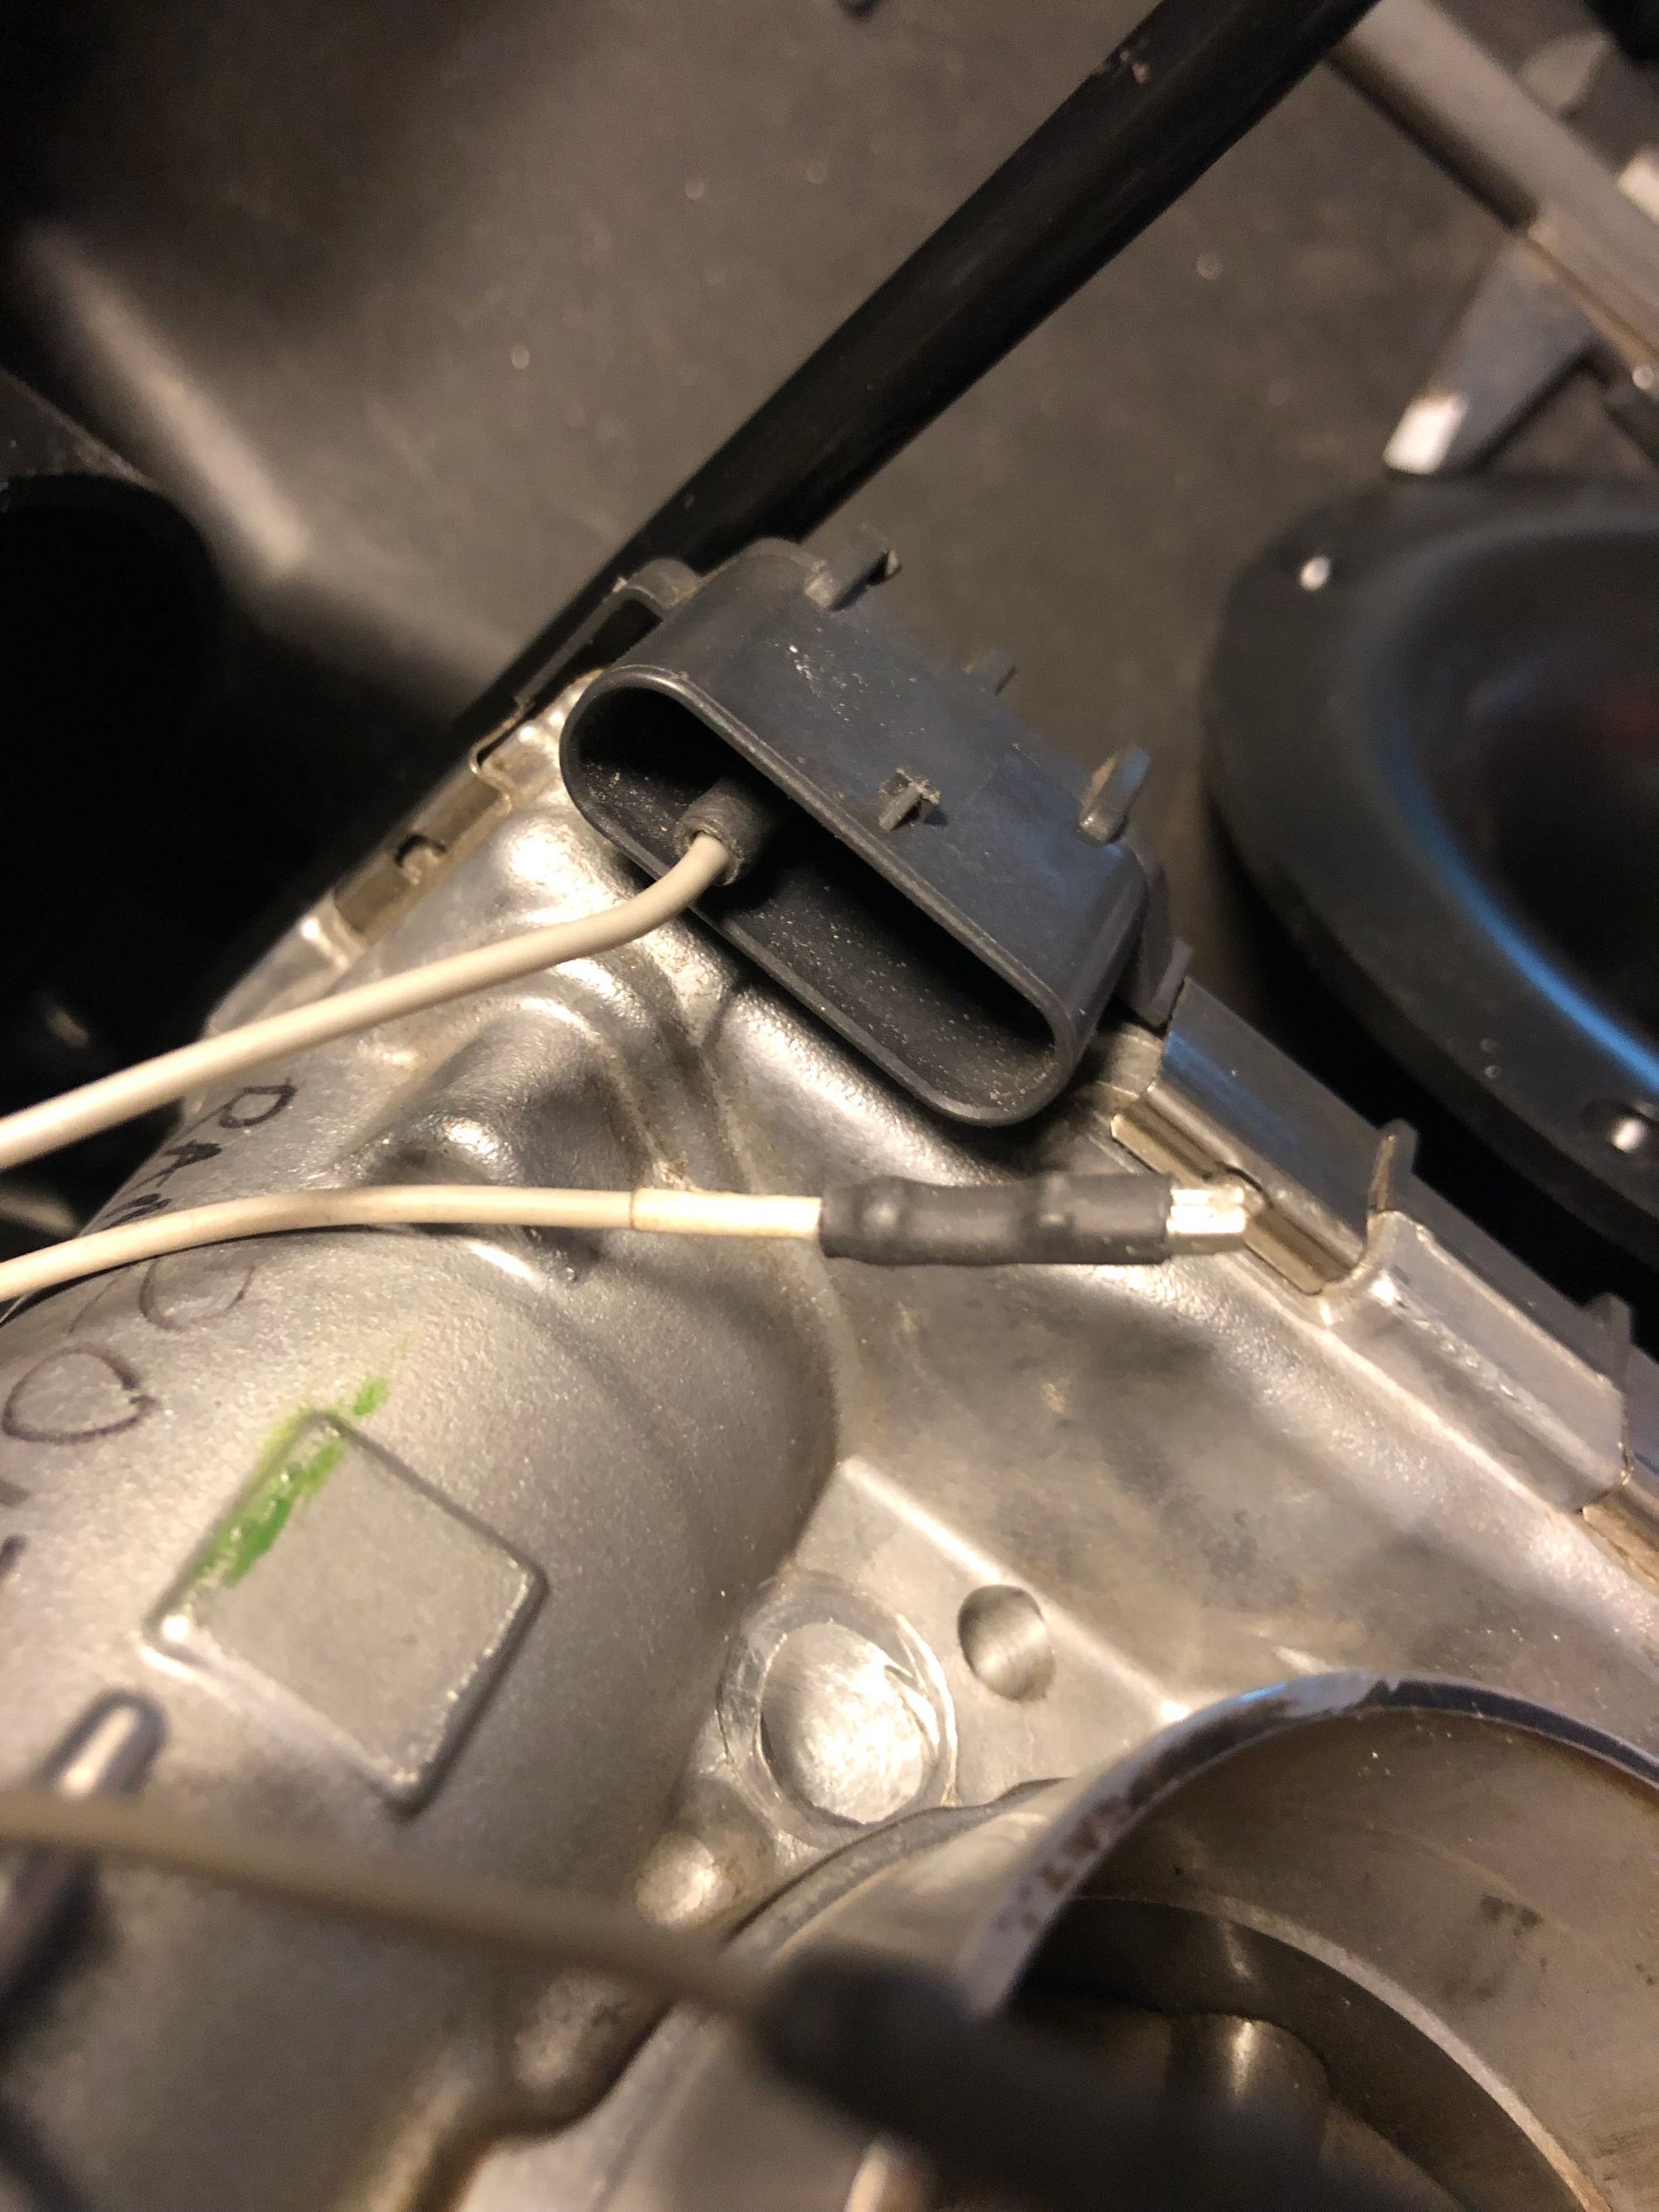
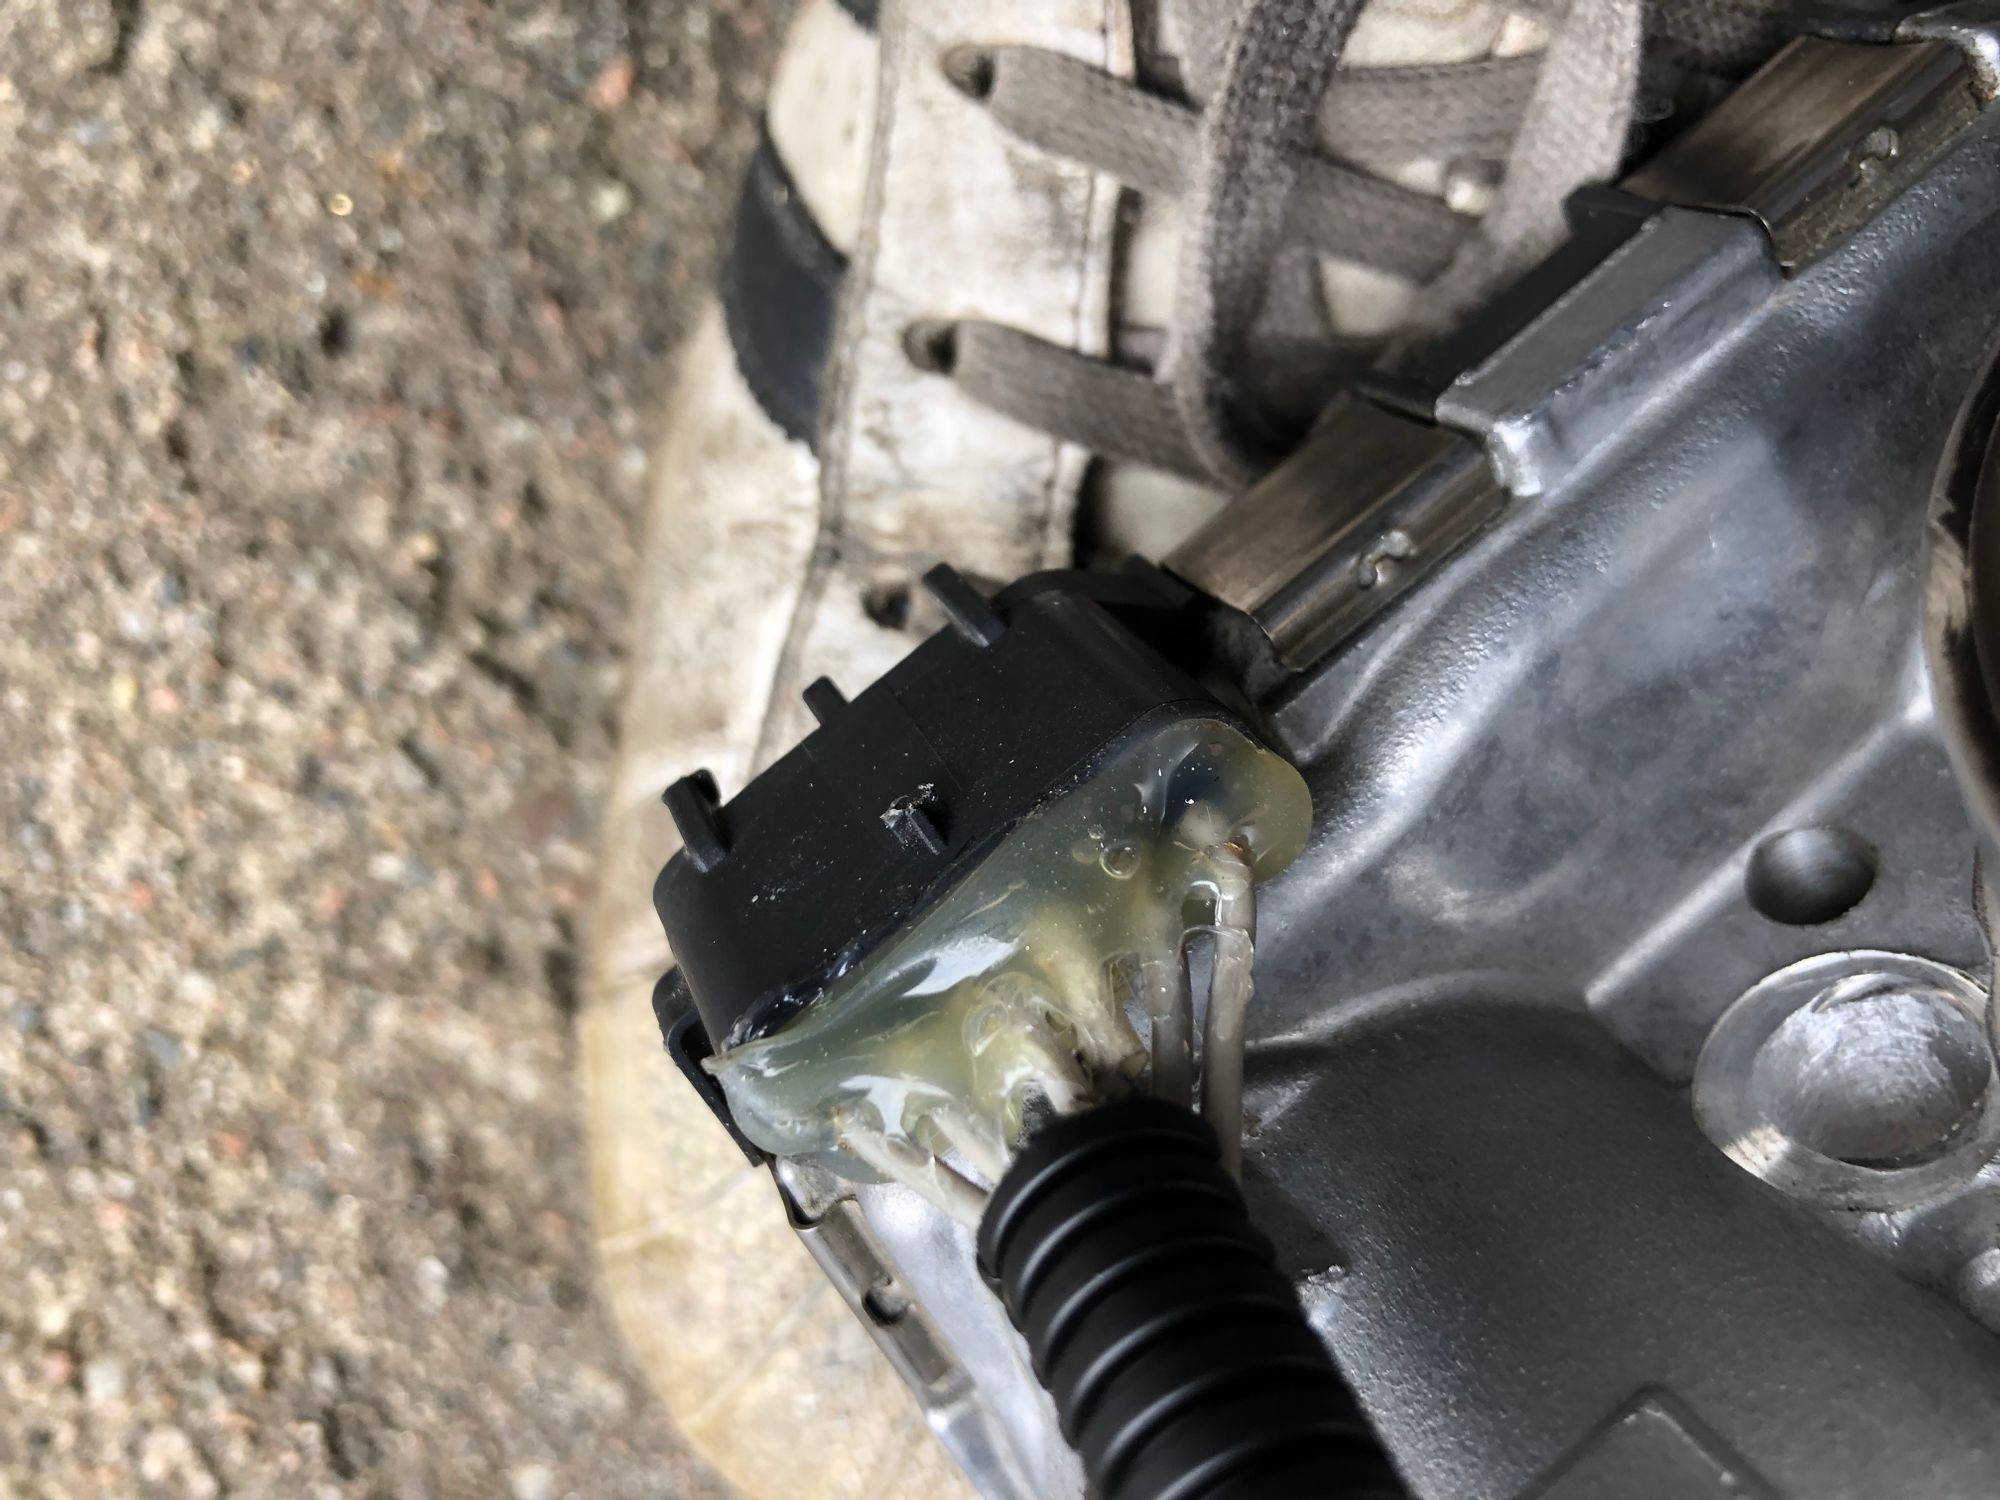
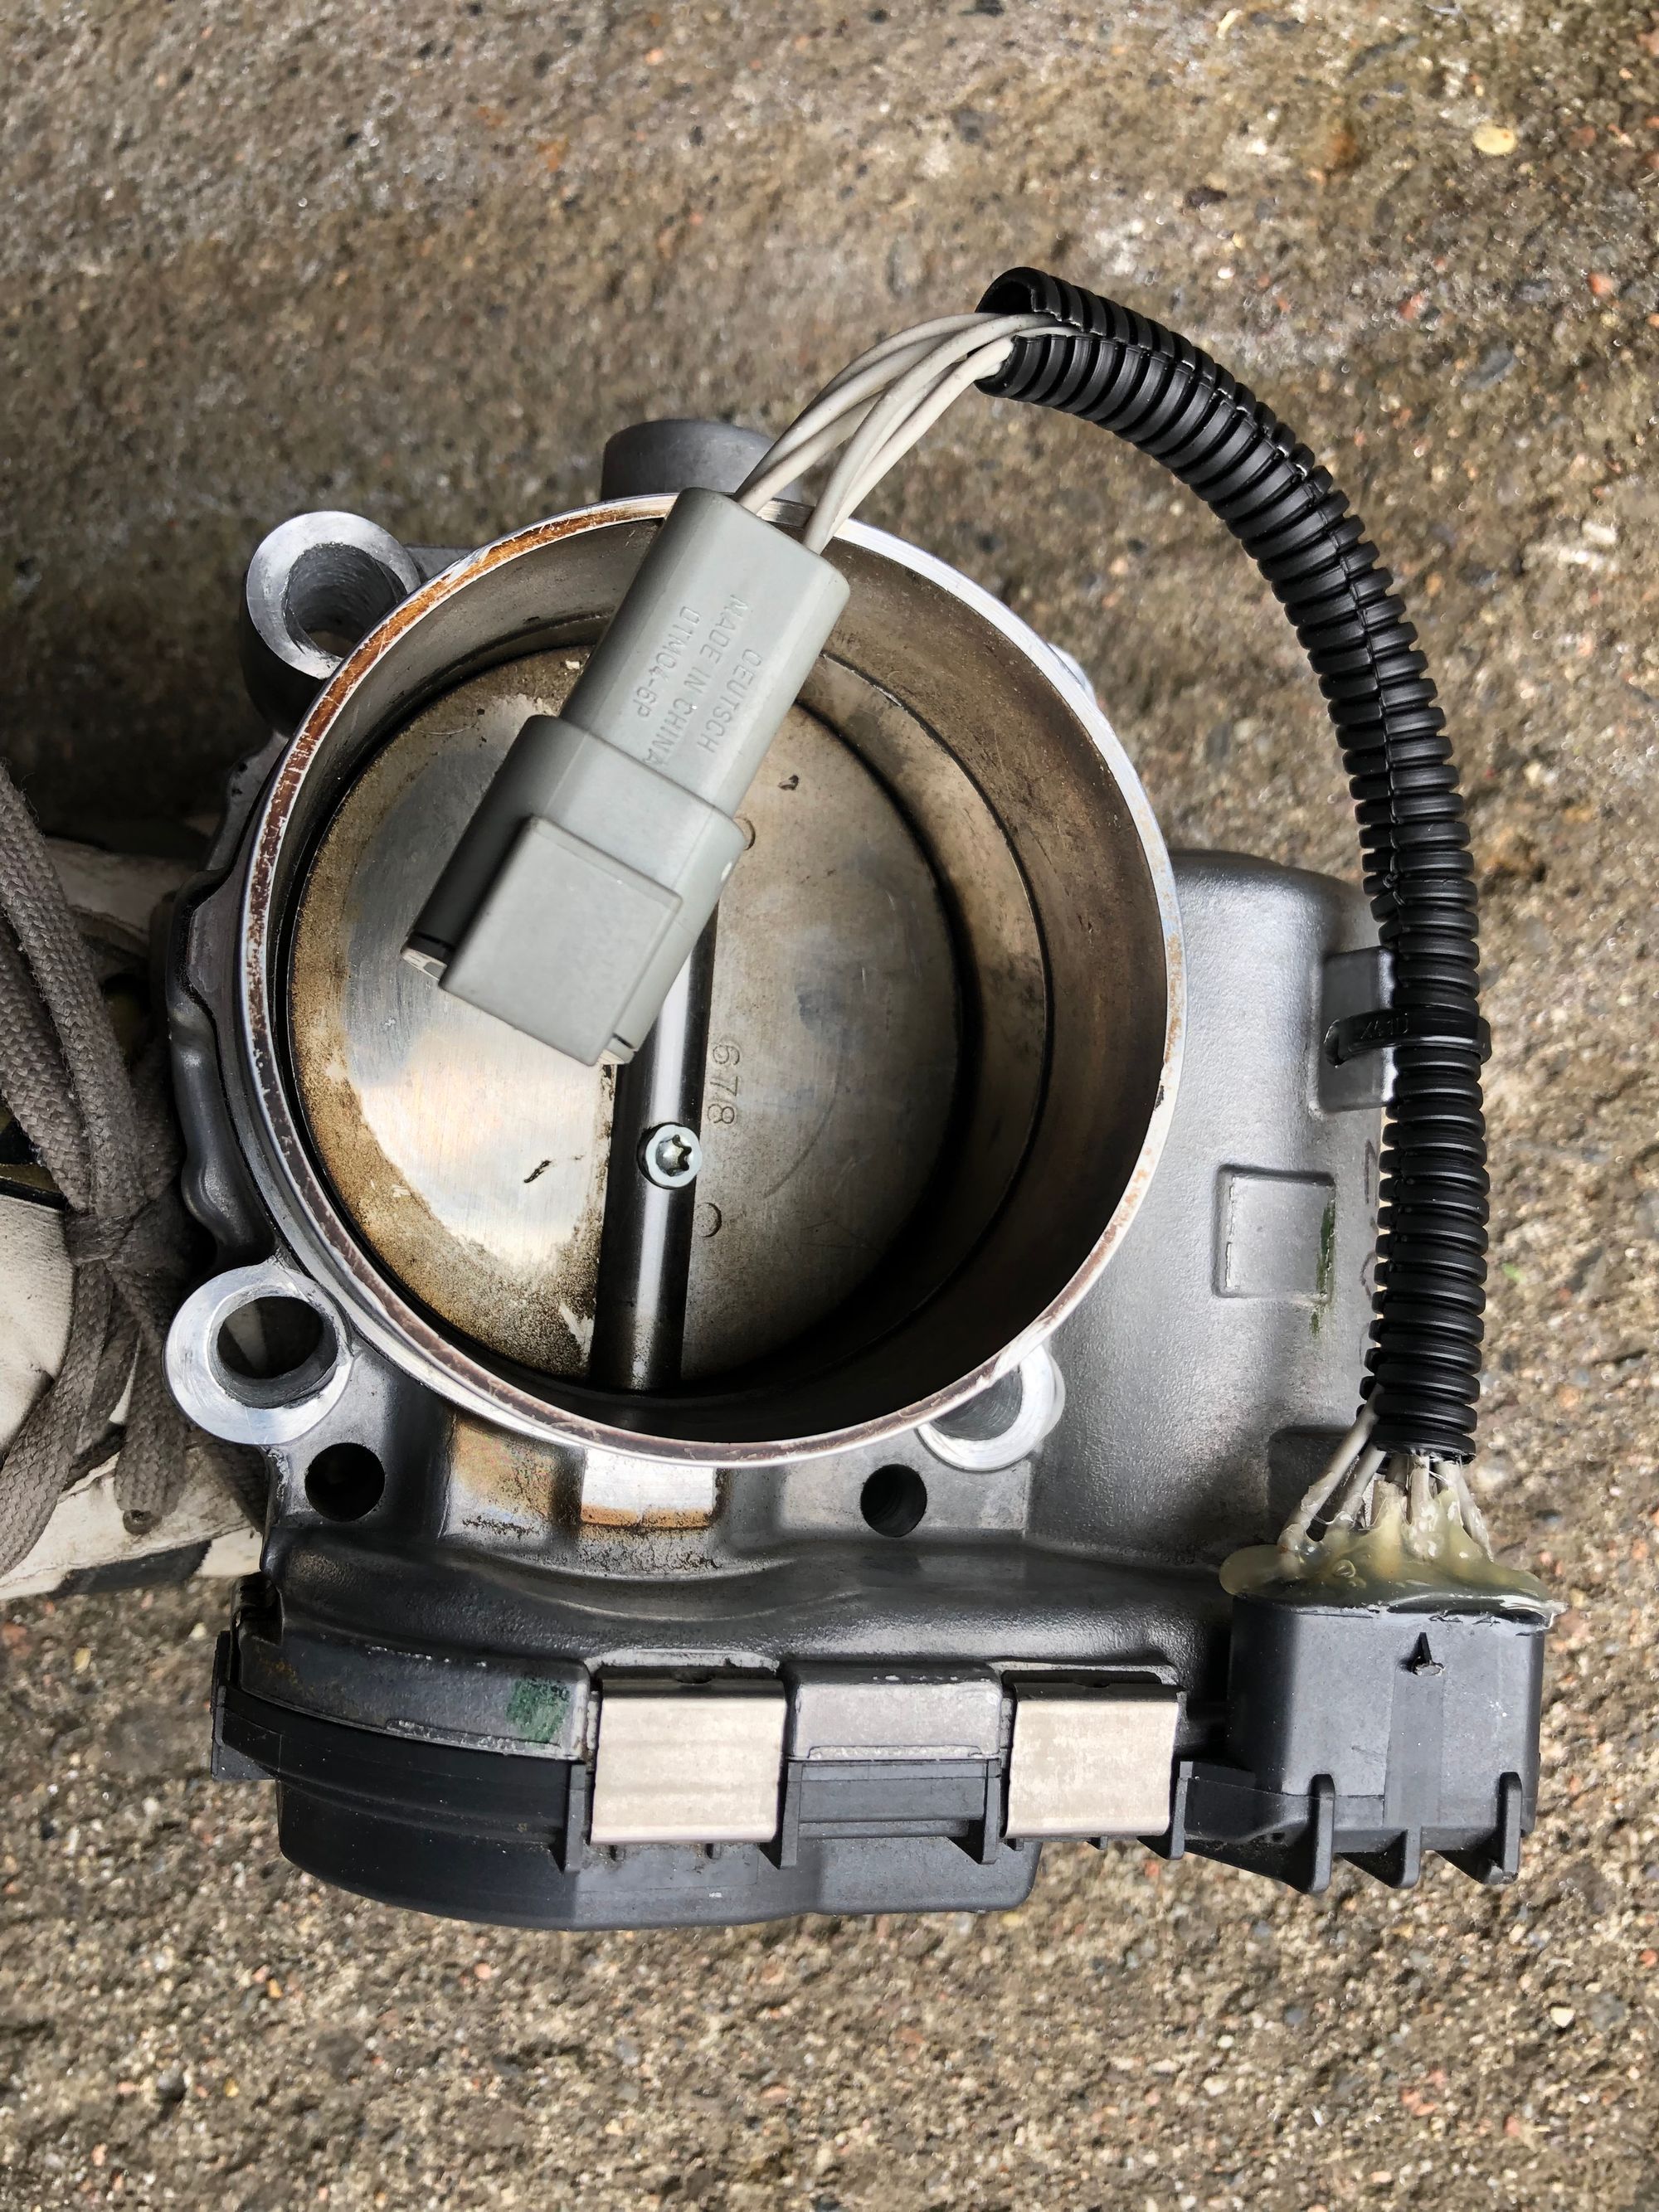
Super sturdy. Crimp connectors, heat shrink, glue gun and a high quality Deutch connector to the stock harness.
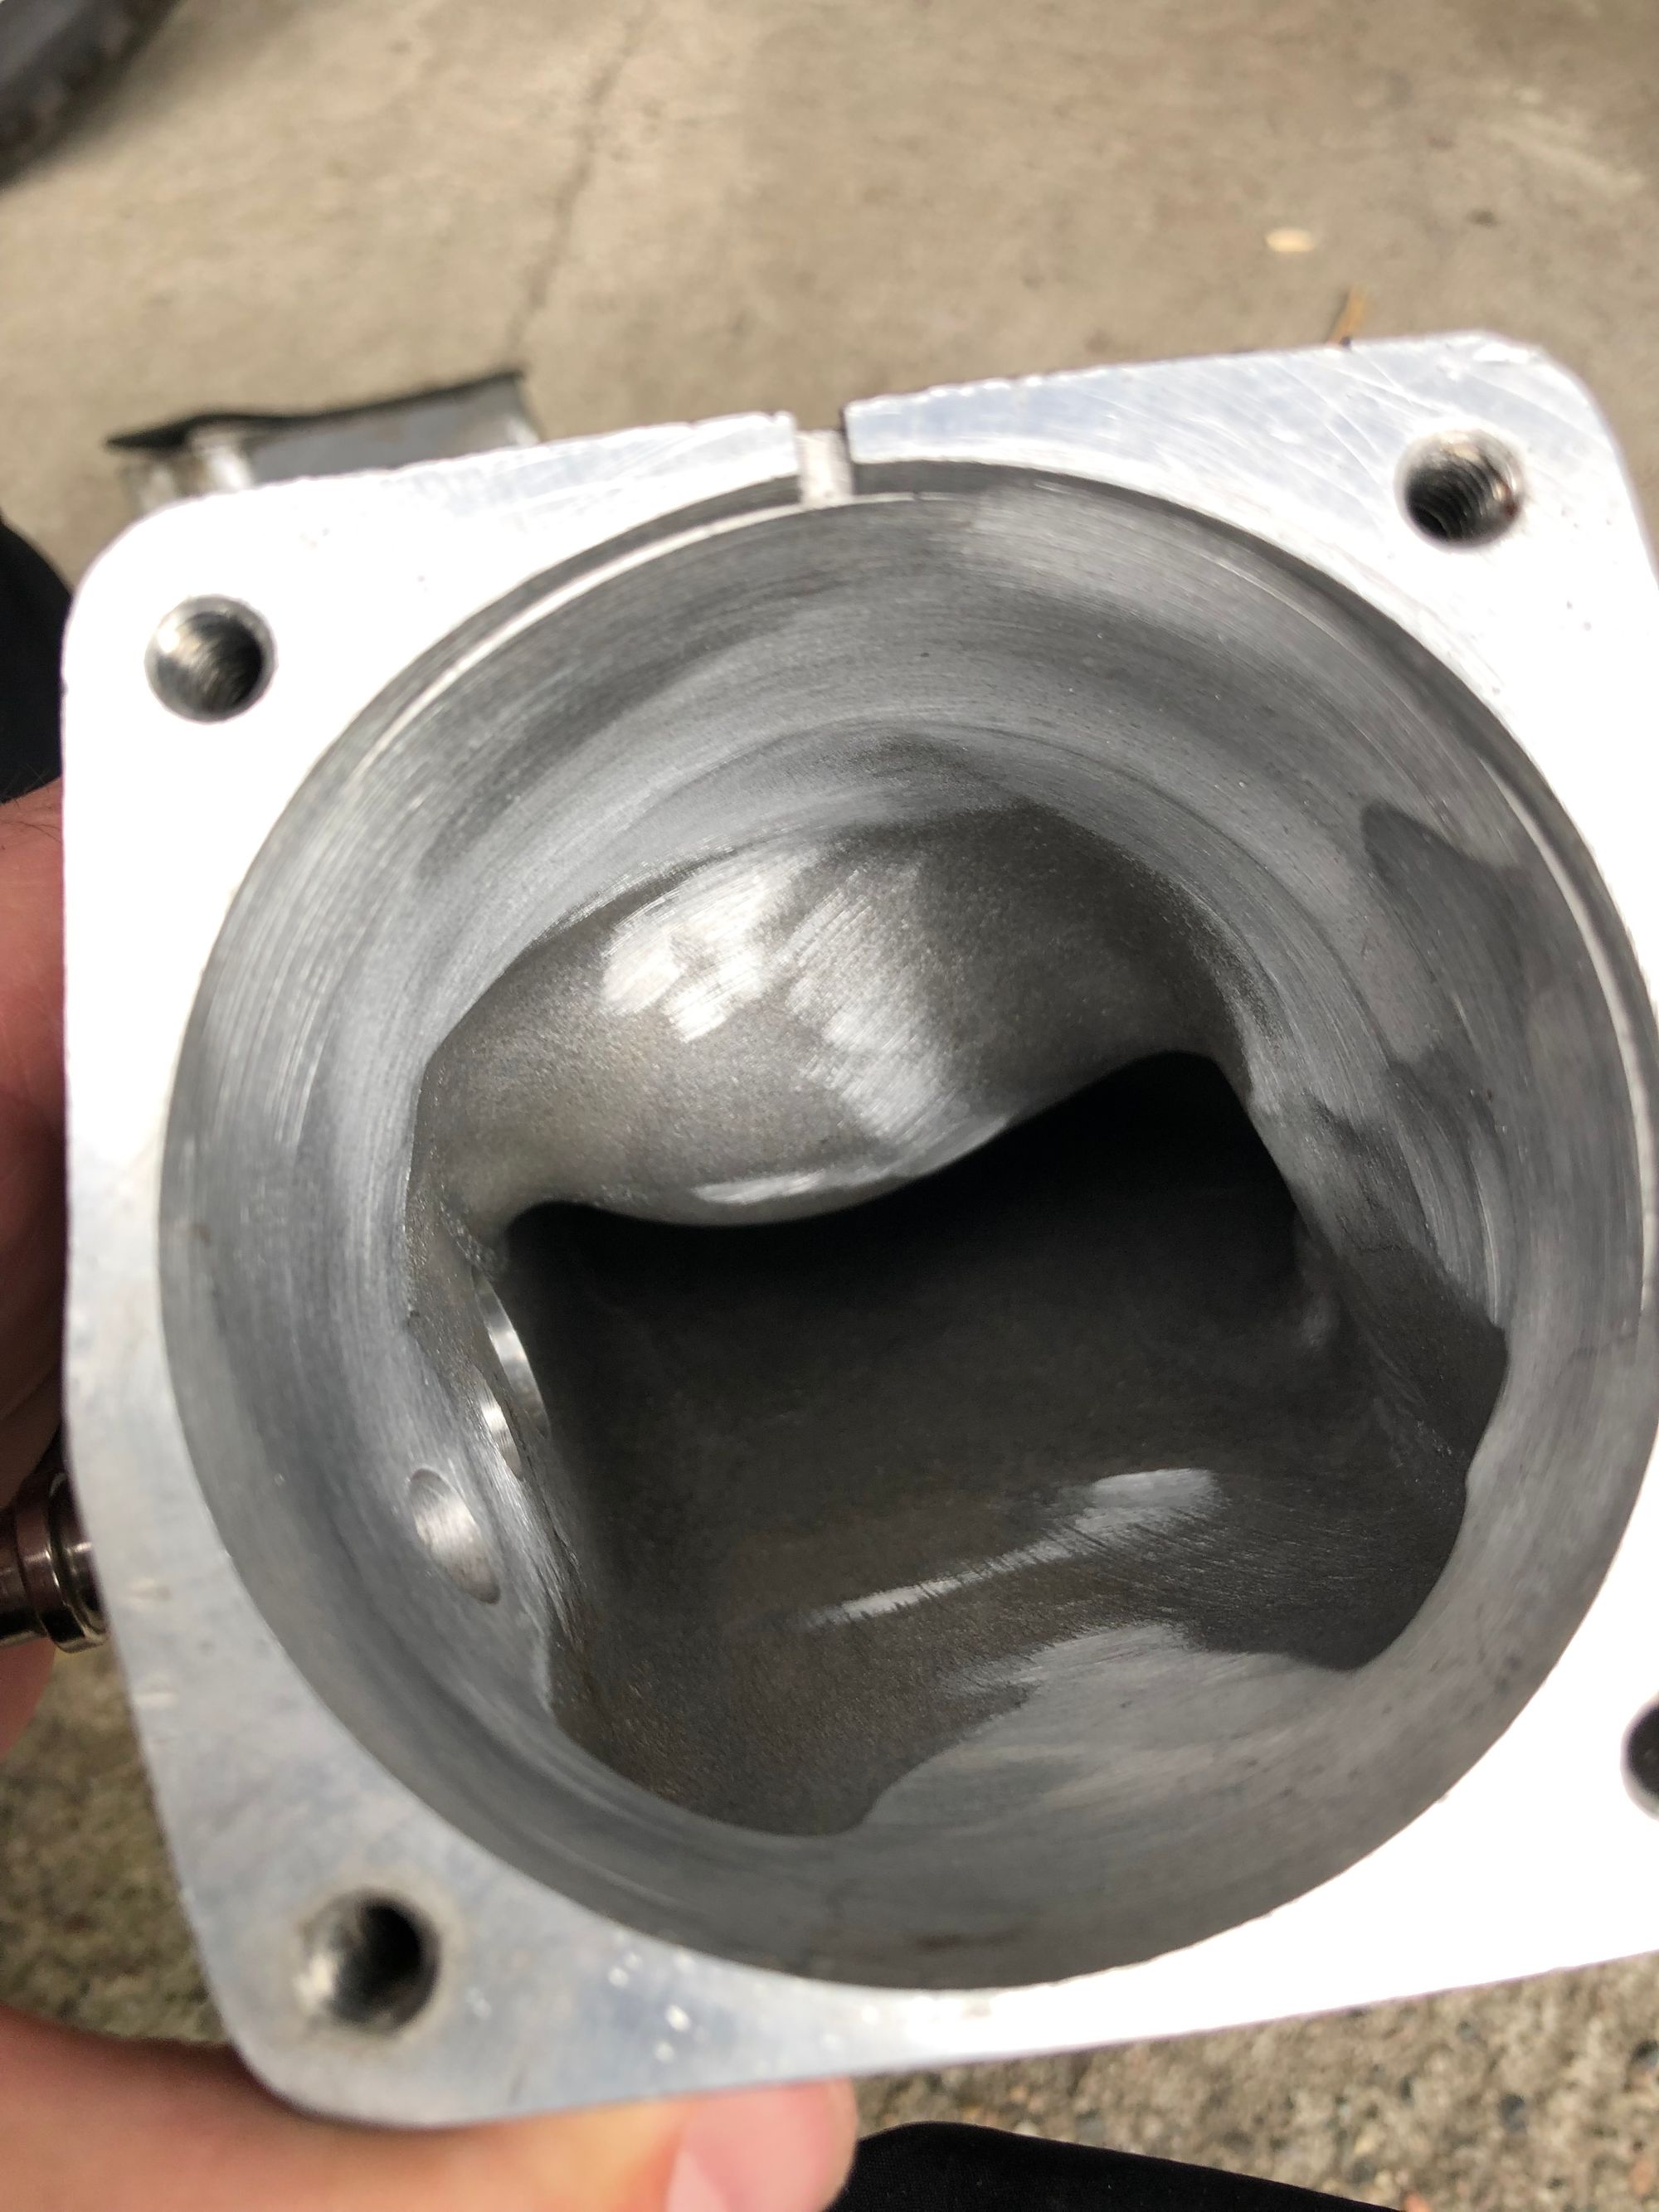
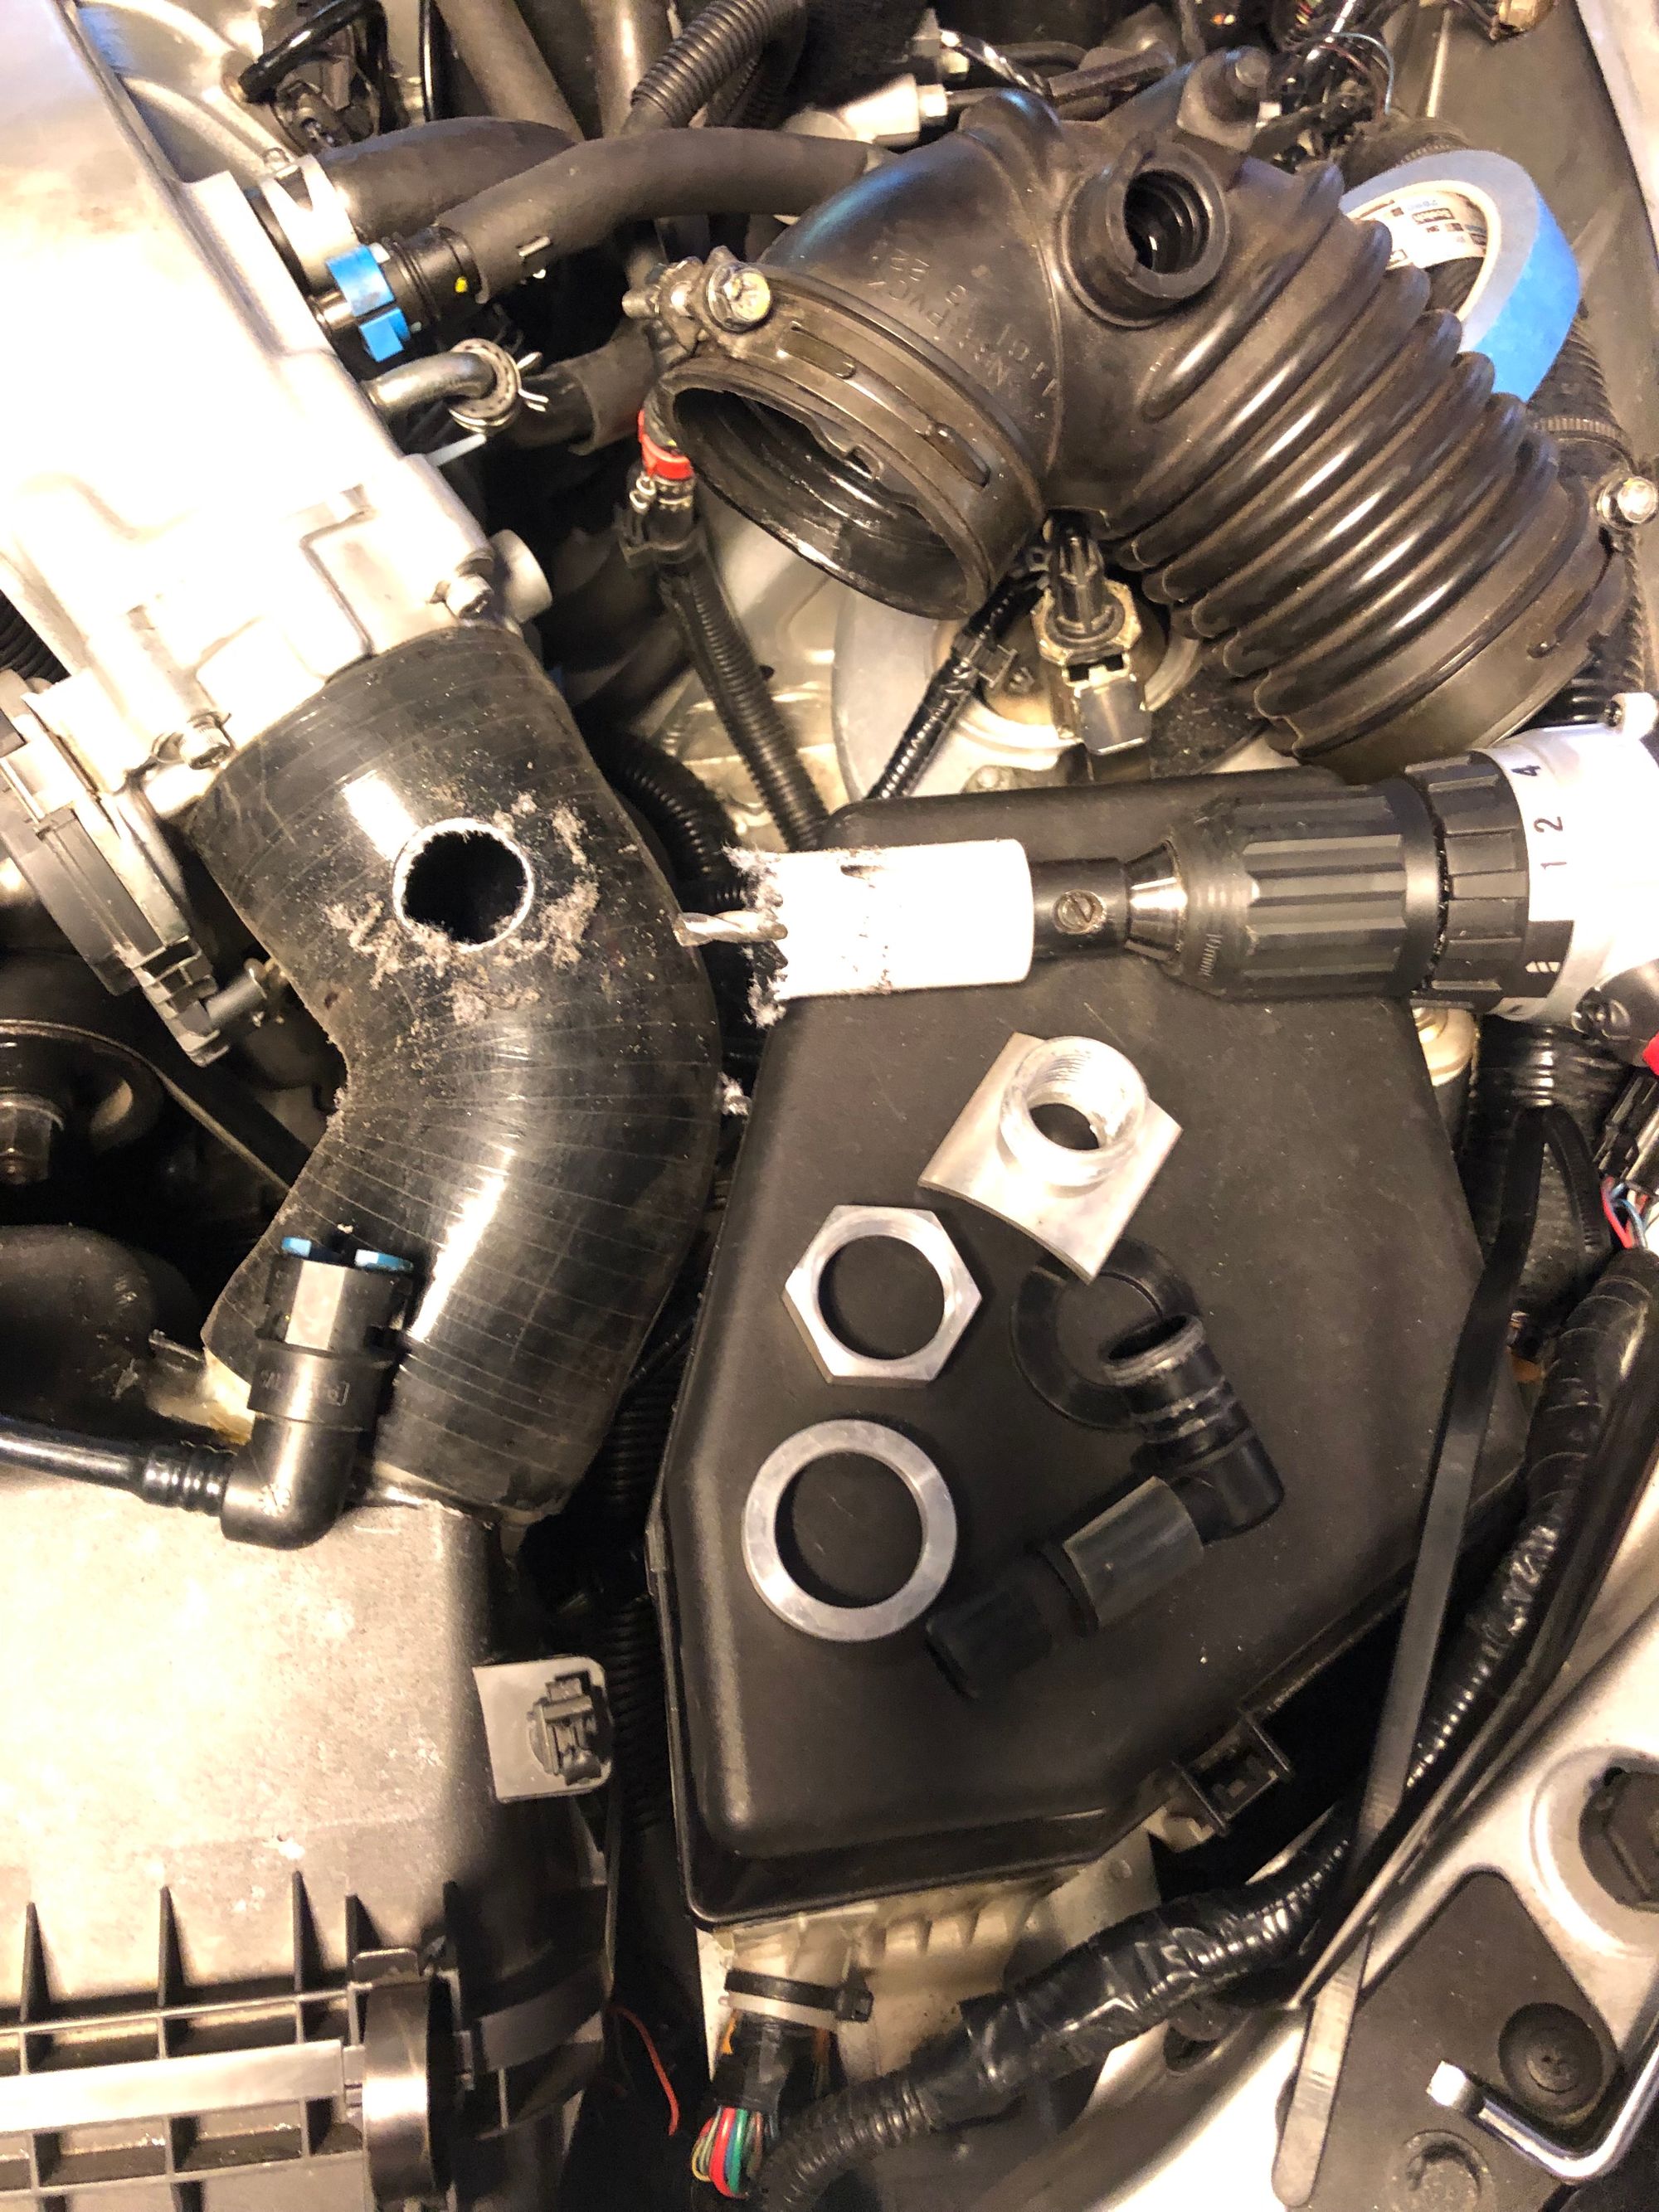
The IM was enlarged with a flapper disc that barely fit with some force.

Work in progress after 20 min. Switched to a smaller flap disk for the rest.
The slot that was used to position the OEM O-ring was filled with a alu piece that I jammed in with a slight recess so that the TB would put force on it when tightened.

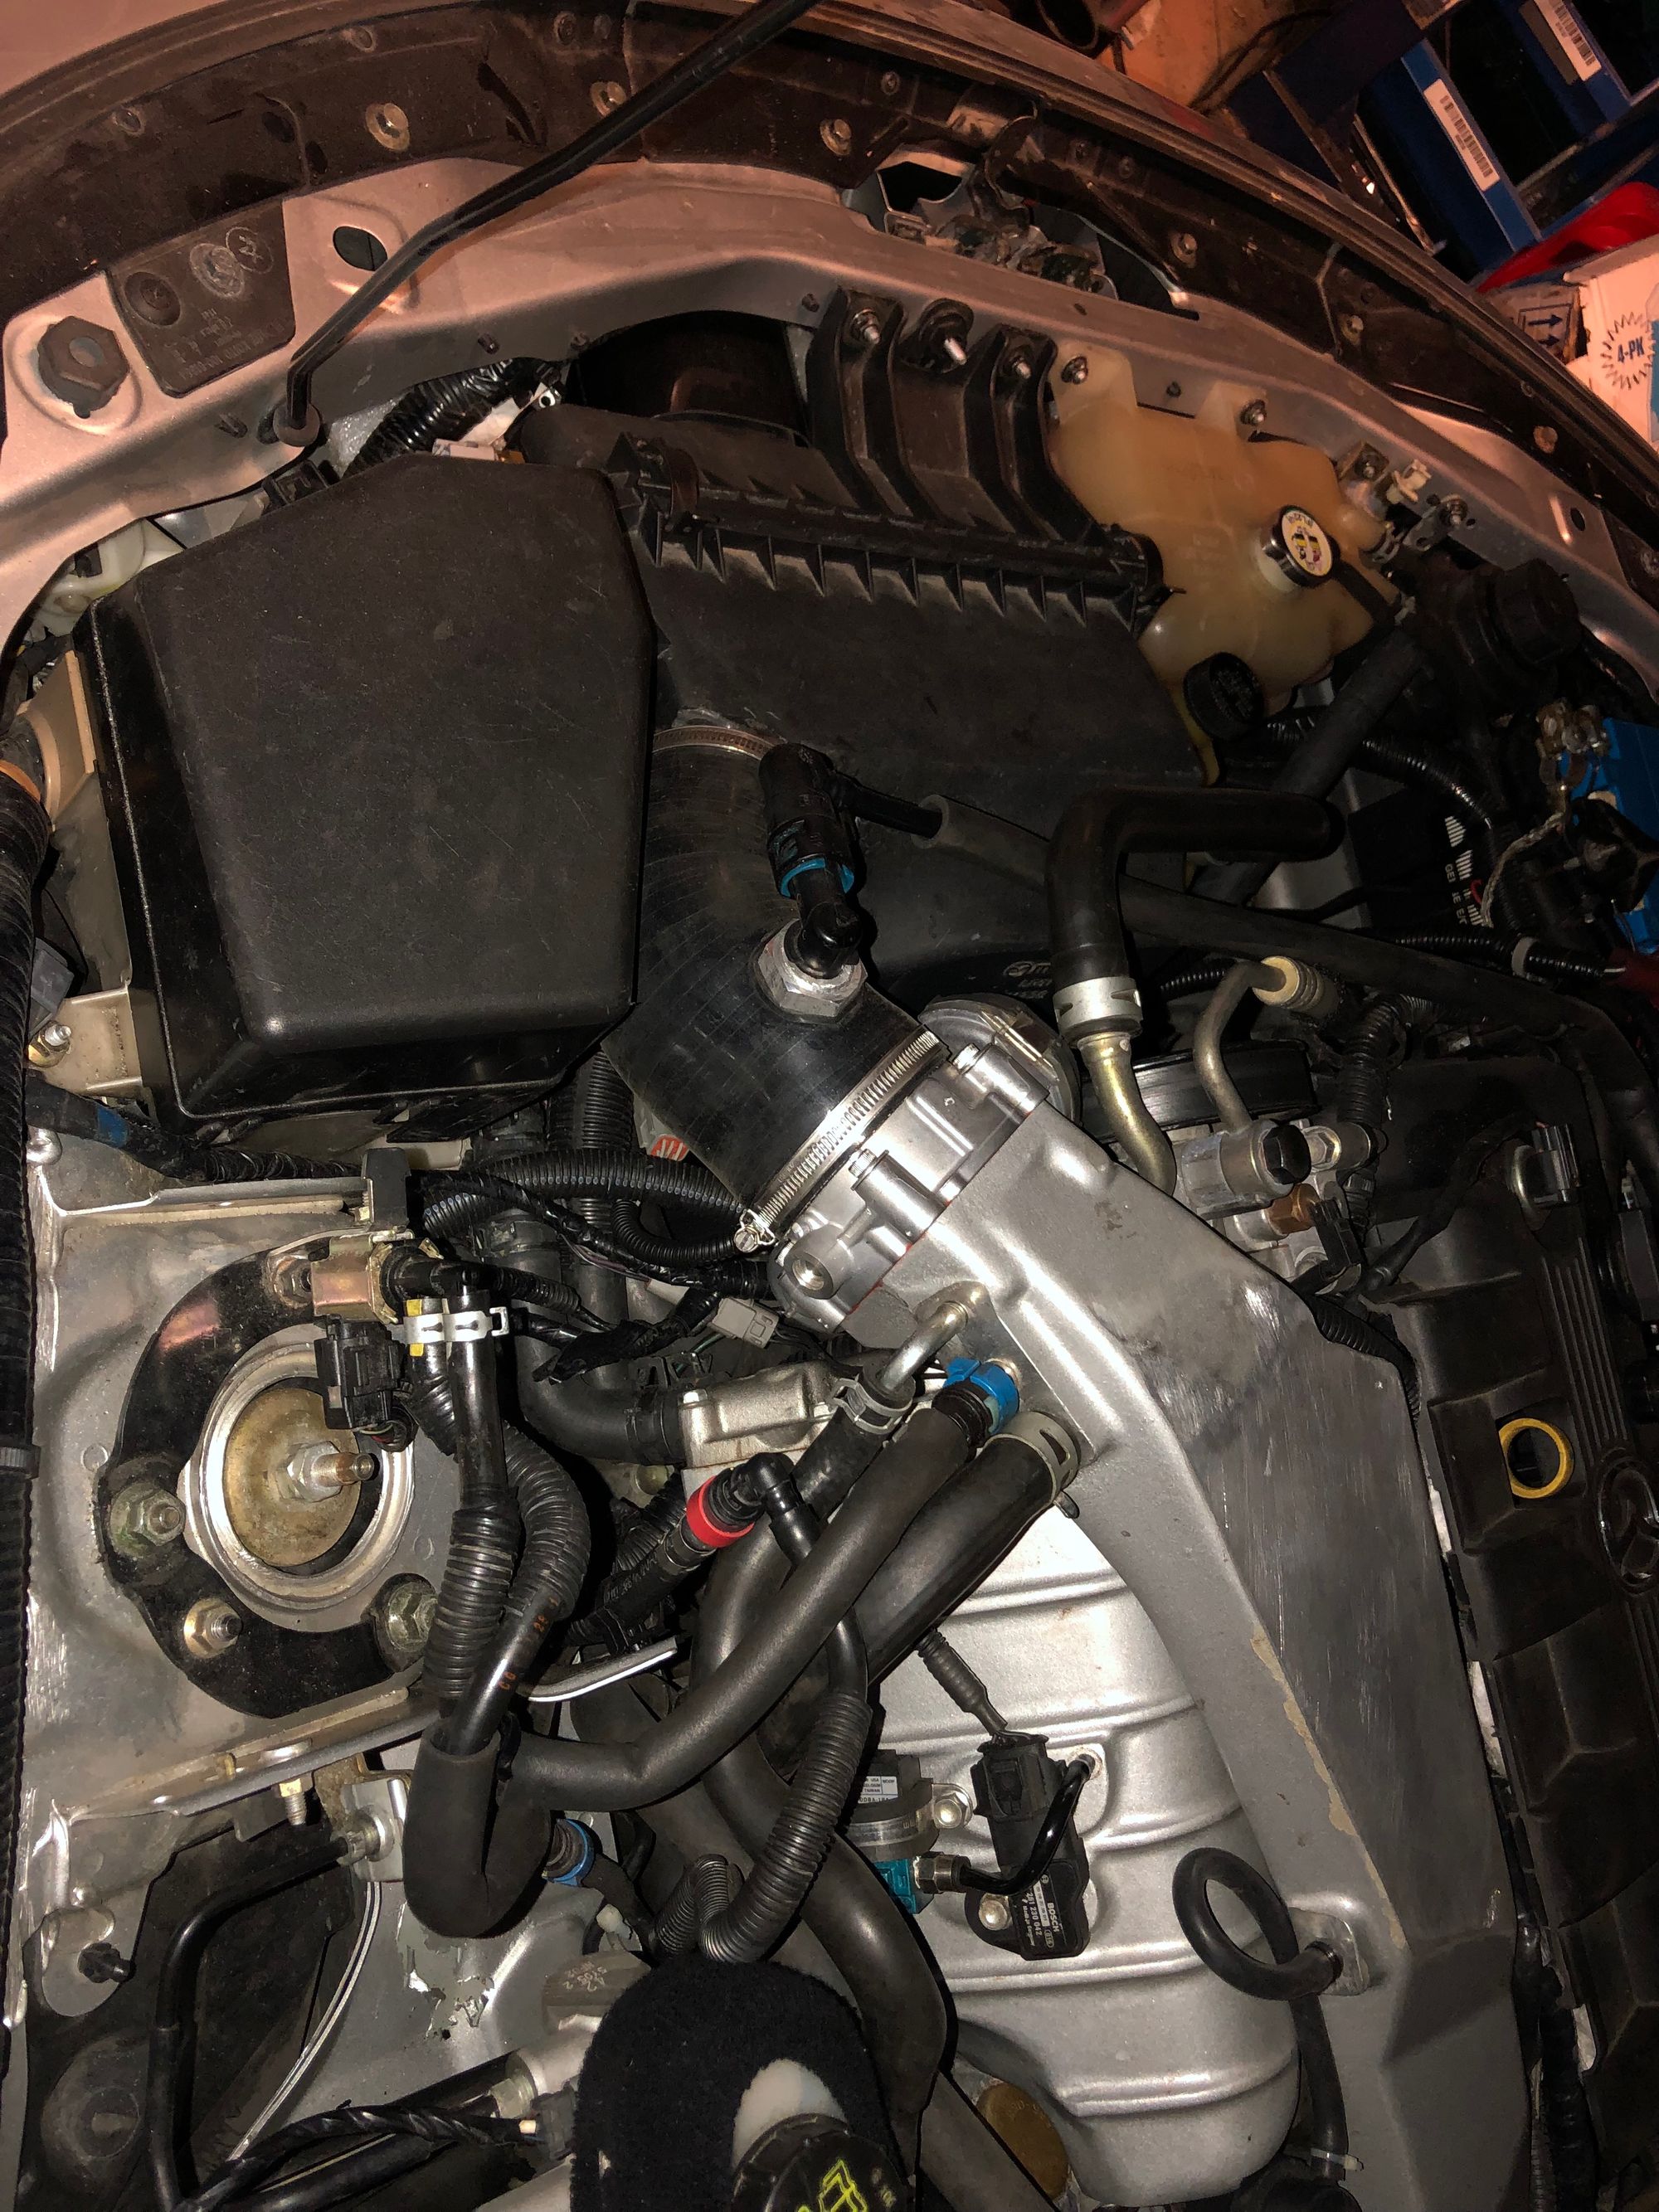
To optimize the complete intake path into the TB I bought a used airbox to eliminate the two 90 deg bends as introduced with the FMSC airbox lid with a single 60 deg 3” bend.
Early mockup:
I was way off when I made the first hole but managed to recover with tons of epoxy.
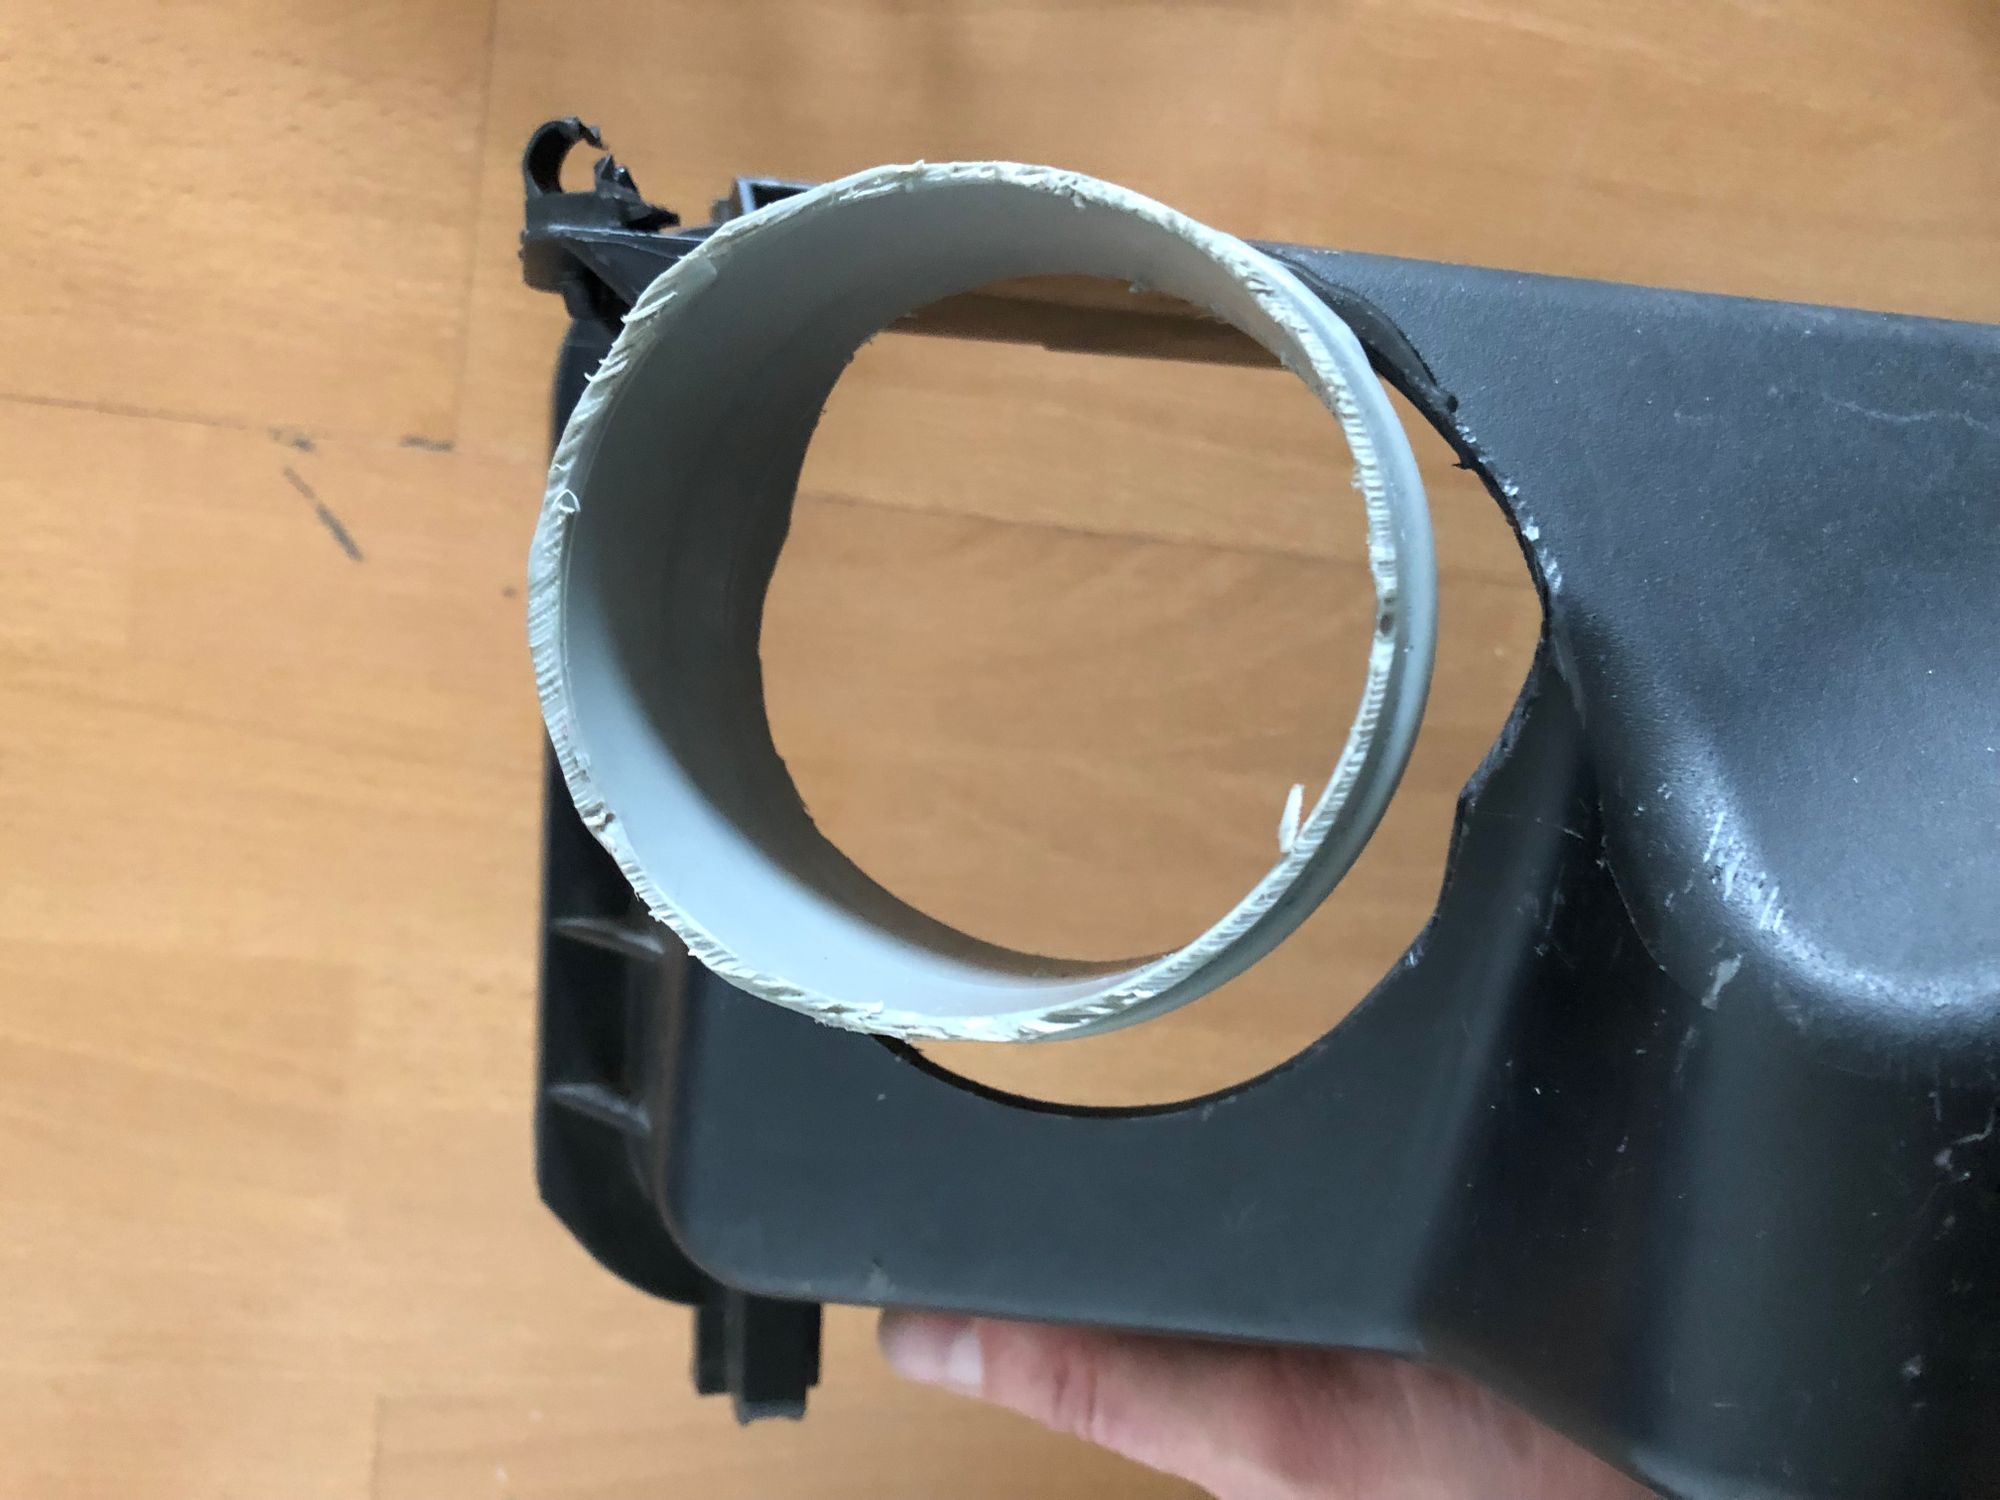
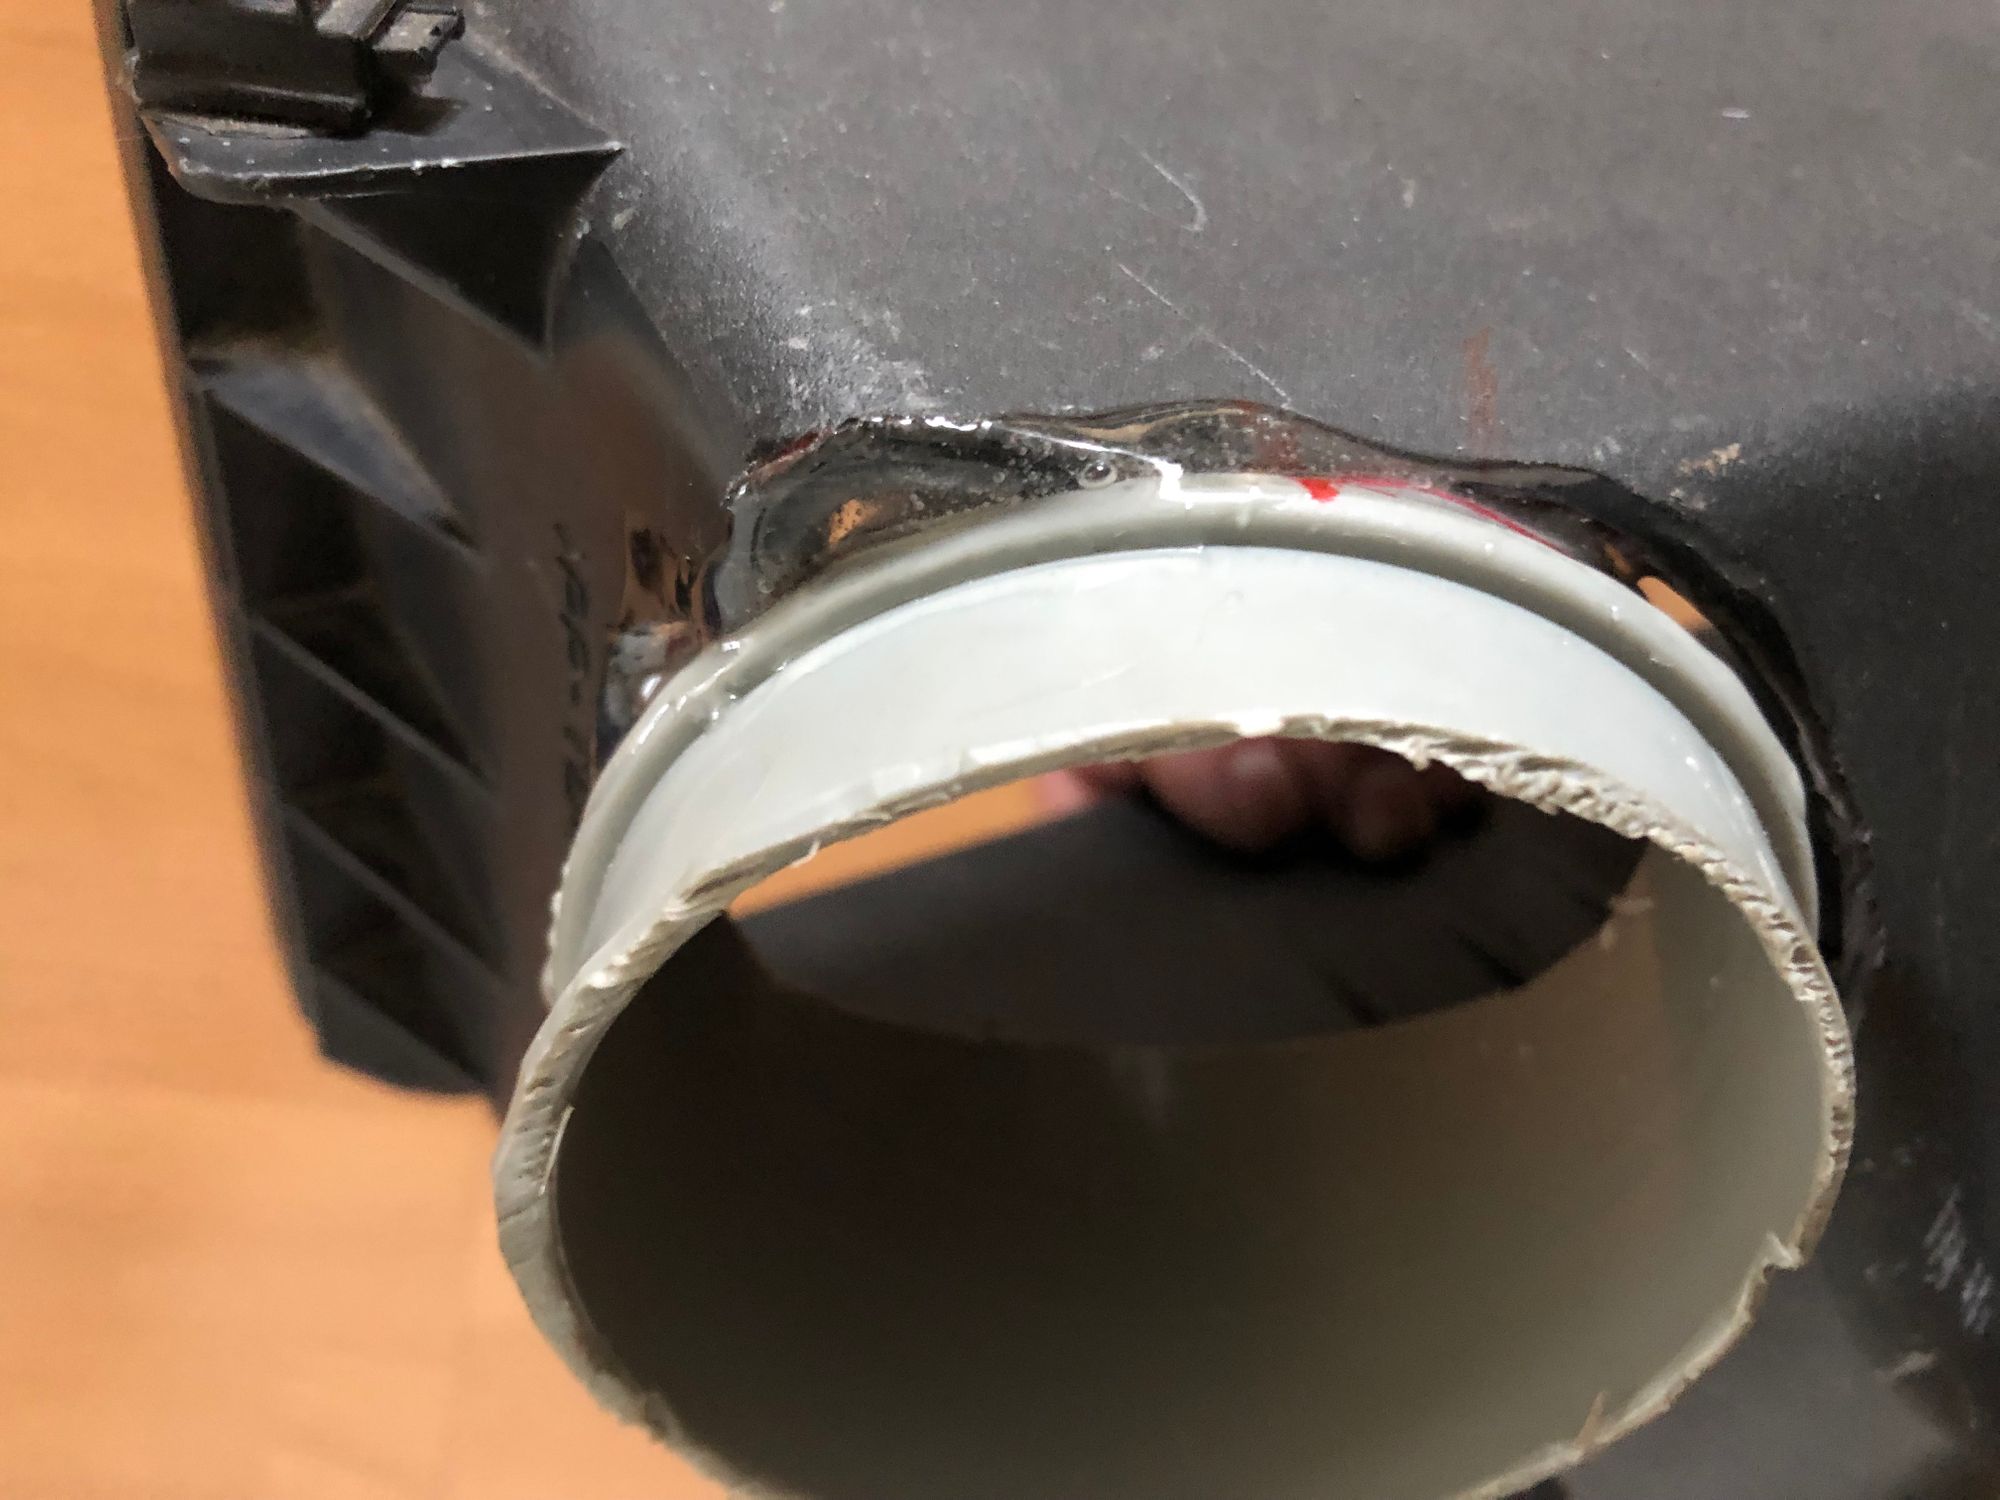
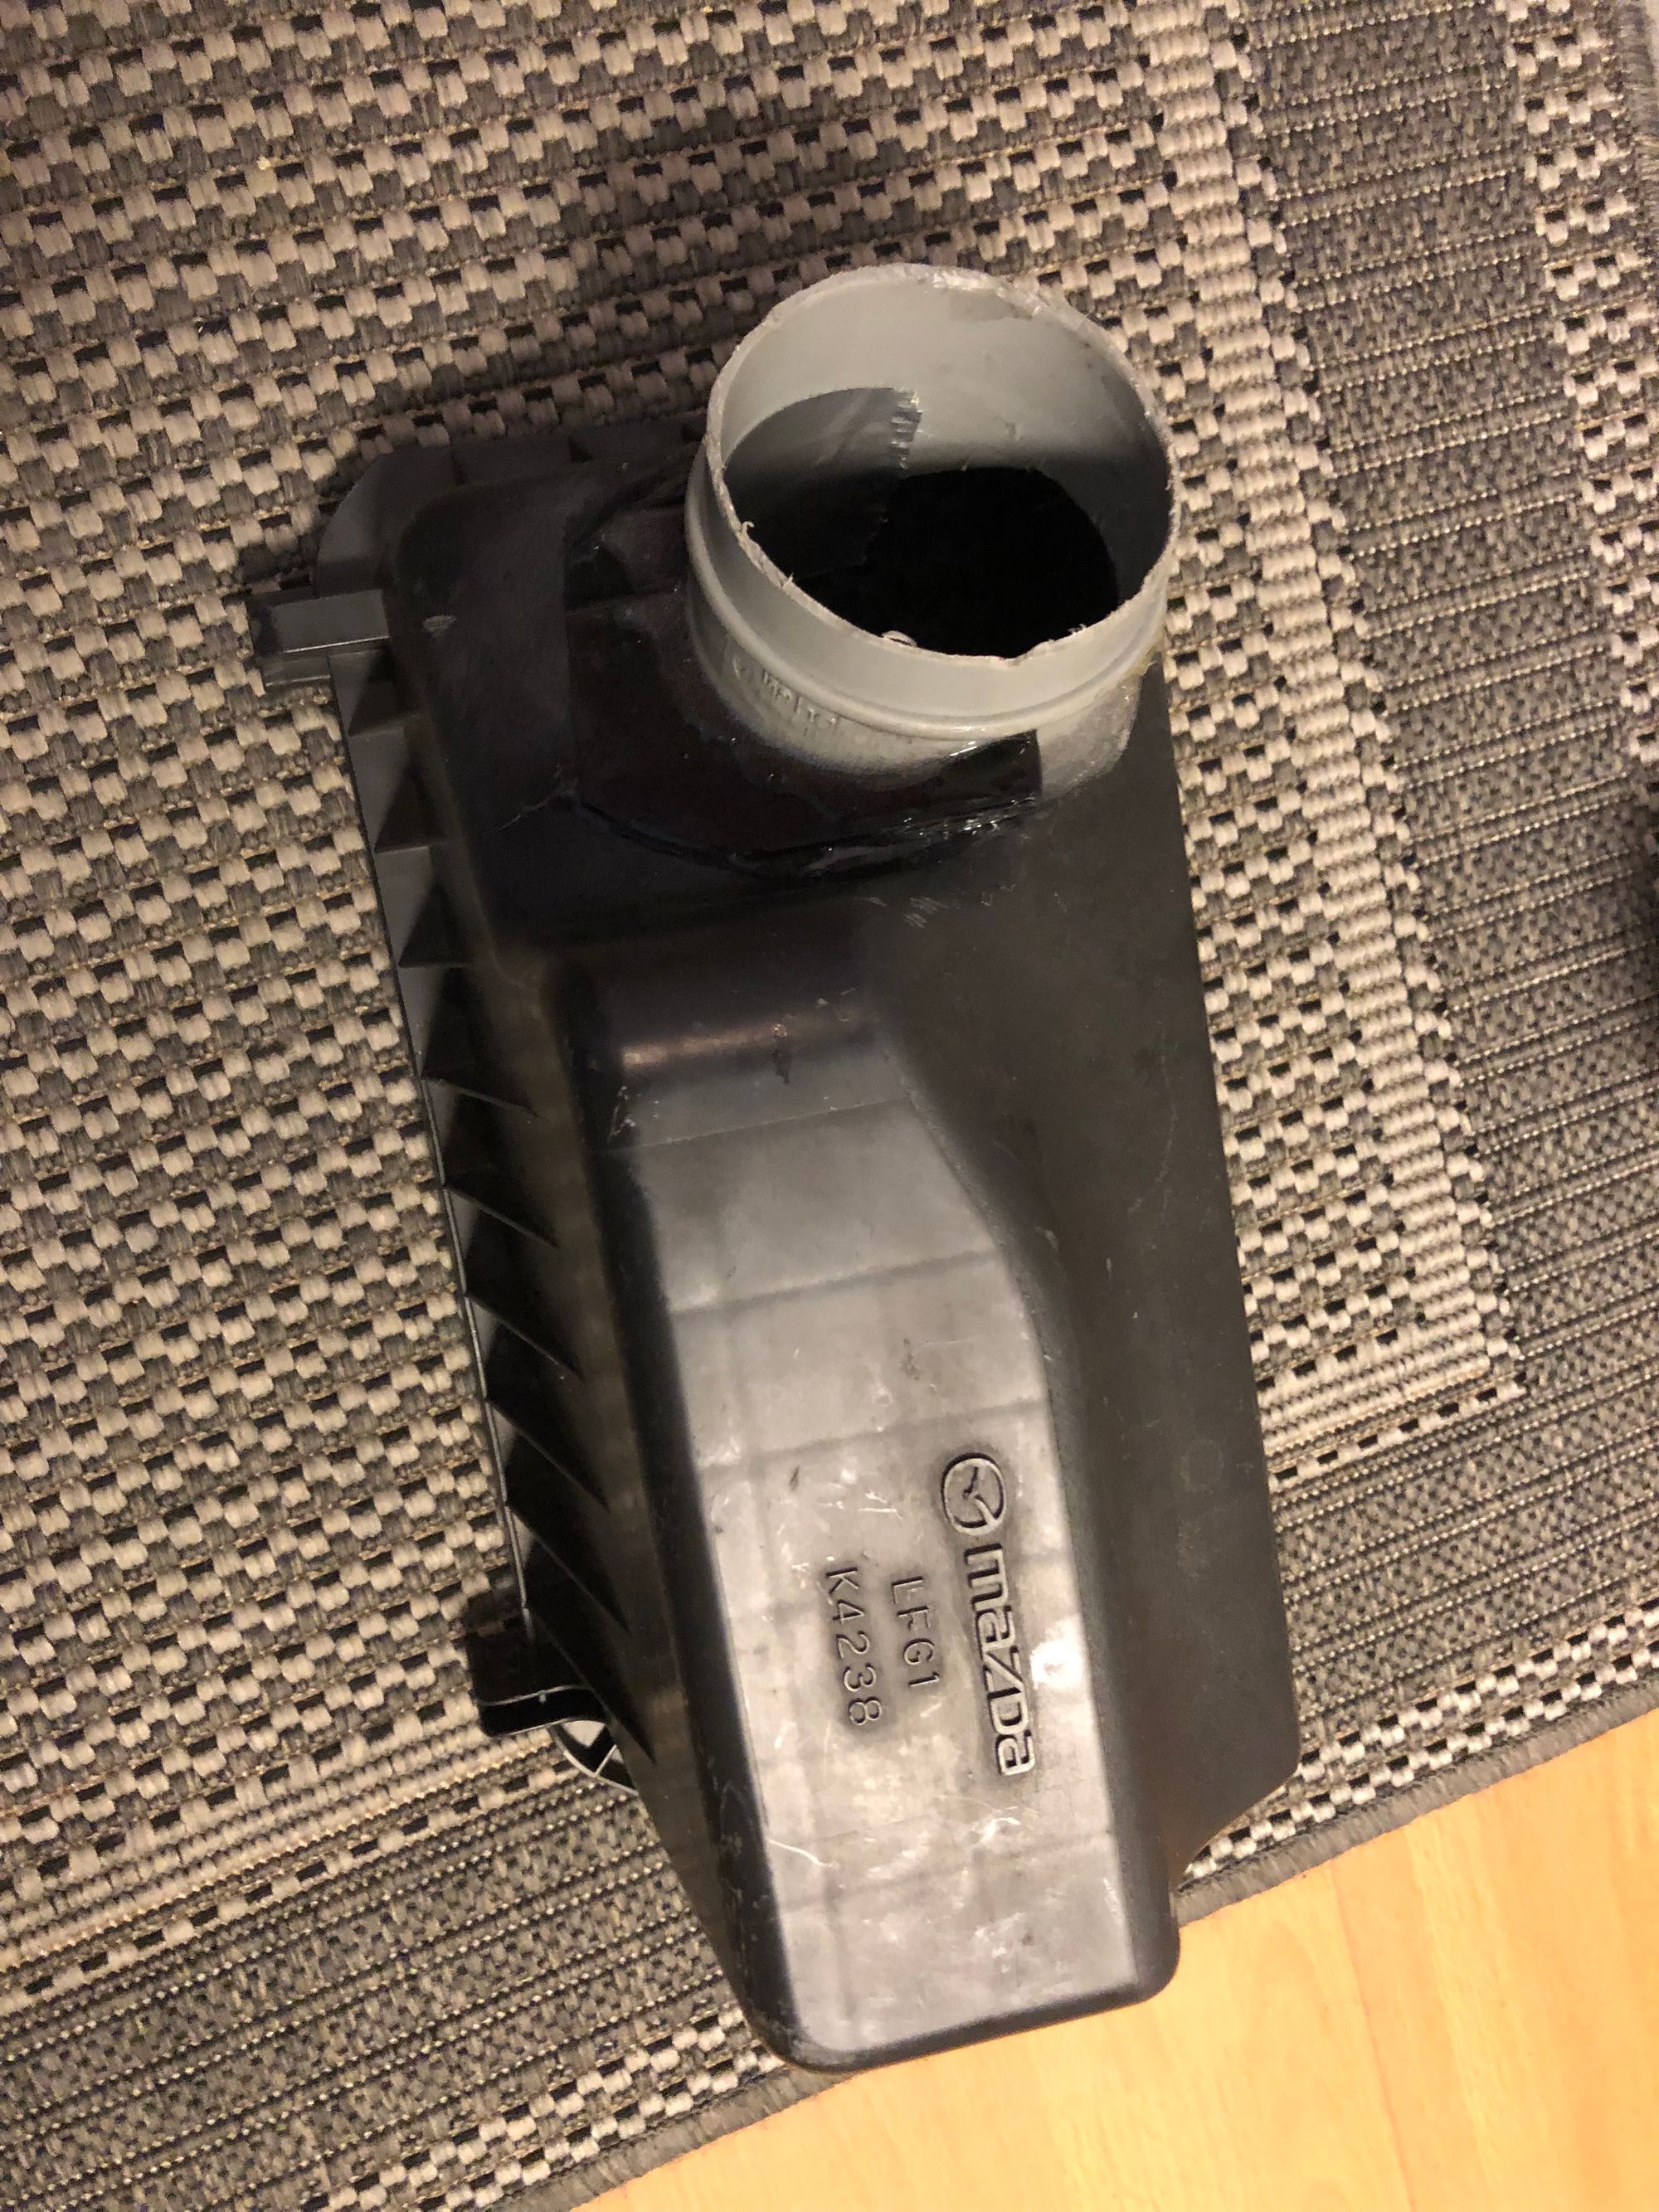
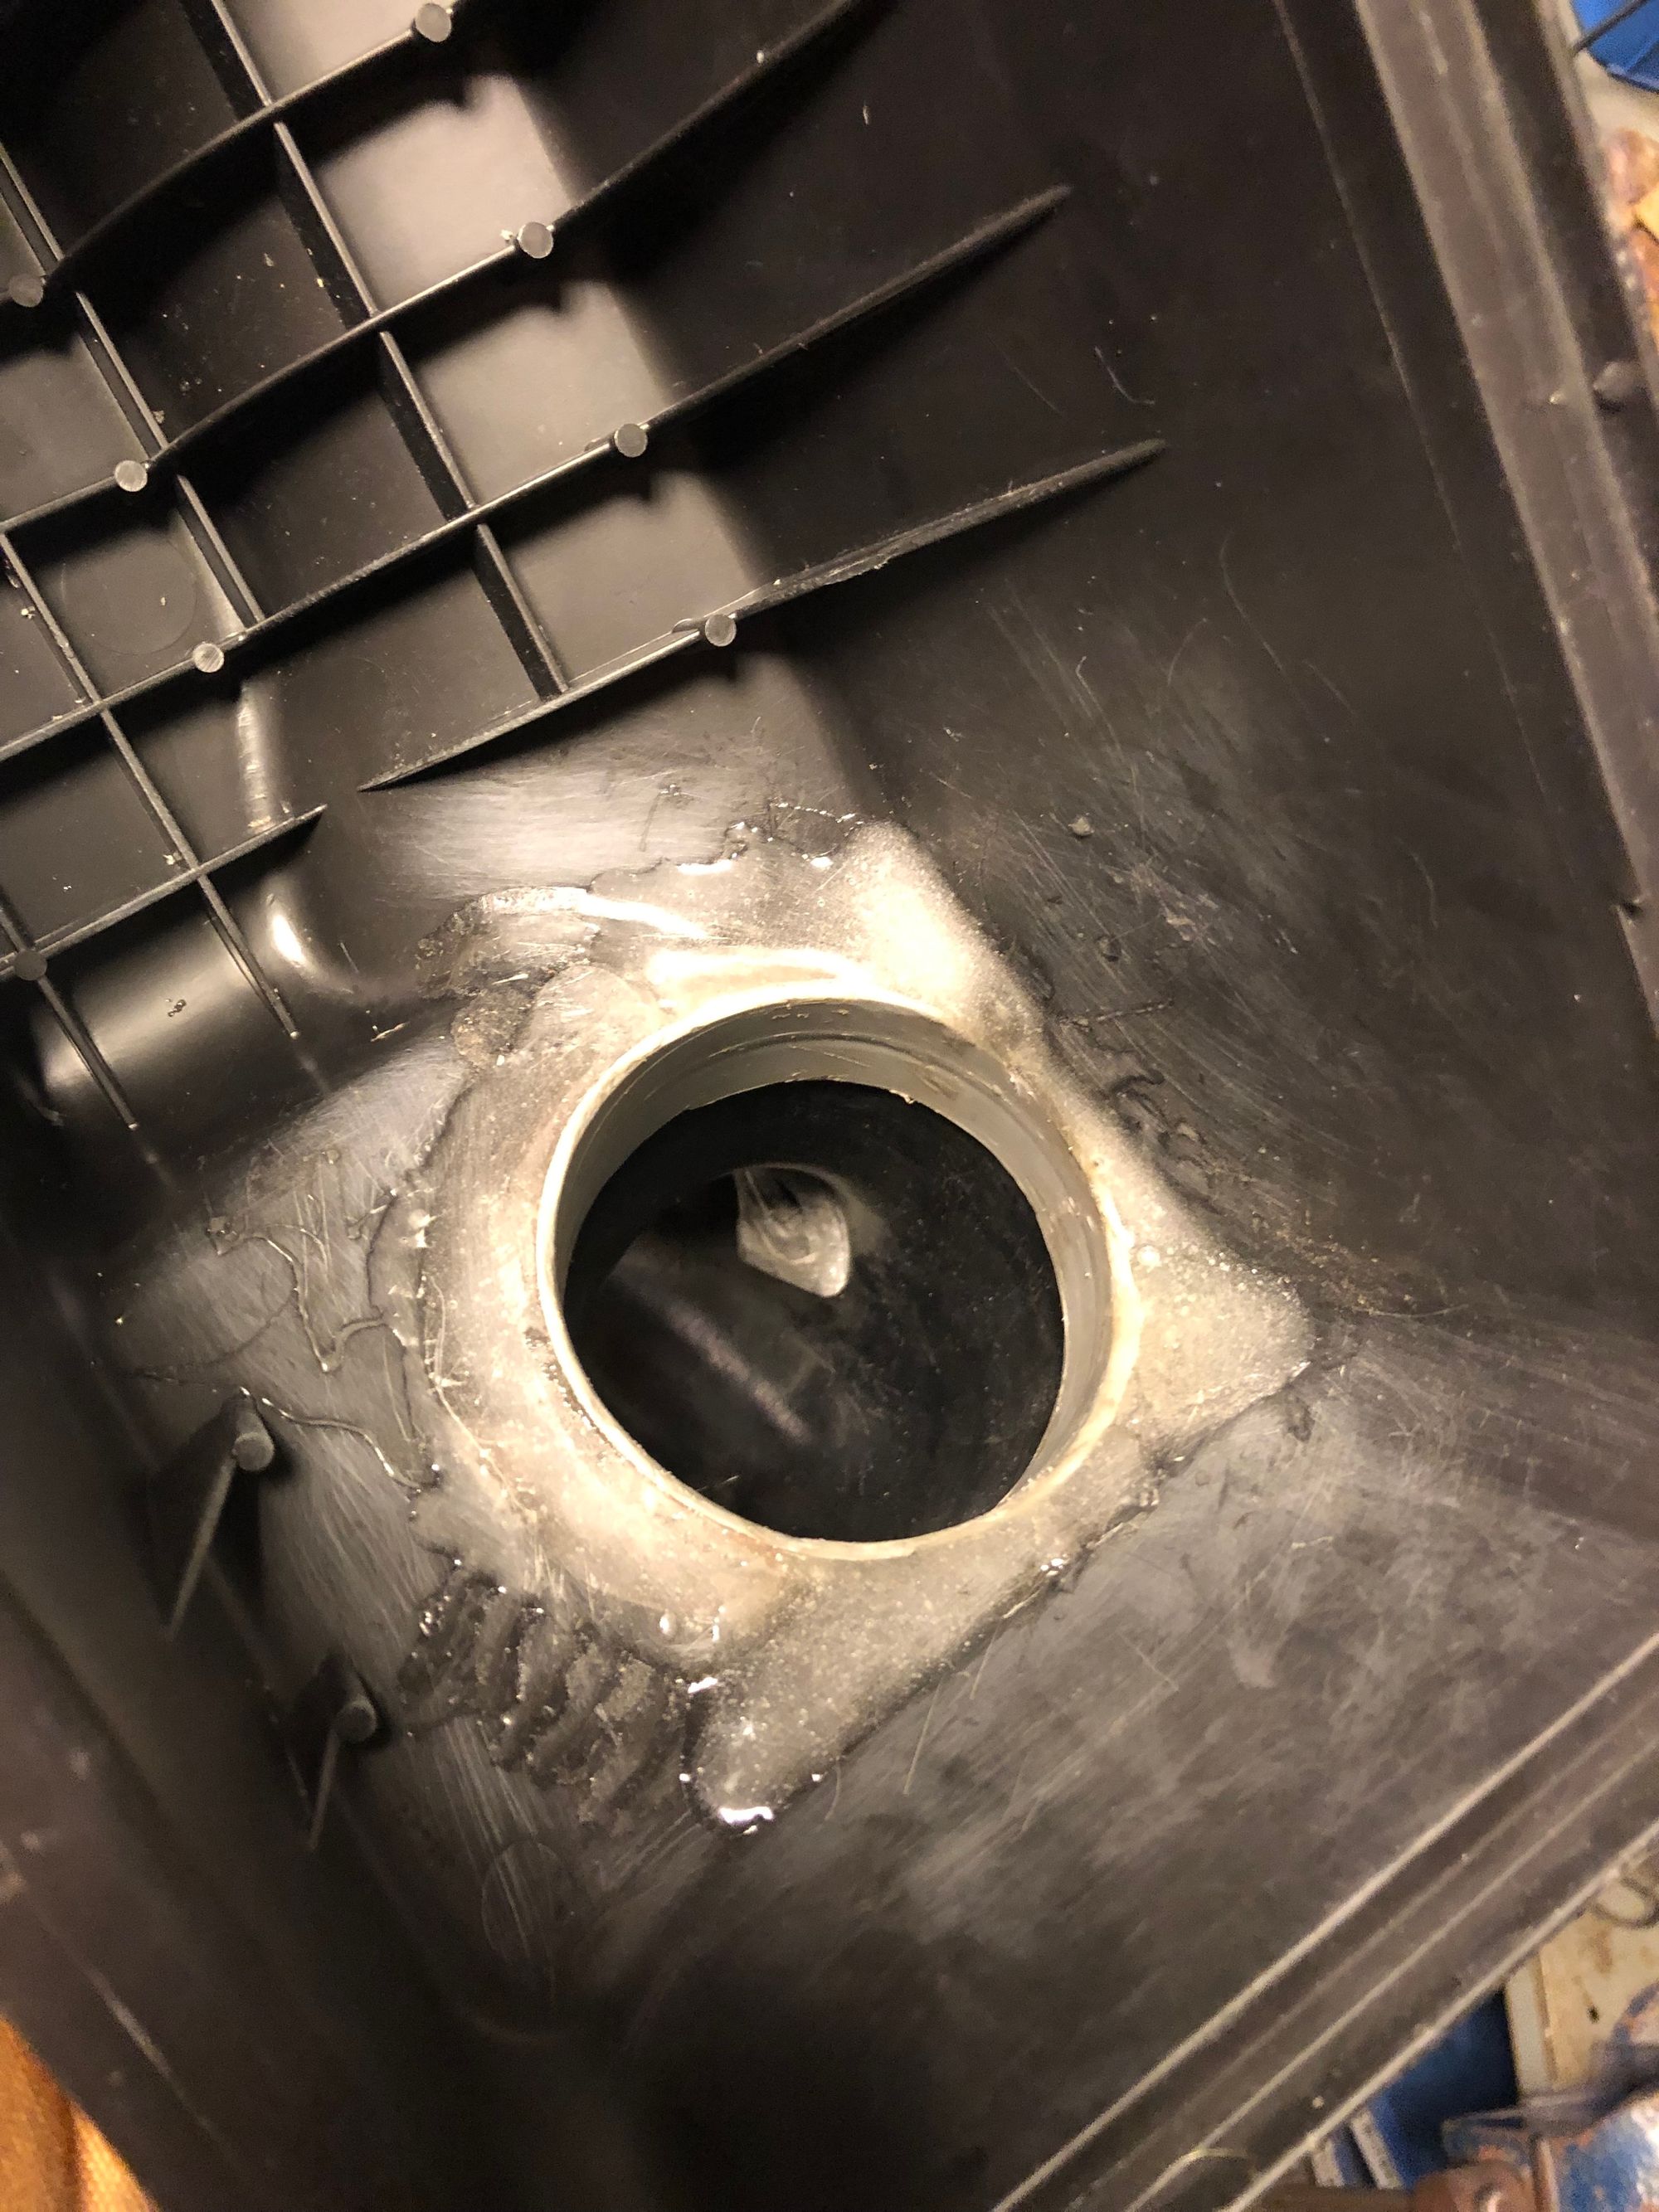
Not my greatest work, but I’m on a tight schedule for a Nürburgring trip so the planned bell mouth exit will have to wait for later. The gray pipe is a sewer pipe.. $2 perfect 3” inner diamter.
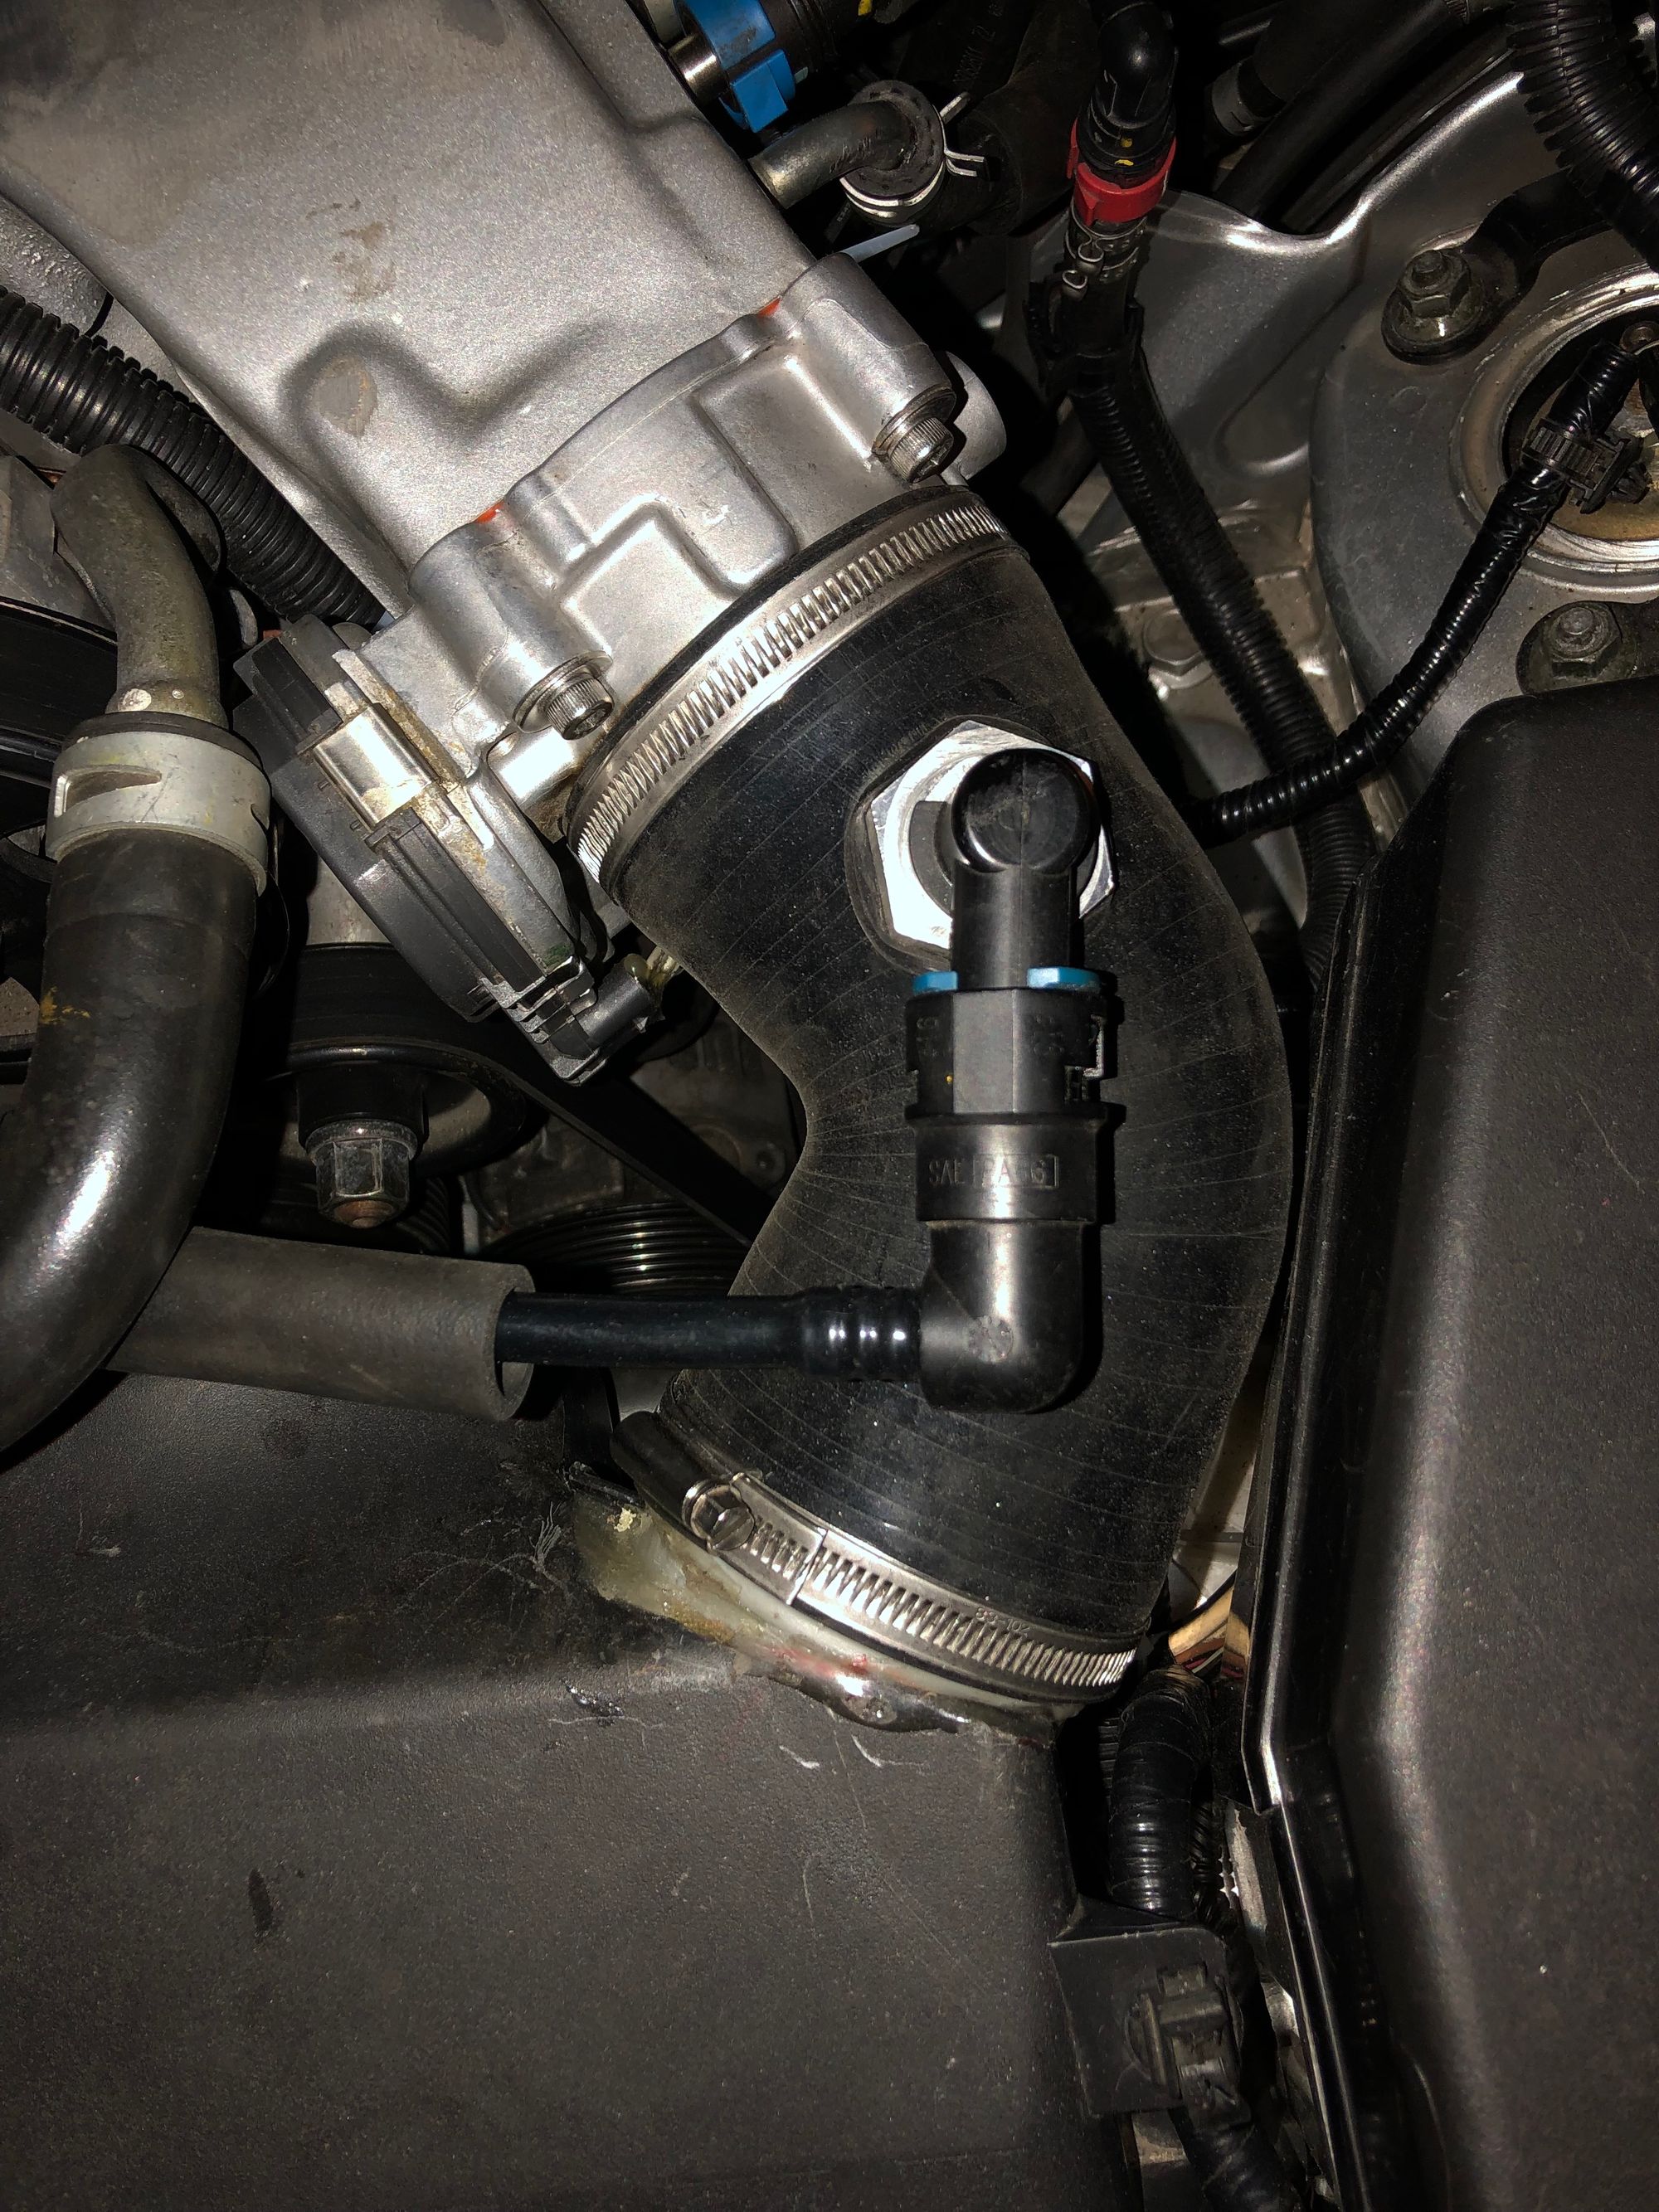
The 60 deg silicon bend and the vent tube thingy is from www.siliconeintakes.com
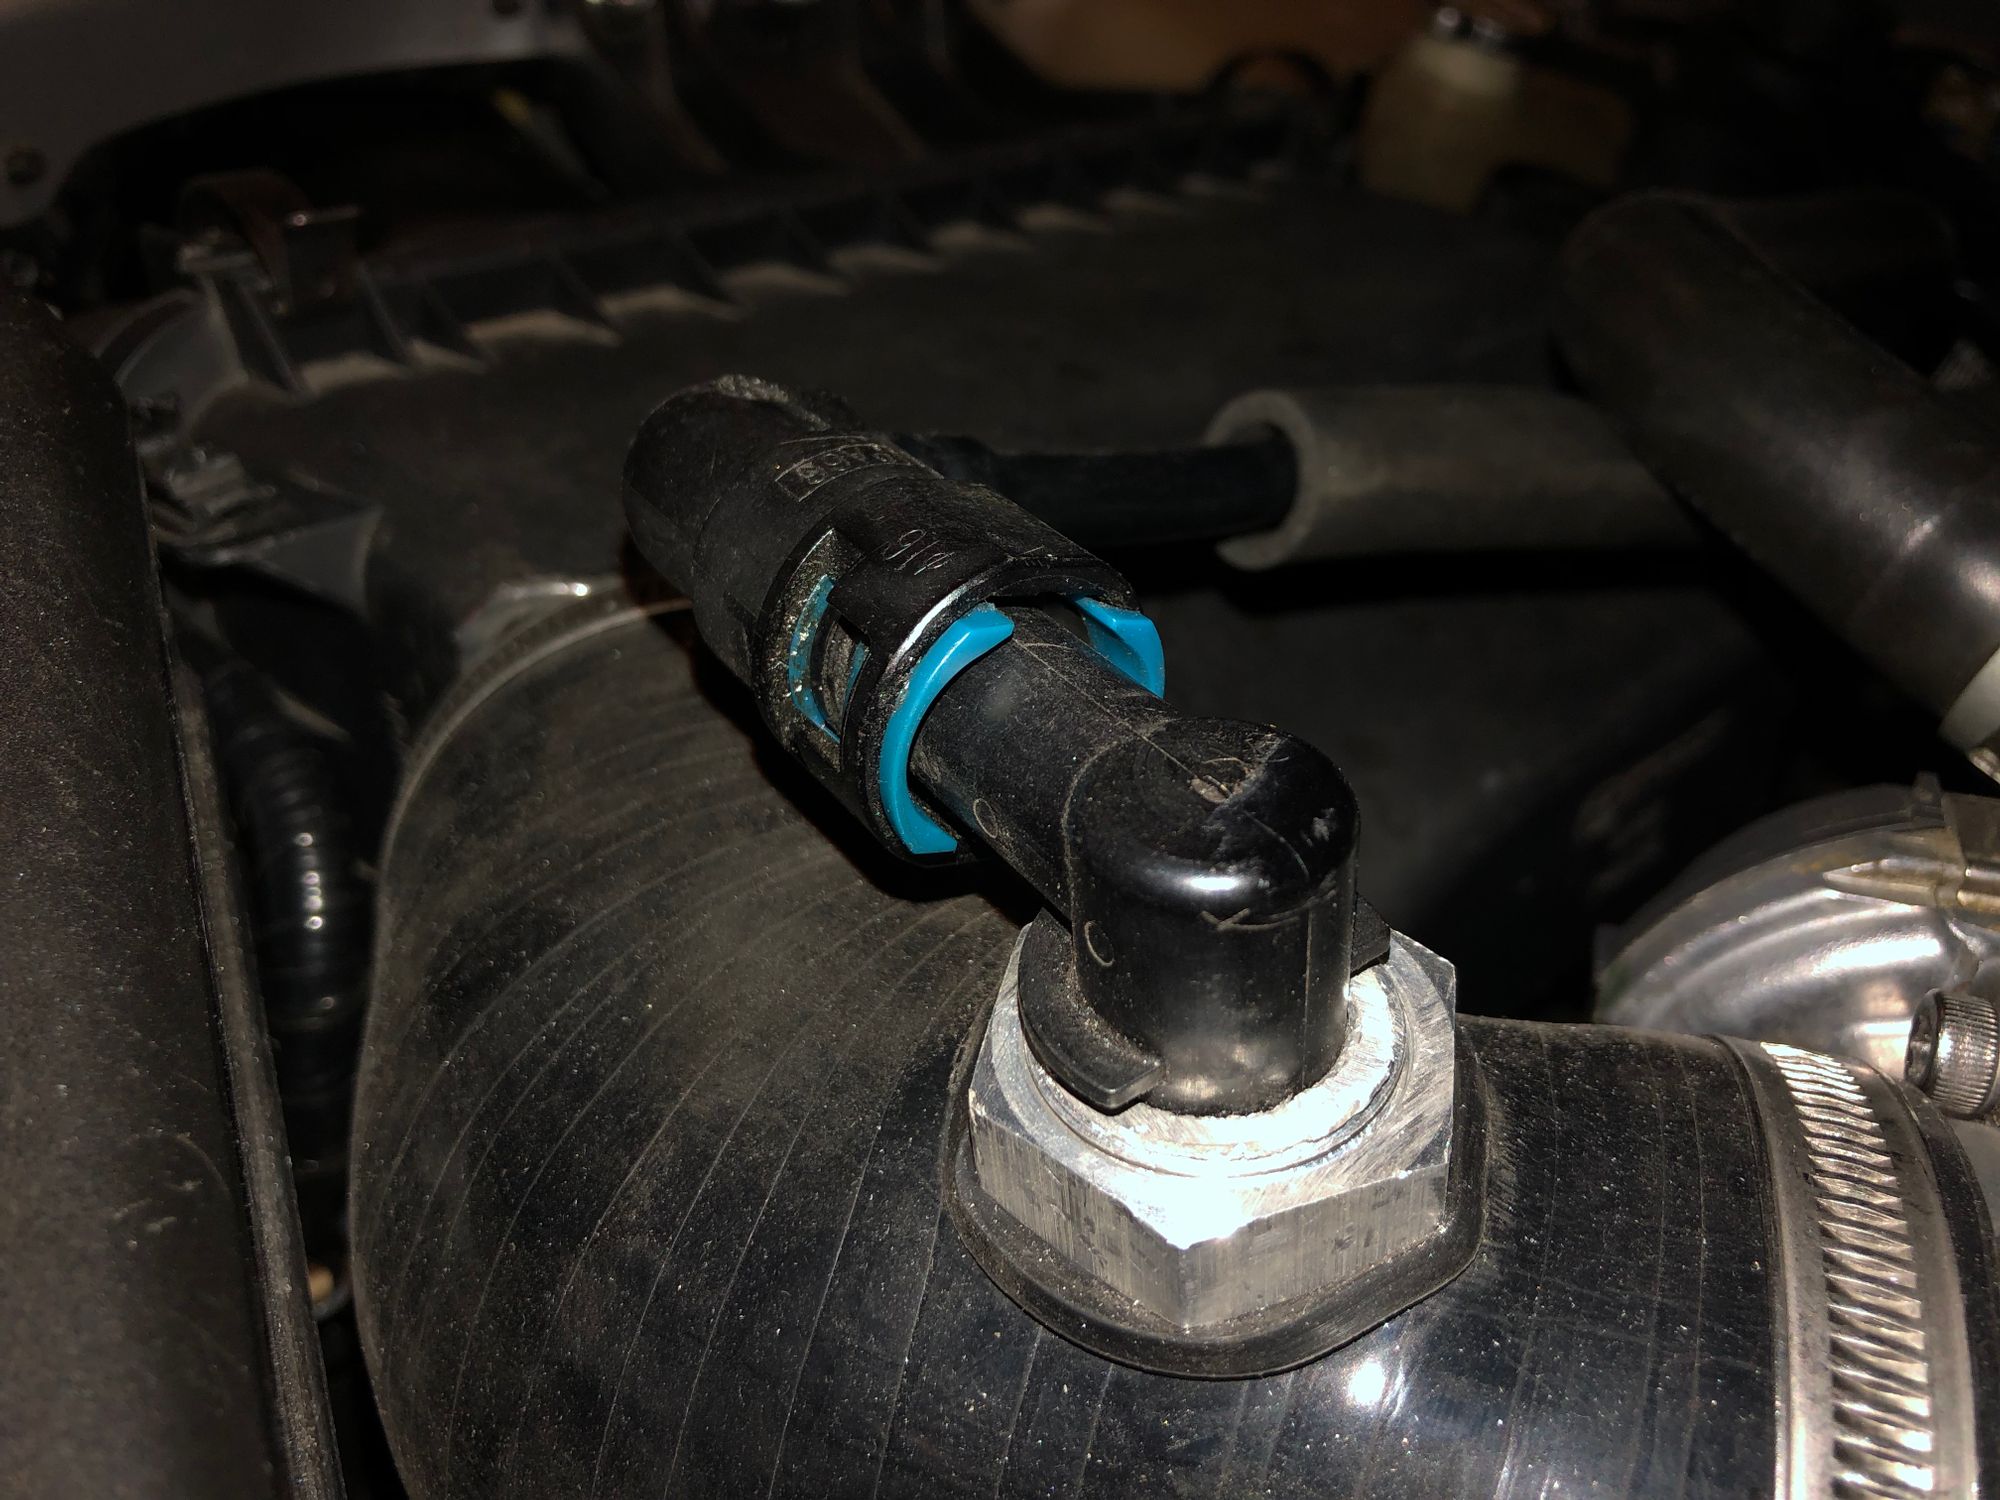
I was able to thread the 90 deg OEM plastic connector directly into the alu piece which made it possible to shorten the height and make it fit under the bonnet.
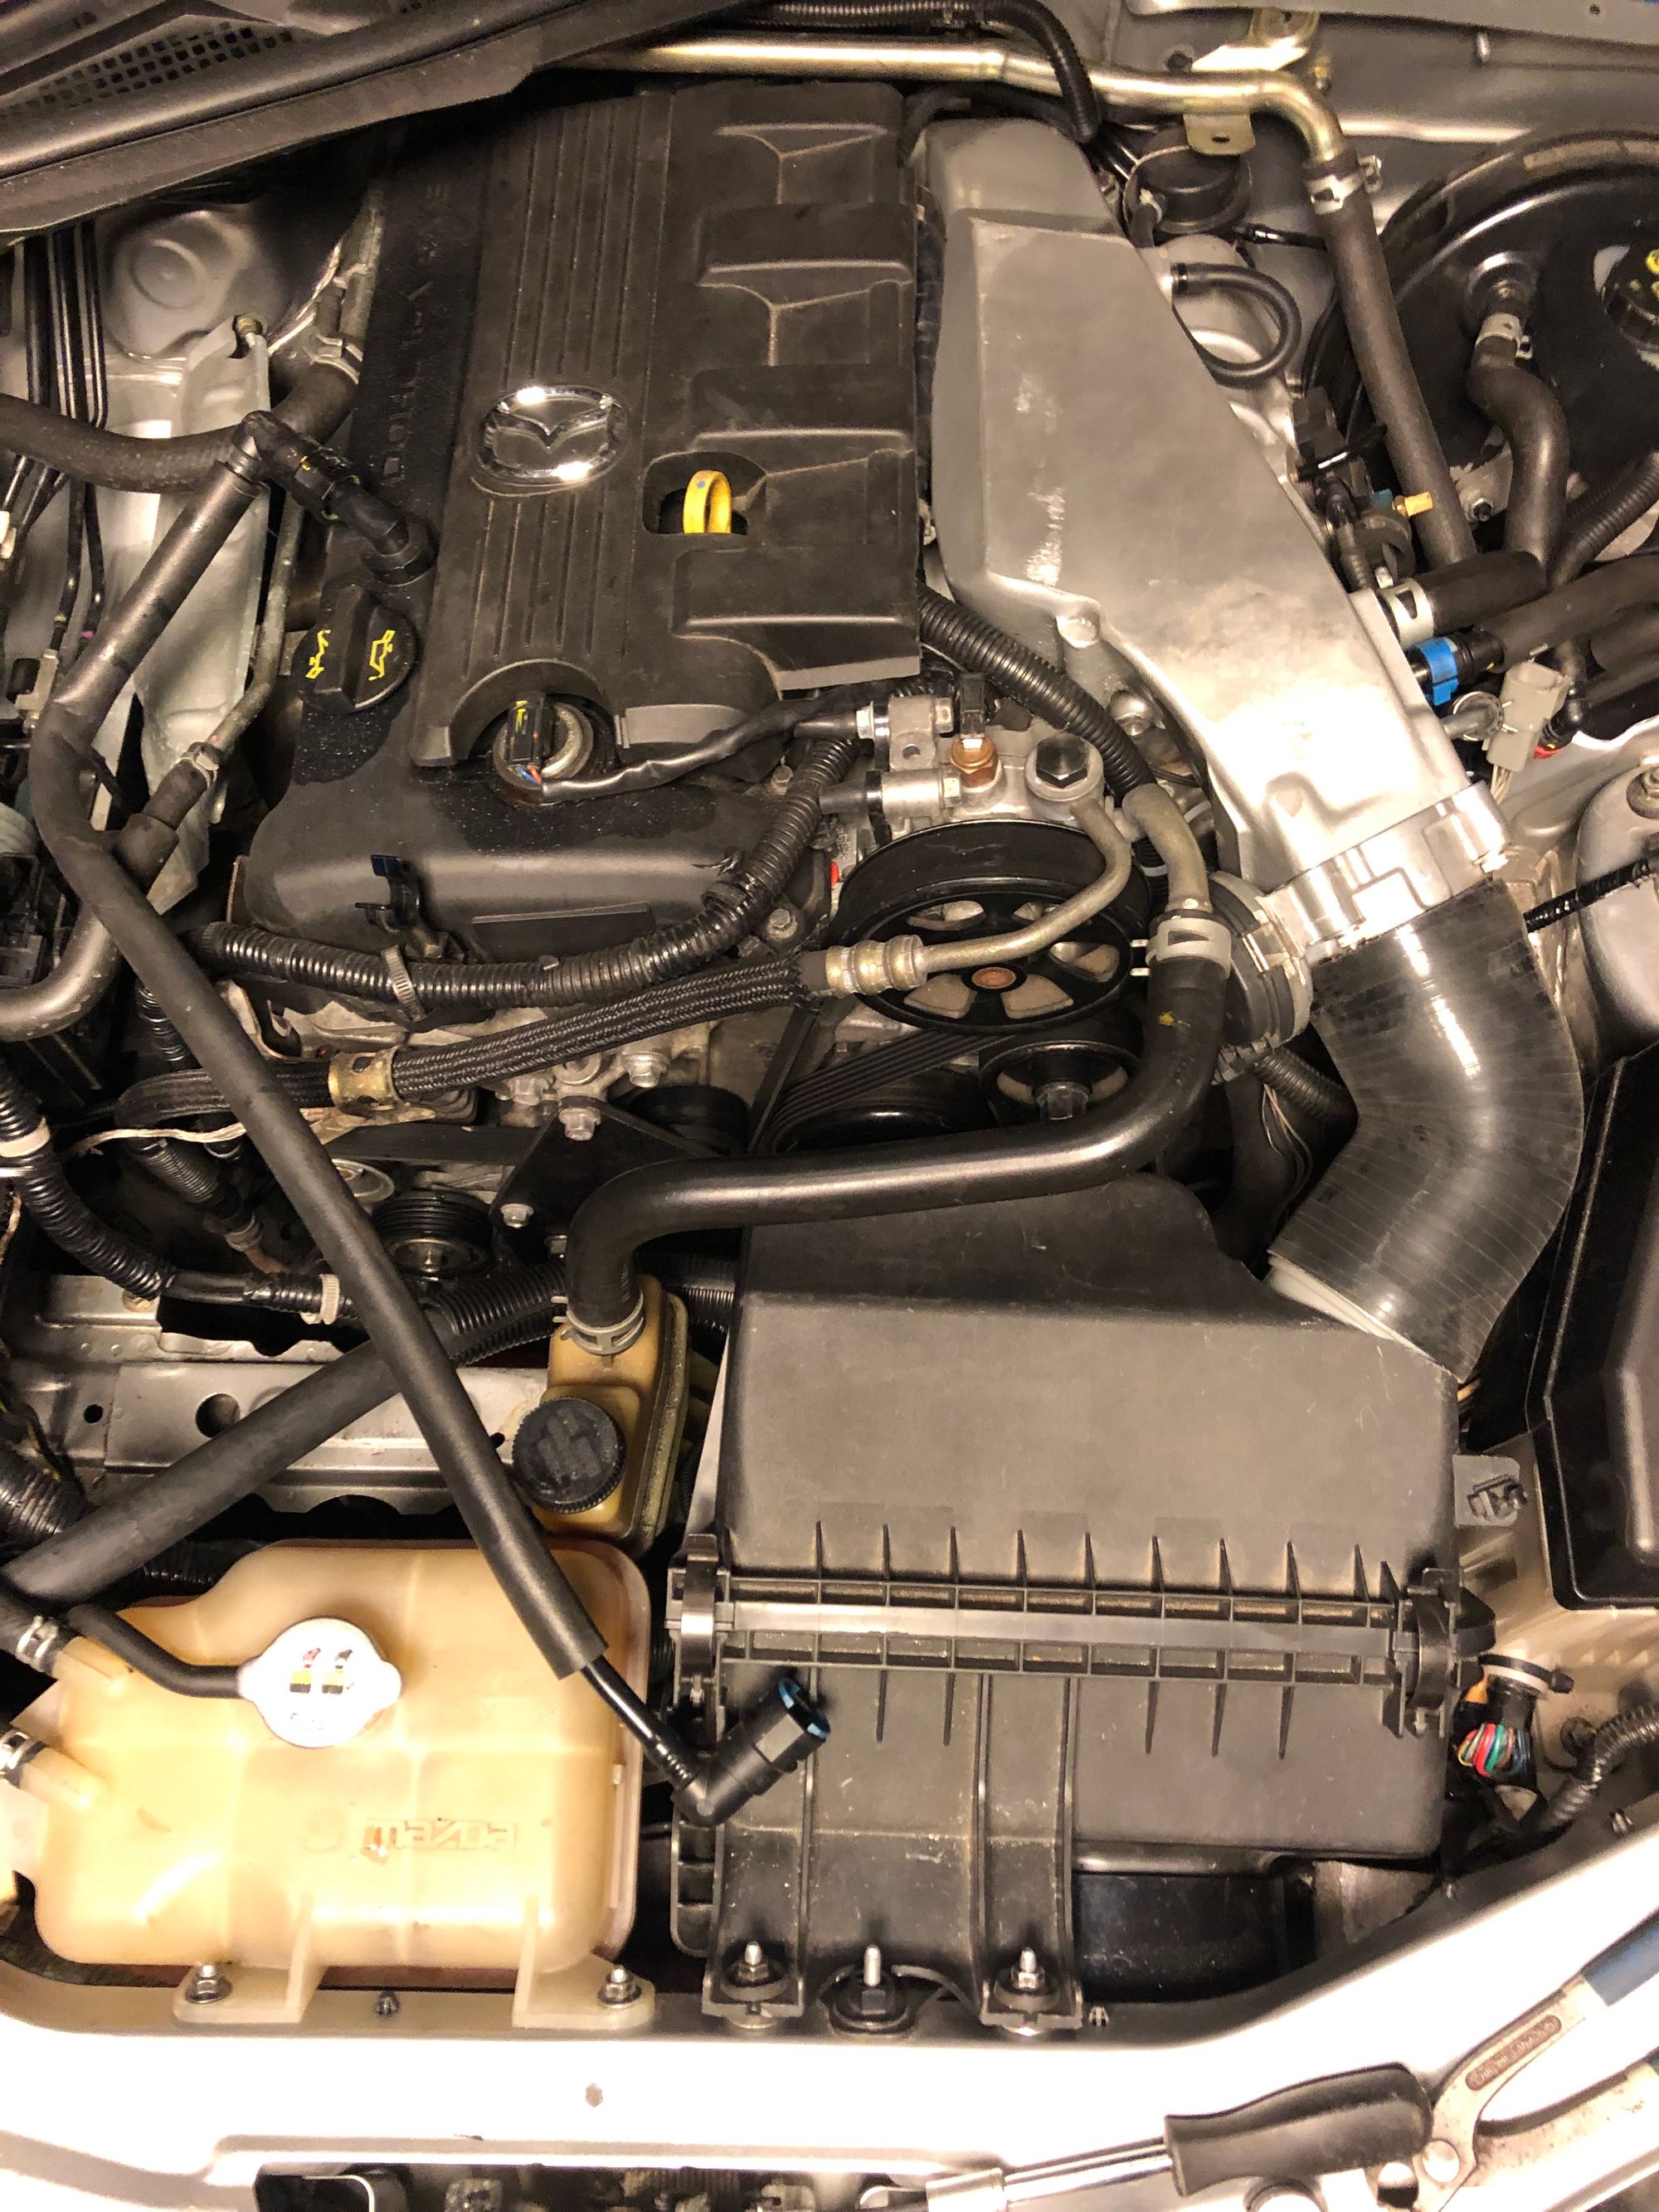
Finished setup. 3” all the way with fewer bends. I used Loctite 510 flange sealant between the TB and manifold.

Not tested on the track yet, but leaving for Nürburgring in a week.
It did fix the decel and tip-in problem so I’m already happy. Ideal would be that I can see consistent higher top speed at my local track which means the Jet Stream intake is cramming more air in and/or there is less restriction at the top end.
Comments