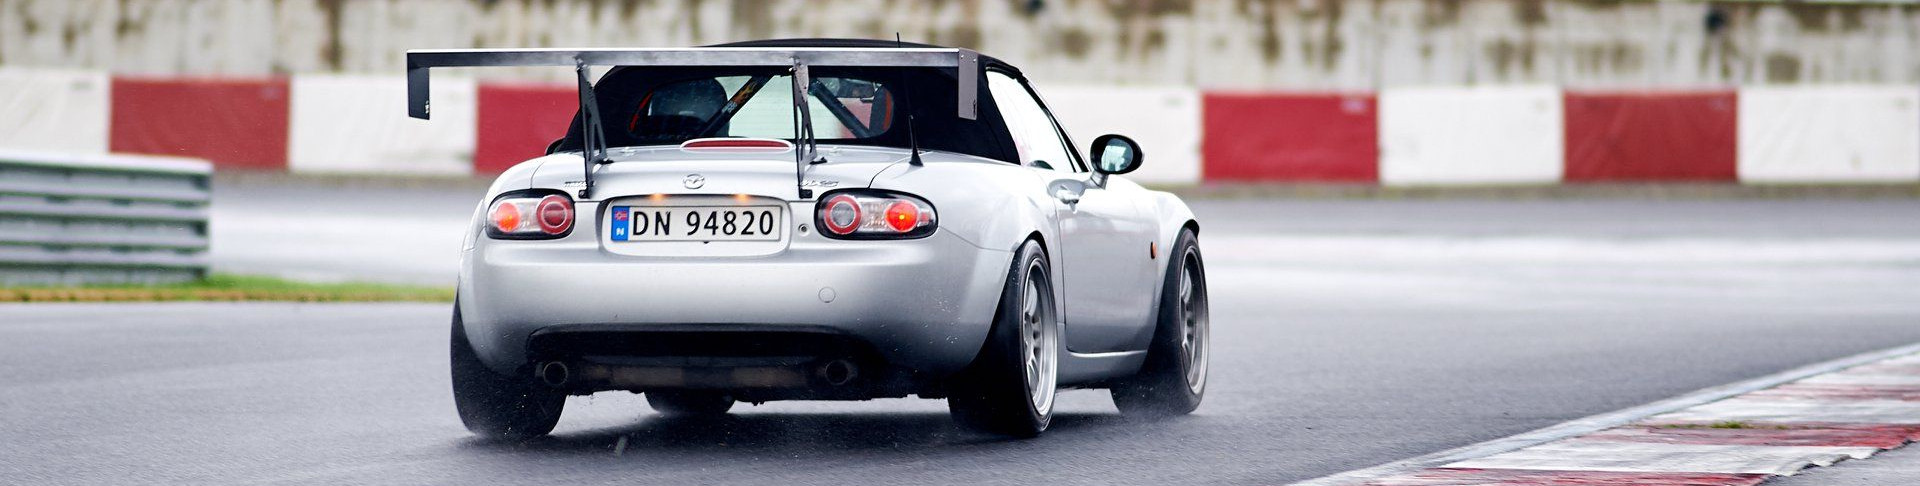
Installing a OS Giken limited slip differential into a MX5 NC
My 2006 NC 1.8 came with an open differential. Not a big problem while on the stock suspension but after upgrading to stiffer sway bars and the KW3 suspension it lost a lot of traction out of tight corners even with the stock 126hp 1.8 and Toyo R888. A softer rear bar could have made it better but would introduce more understeer.I had a Torsen type 2 diff on my Mazdaspeed MX-5 Turbo (MSM) but did not like it at all. With the stiffer RB bars on it still spun the inner wheel in tight corners and pretty much felt like a open diff. It felt like it didn’t have any preload at all.
The solution to all this is a clutch based Salisbury differential like the OS Giken (OSG). There are a couple of different options out there but as far as I know the OSG is considered to be the best of those available for the NC. You can read pretty much all you need to know about it including prepping in this article on motoiq.com and is what I based my diff configuration on
I ordered the Spec X which I think was a mistake. As far as I know the only difference between Spec S and X is that type X includes a custom setup from OSG. However my custom setup they recommended for my car was the same as for the standard Spec S 1.5 diff. $200 wasted and about 1 month of waiting before they shipped the package due to all kinds of excuses.
For reference, here are the options you can choose for the Spec X
1. Move - 1.1 way / 1.5 way / 2.0 way2. Cam angle - 18°-38° / 25°-45° / 38°-38° / 45°-45°
3. Rock timing - fast or late than standard
4. Initial torque 8k/12k/14k
Standard configuration for Spec S 1.5 way:
1. Move - 1.5 way
2. Cam angle - 18°-38°
3. Rock timing - standard
4. Initial torque 8k
Buy the Spec S …
I would rate this job as pretty involving. Lots of wrenching to get the carrier out/in. A bit of reading and research to not furck up the install/parts. It also requires some special tools and measuring equipment. Since the lash is adjusted by shims which must be ordered after the new diff is installed this is a job that can take several days. Some pics with comments during the install. There are some “techniques” and use of tools (or lack of) that I would not necessary recommend :)
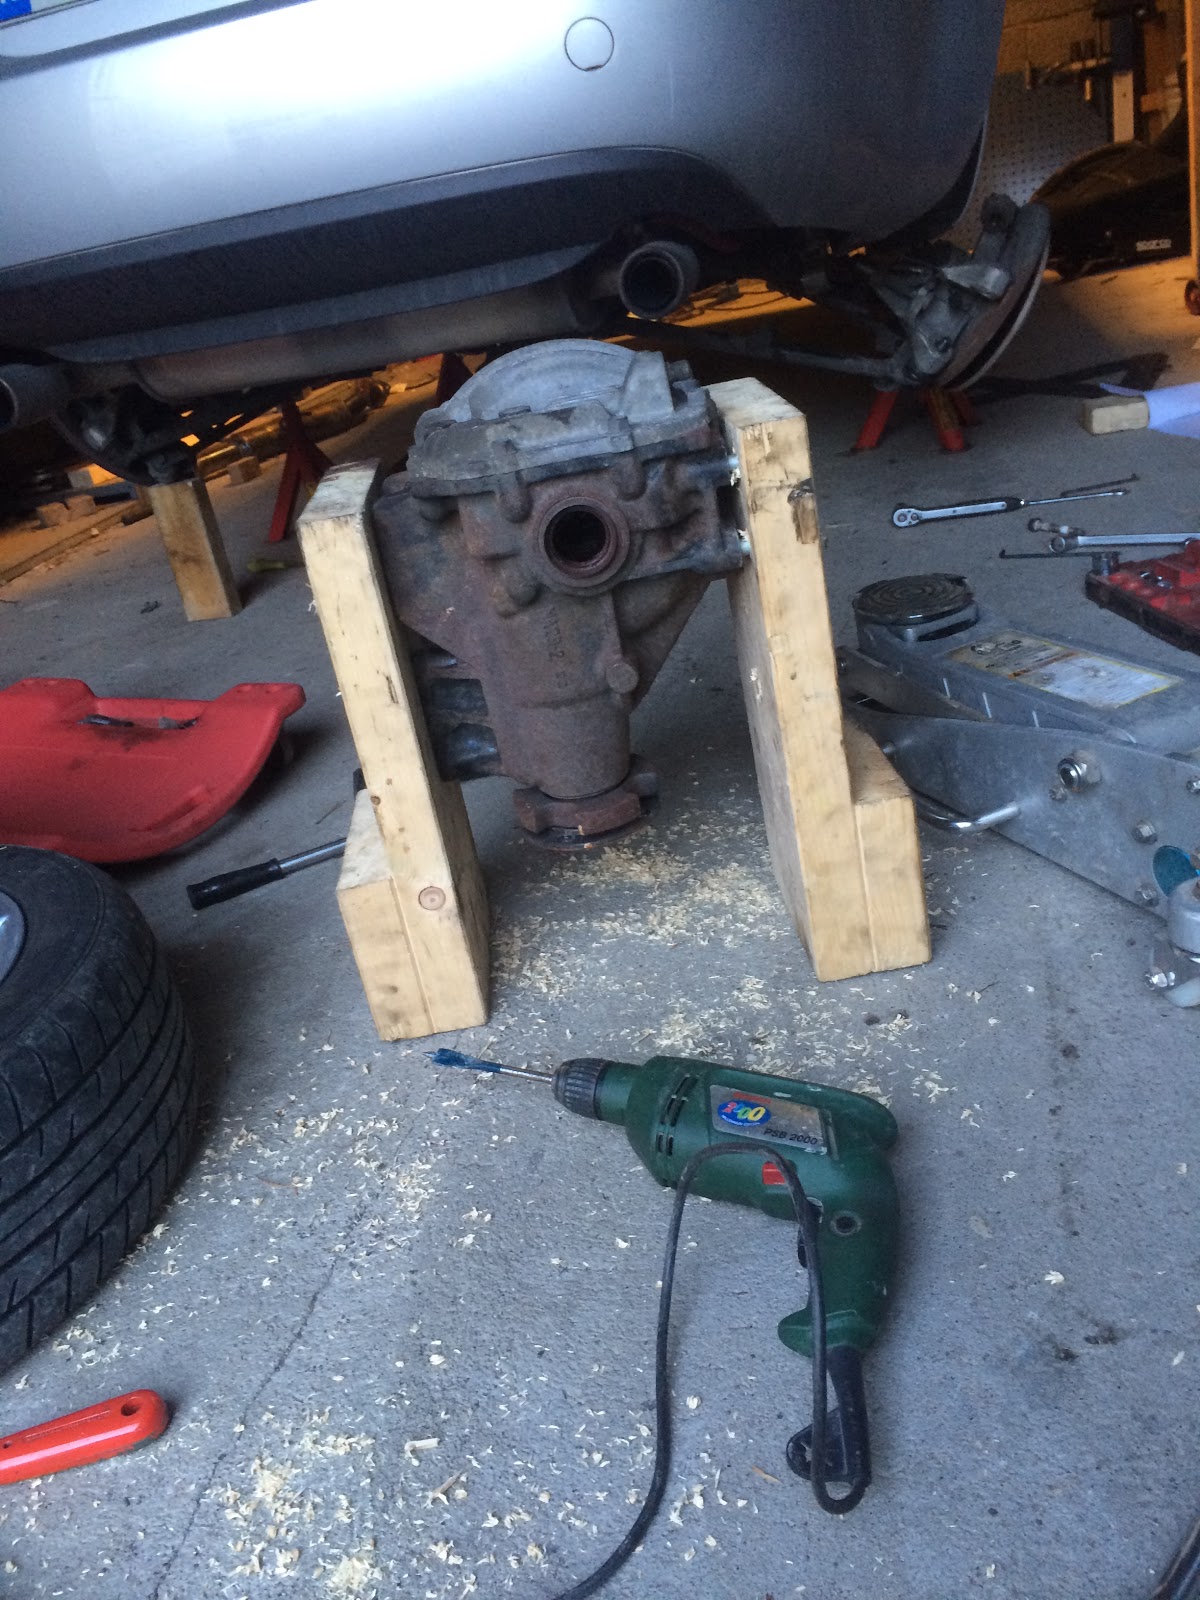
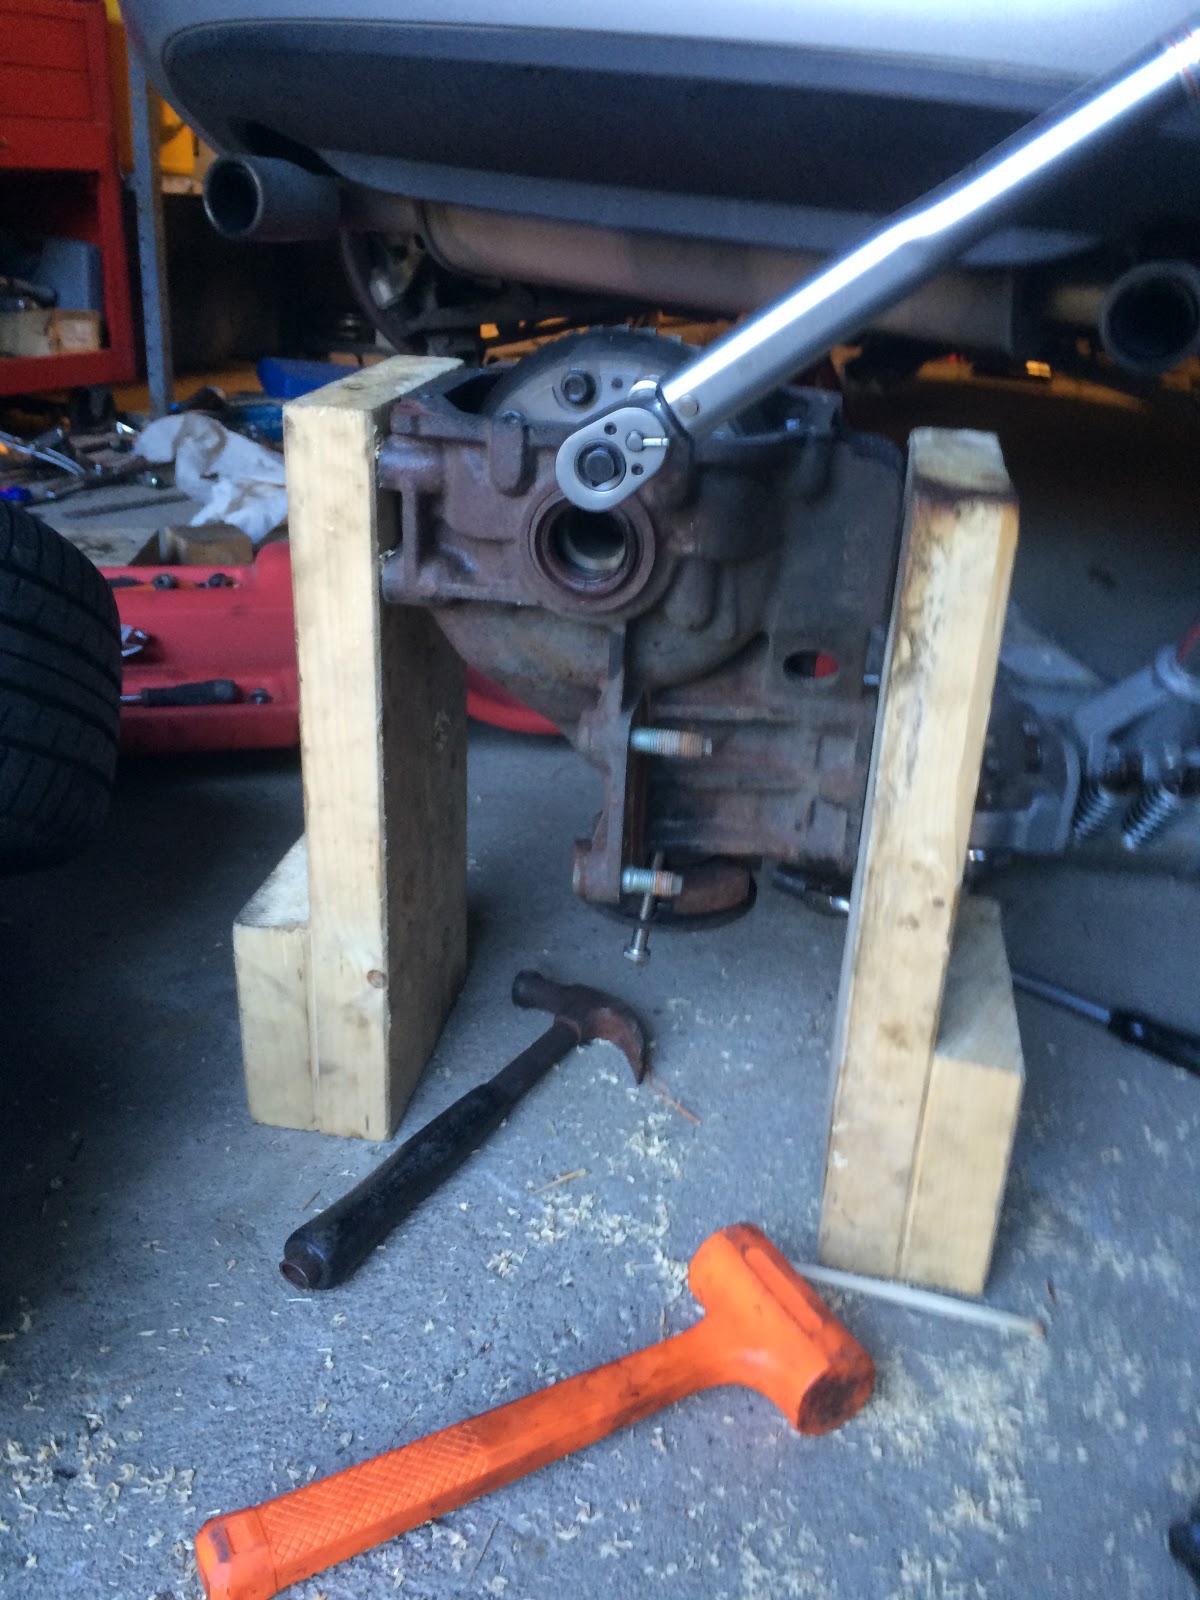
As I mentioned, getting the diff carrier out was a lot of work. A lift would have made it easier. As usual I tried to be smart and not look in the FSM when I removed the left side axle. Right side went a lot easier after some reading… If I had planned ahead I would have changed the carrier bushings although they looked fine after 9 years.
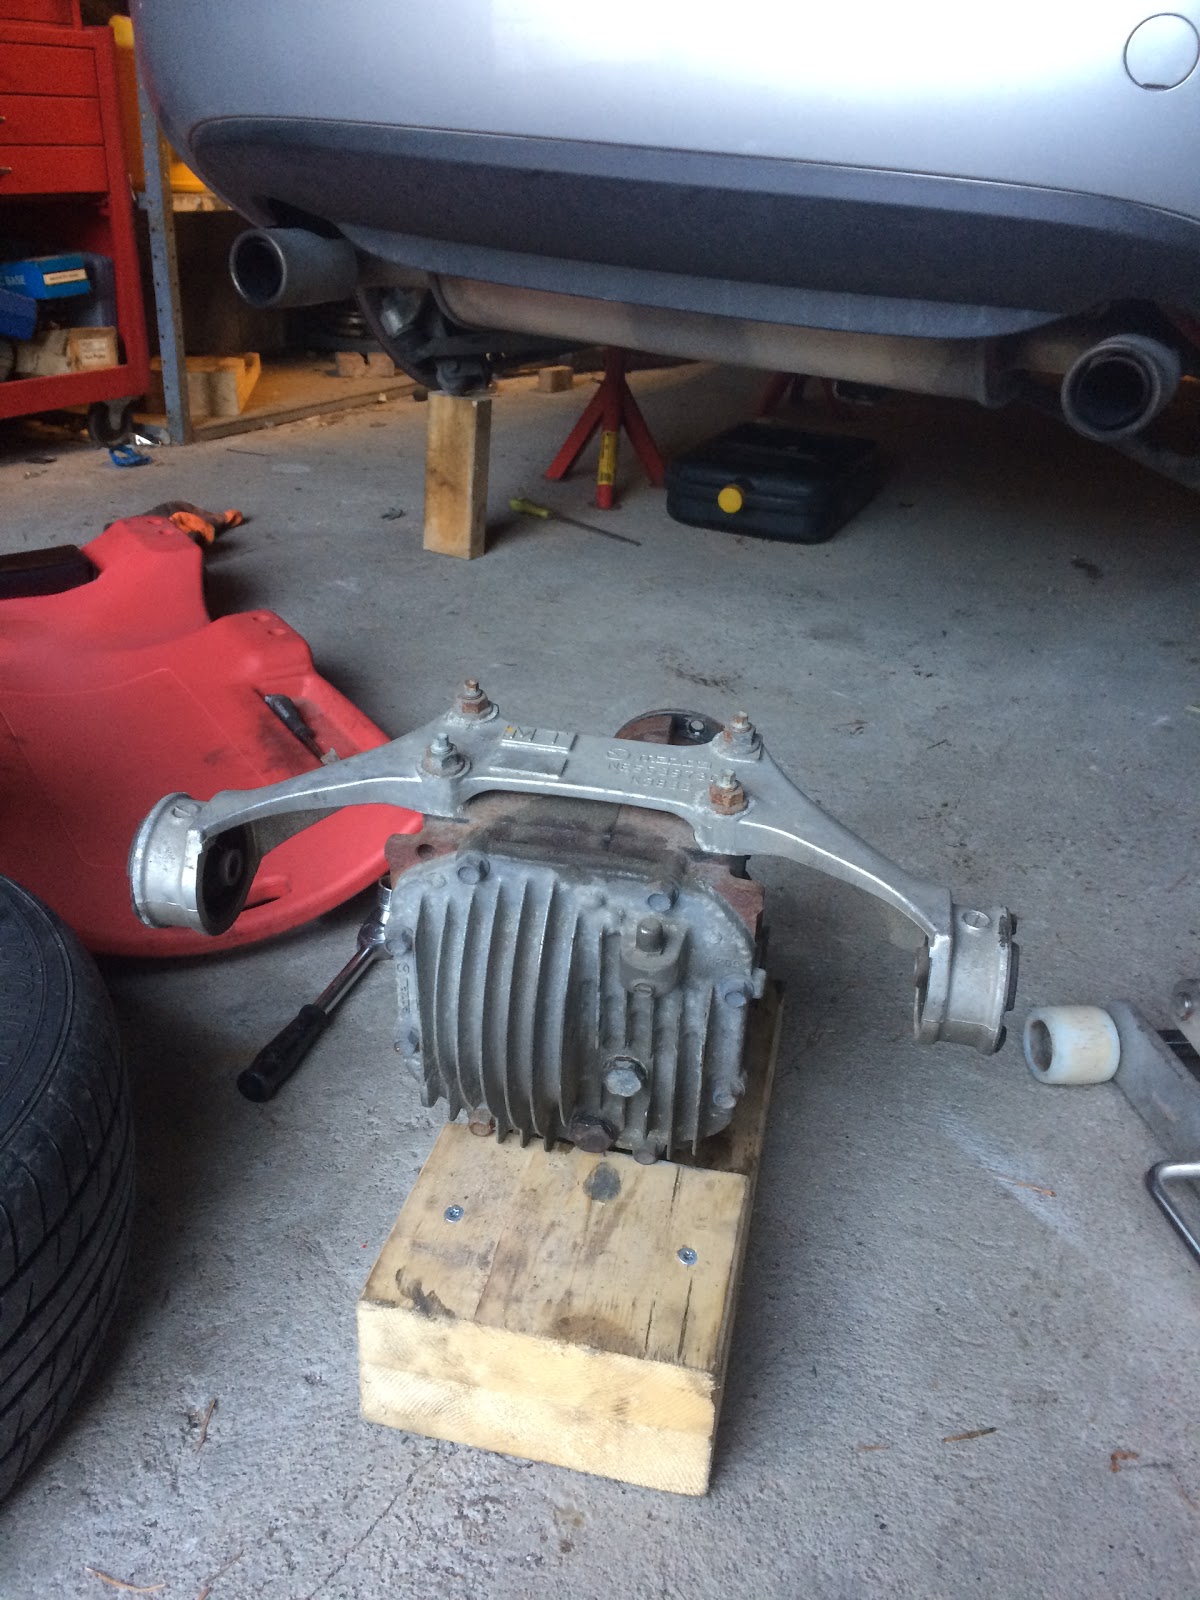
I made some super sexy diff stands out of my home made wheel ramps. PRO.
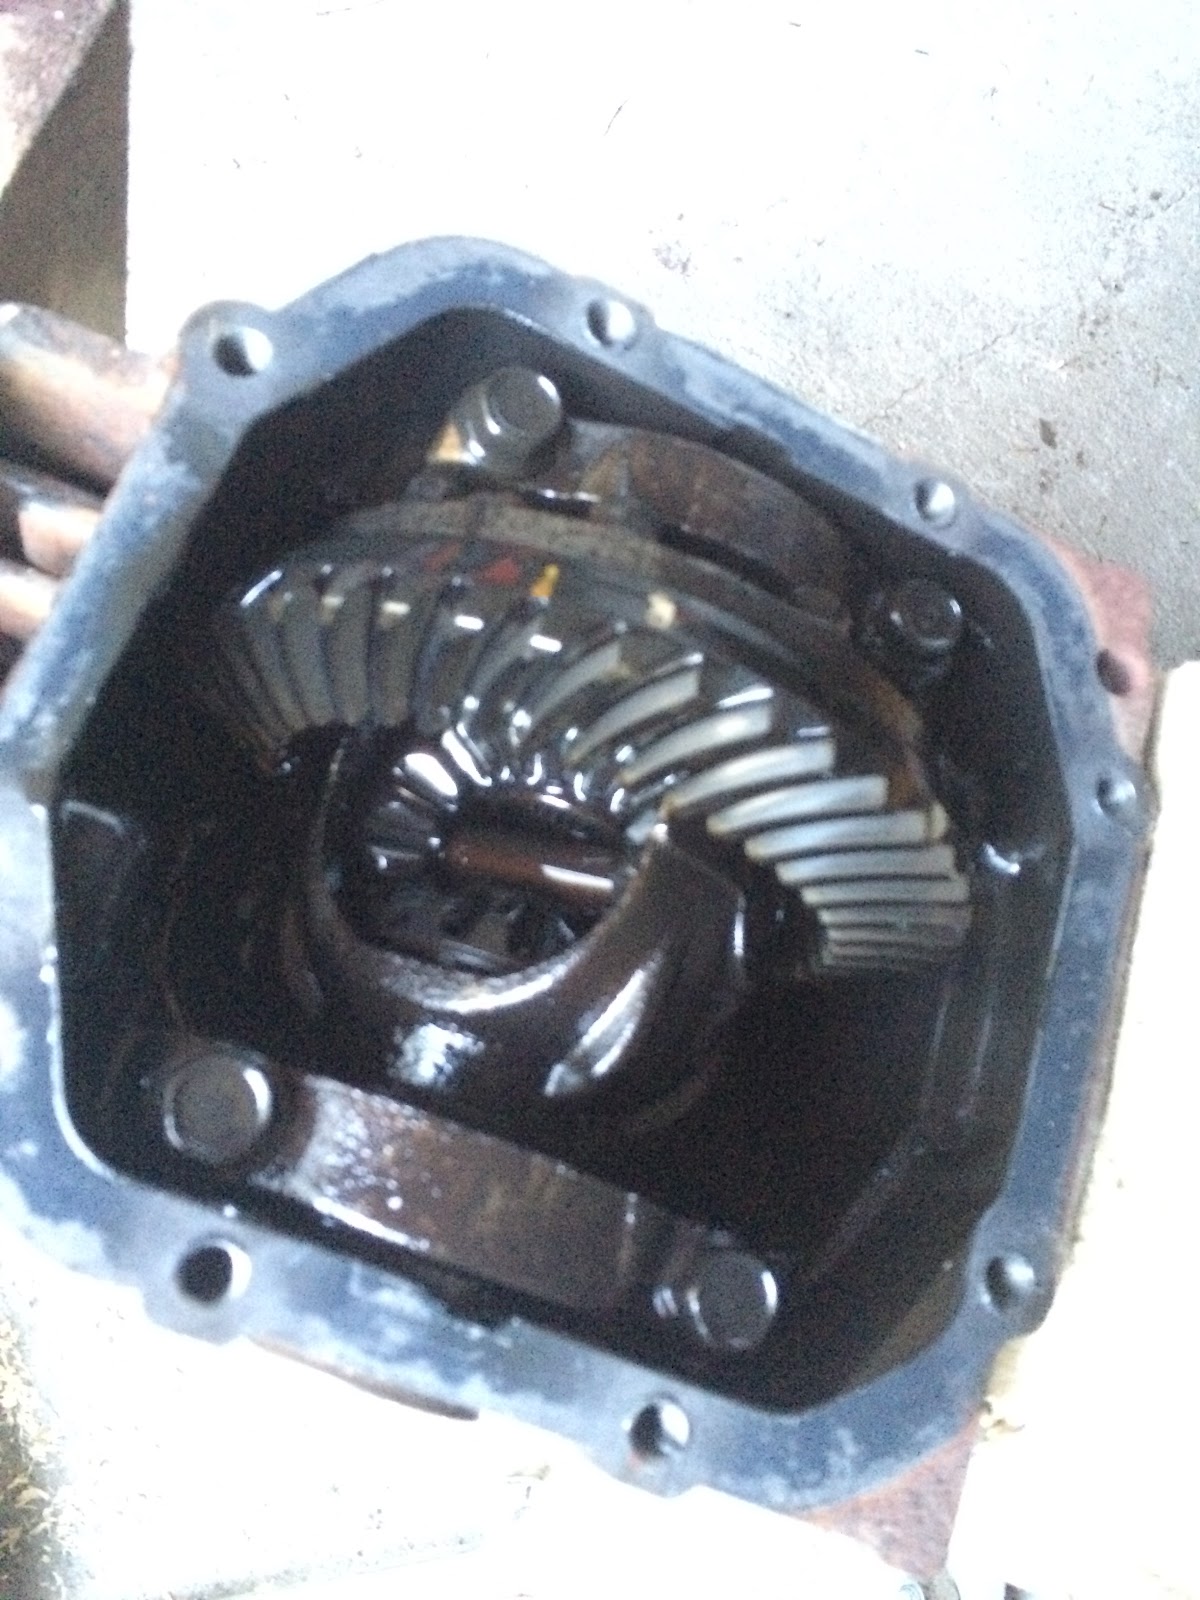
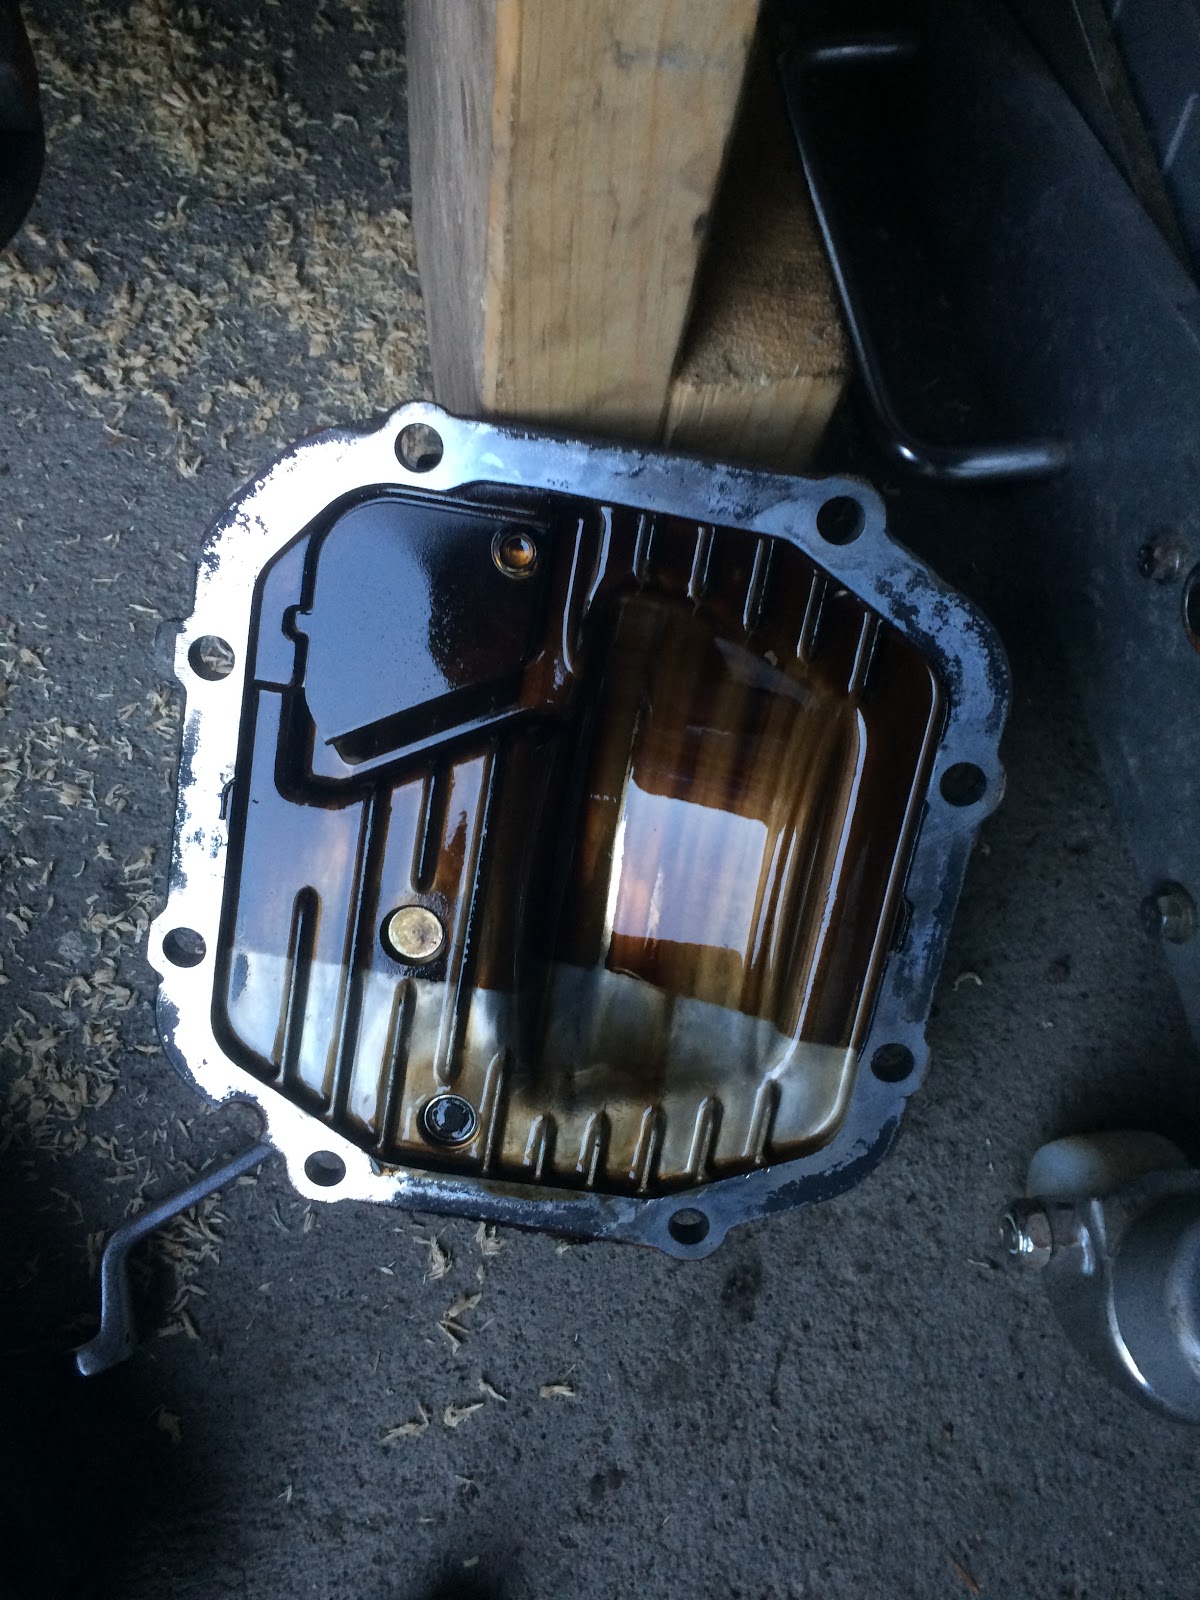
Stock diff looked ok. Oil was dark but still looked clean. Probably from 2006.
 |
 |
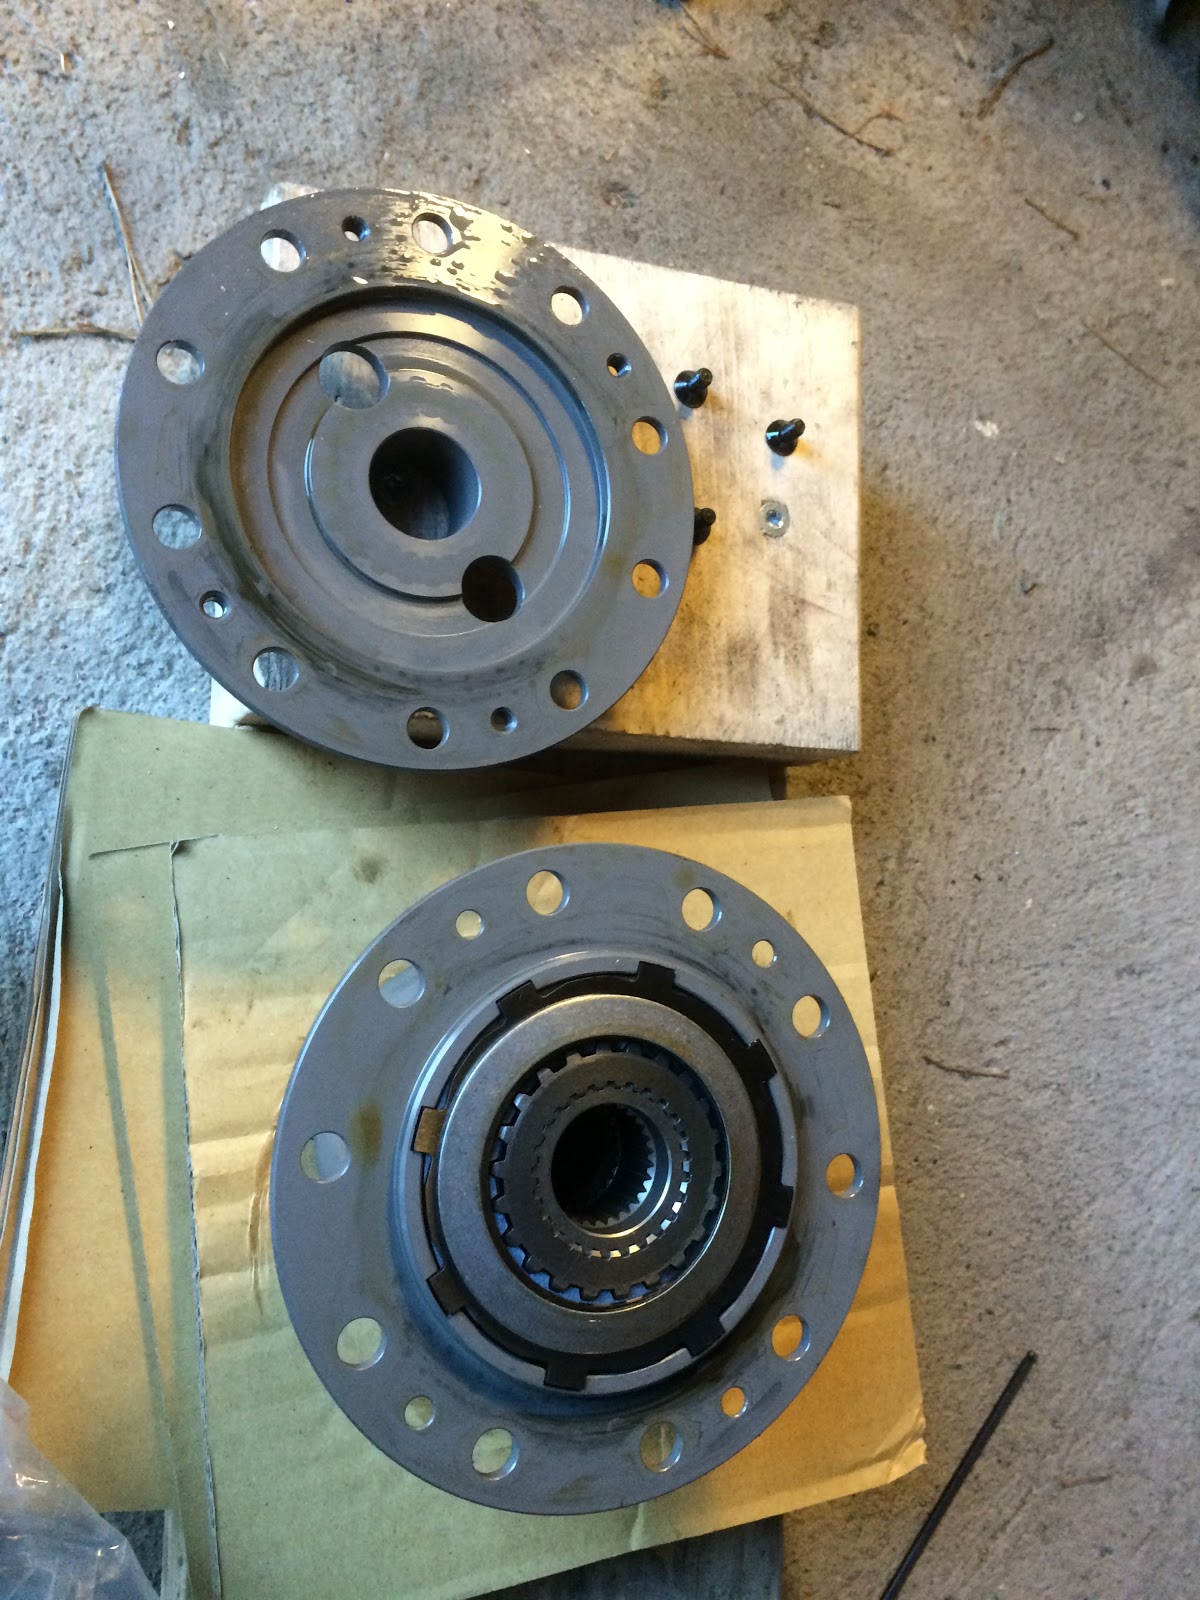
OSG in all its glory. The reason I took it apart was to disable a pair of discs on each side as 12 pairs of disc are a bit overkill for a little MX-5 with 200 whp and semi slicks. Thanks to IND over at m.net for valuable feedback on this topic as he has tested it stock and both 1 and 2 set of discs disabled. I decided to go with one set disabled as I mainly track my car nowadays.
WARNING! Make sure you put the center section containing the spider gears back into the housing the correct way so that the cams acting on the discs is not switched during accel, decel.
 |
 |
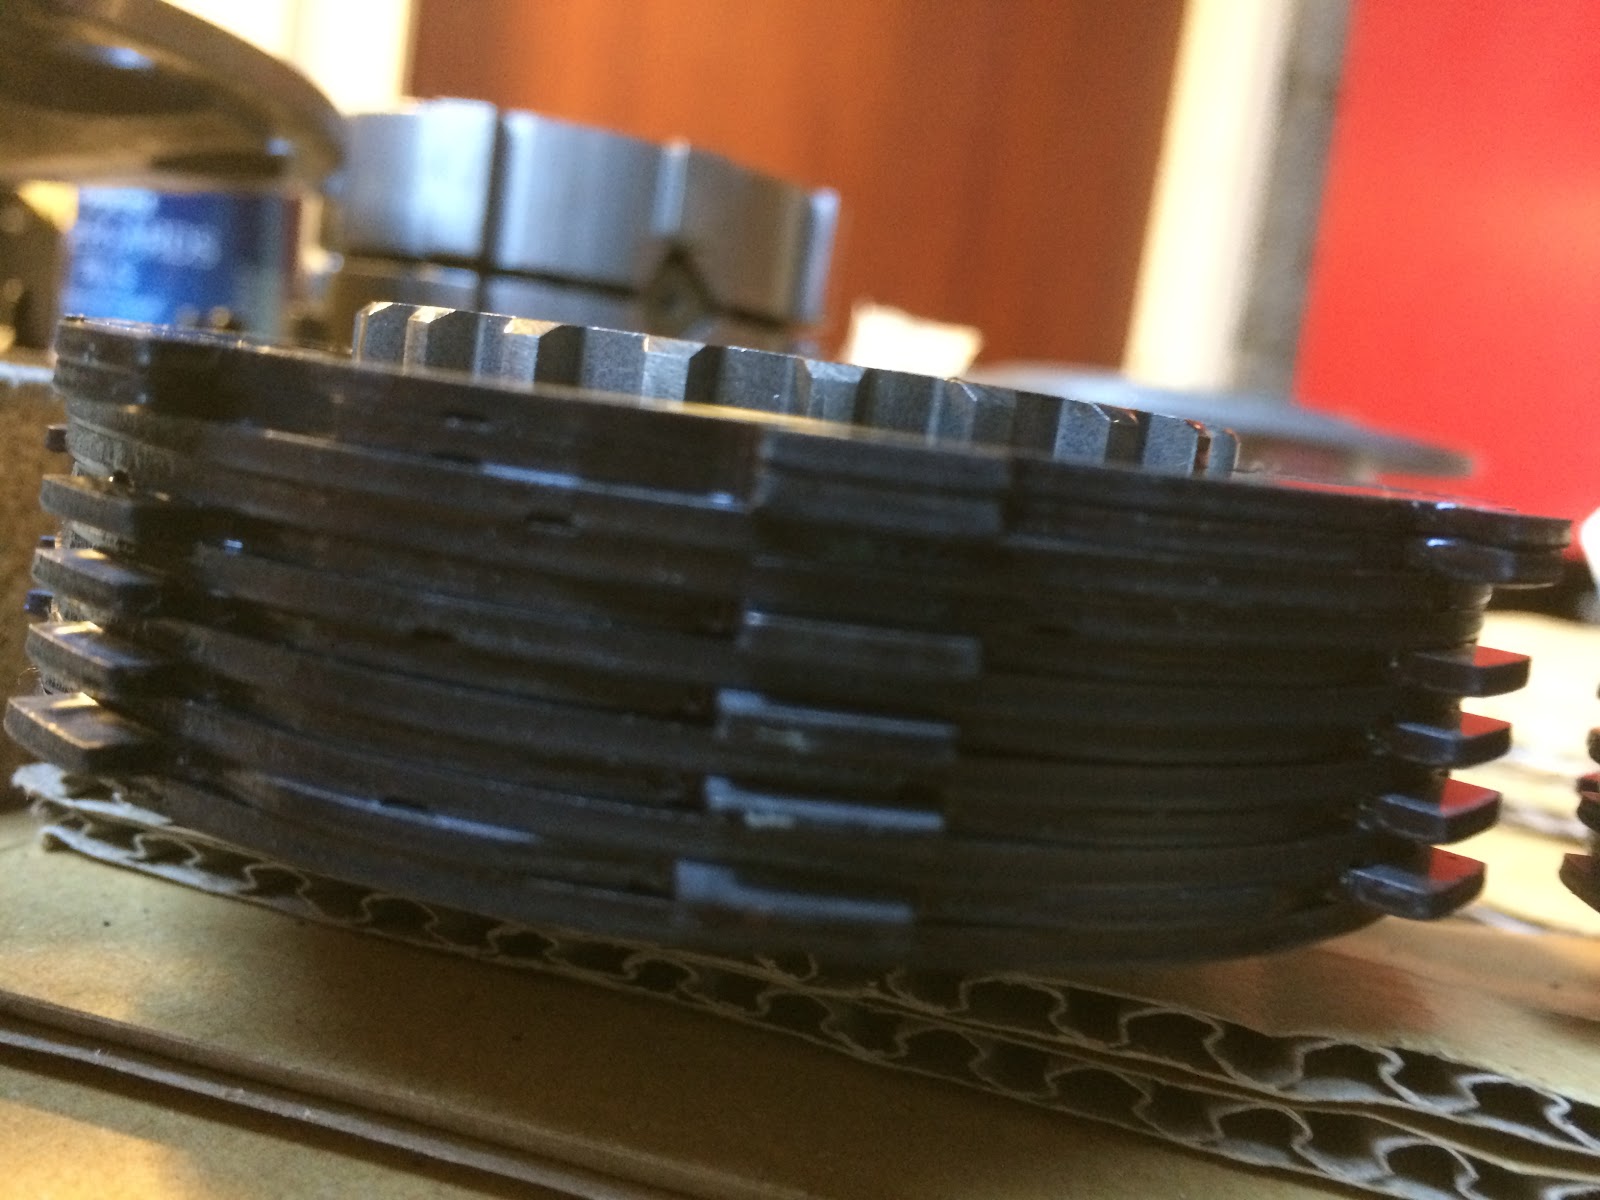
This is how it looks when you disable one set. Same thing on the other side.
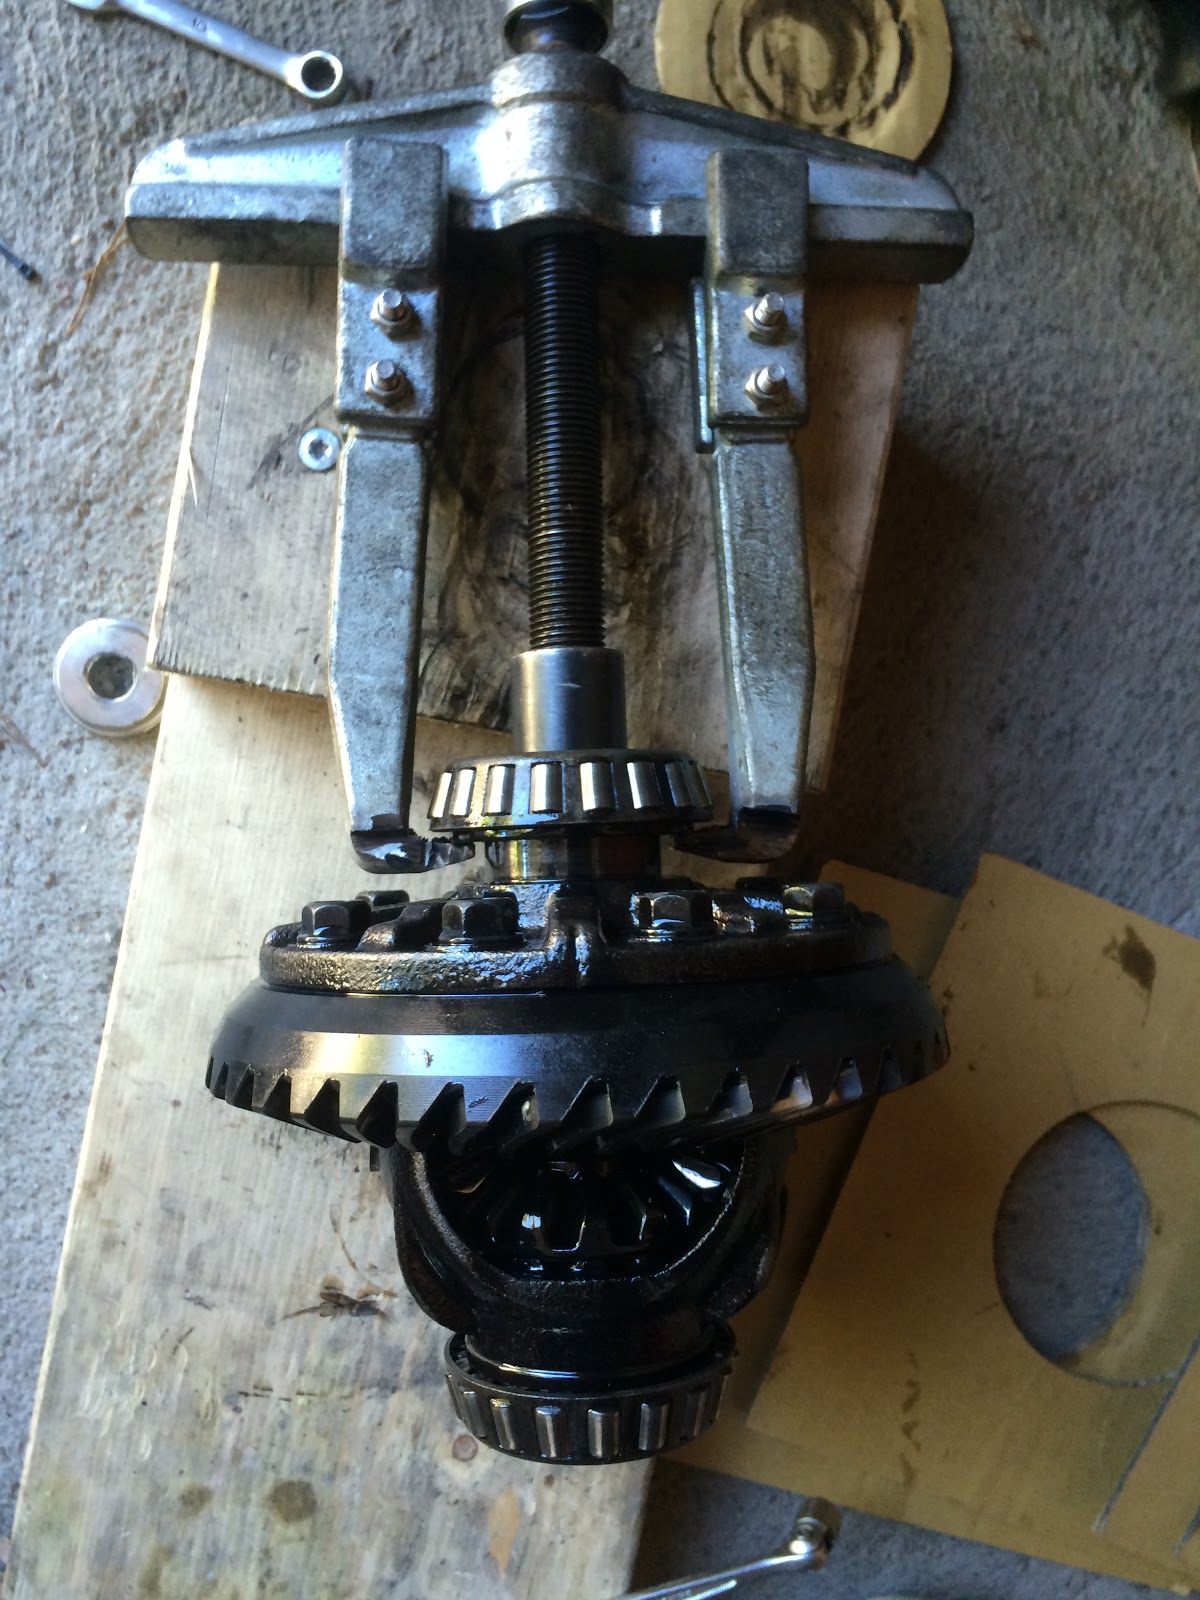
I reused the bearings. FSM says it’s ok. They need to be pulled off without destroying them.
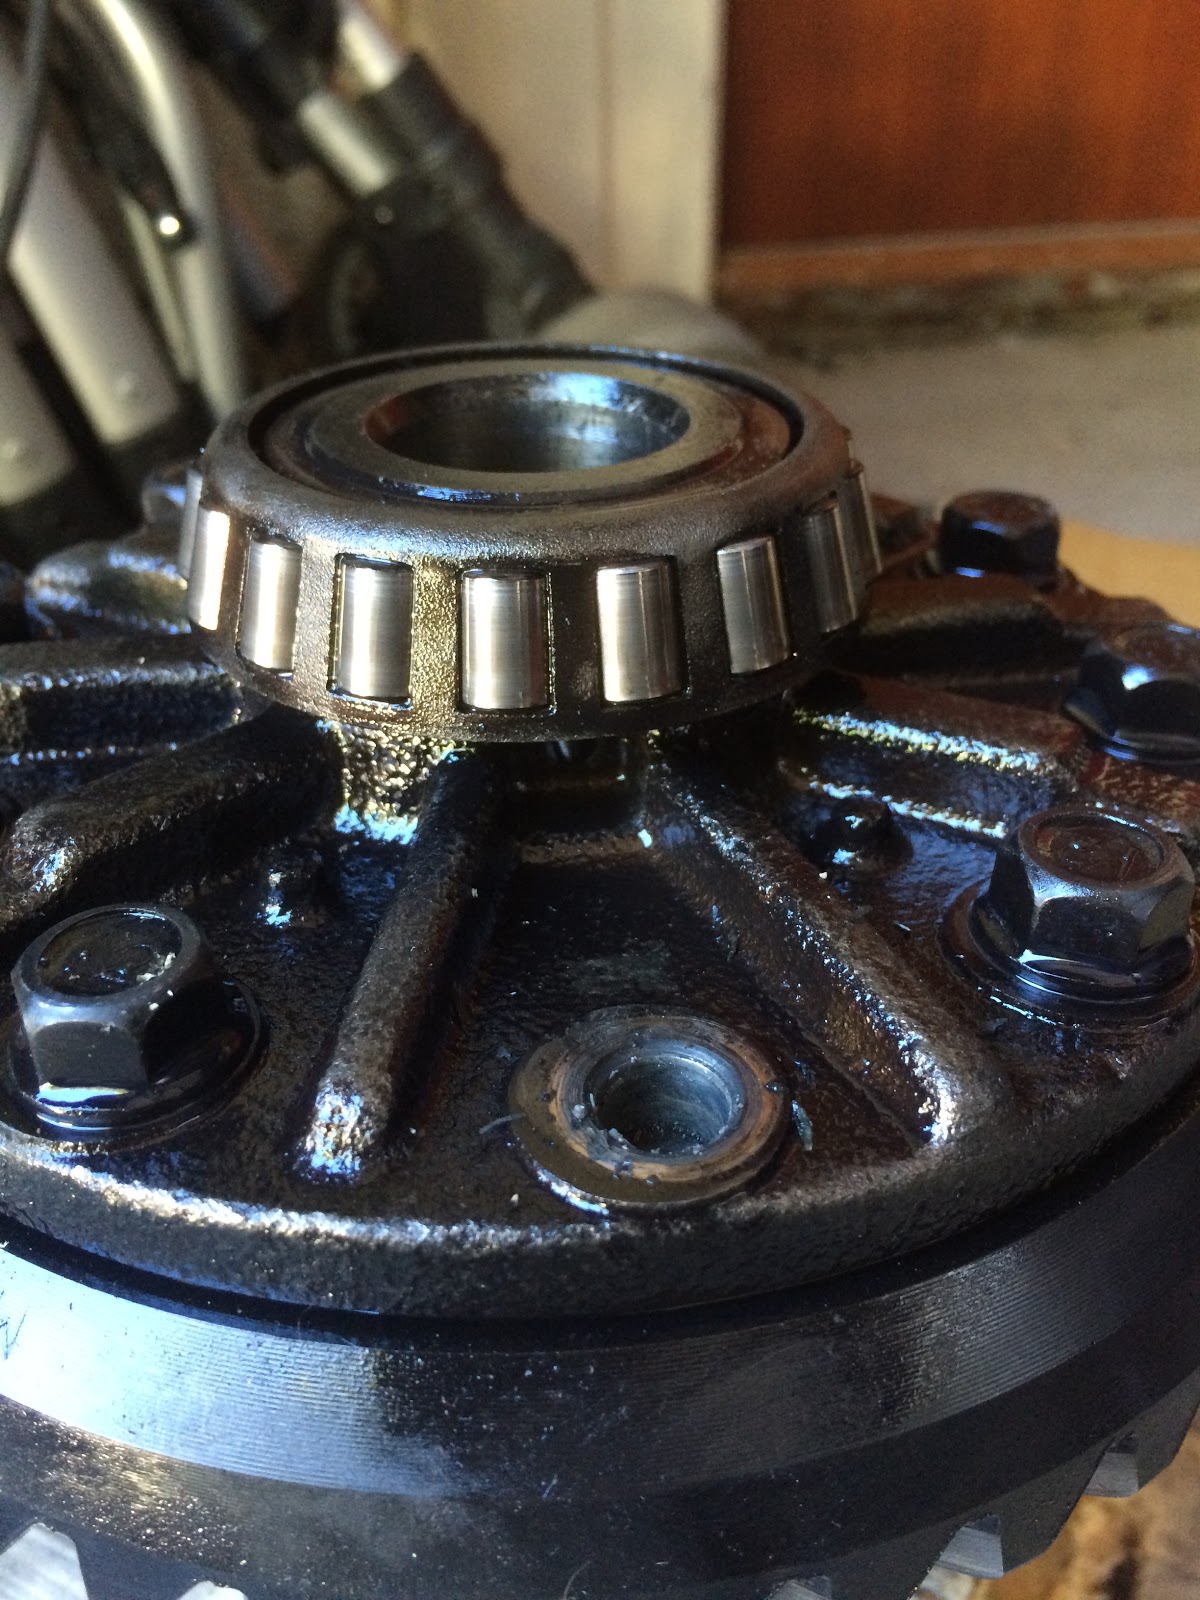
I managed to do this with a cheap Biltema.no puller after some modification to the width of the tabs. I also used a socket that fit into axle opening to center the tool.
 |
 |
 |
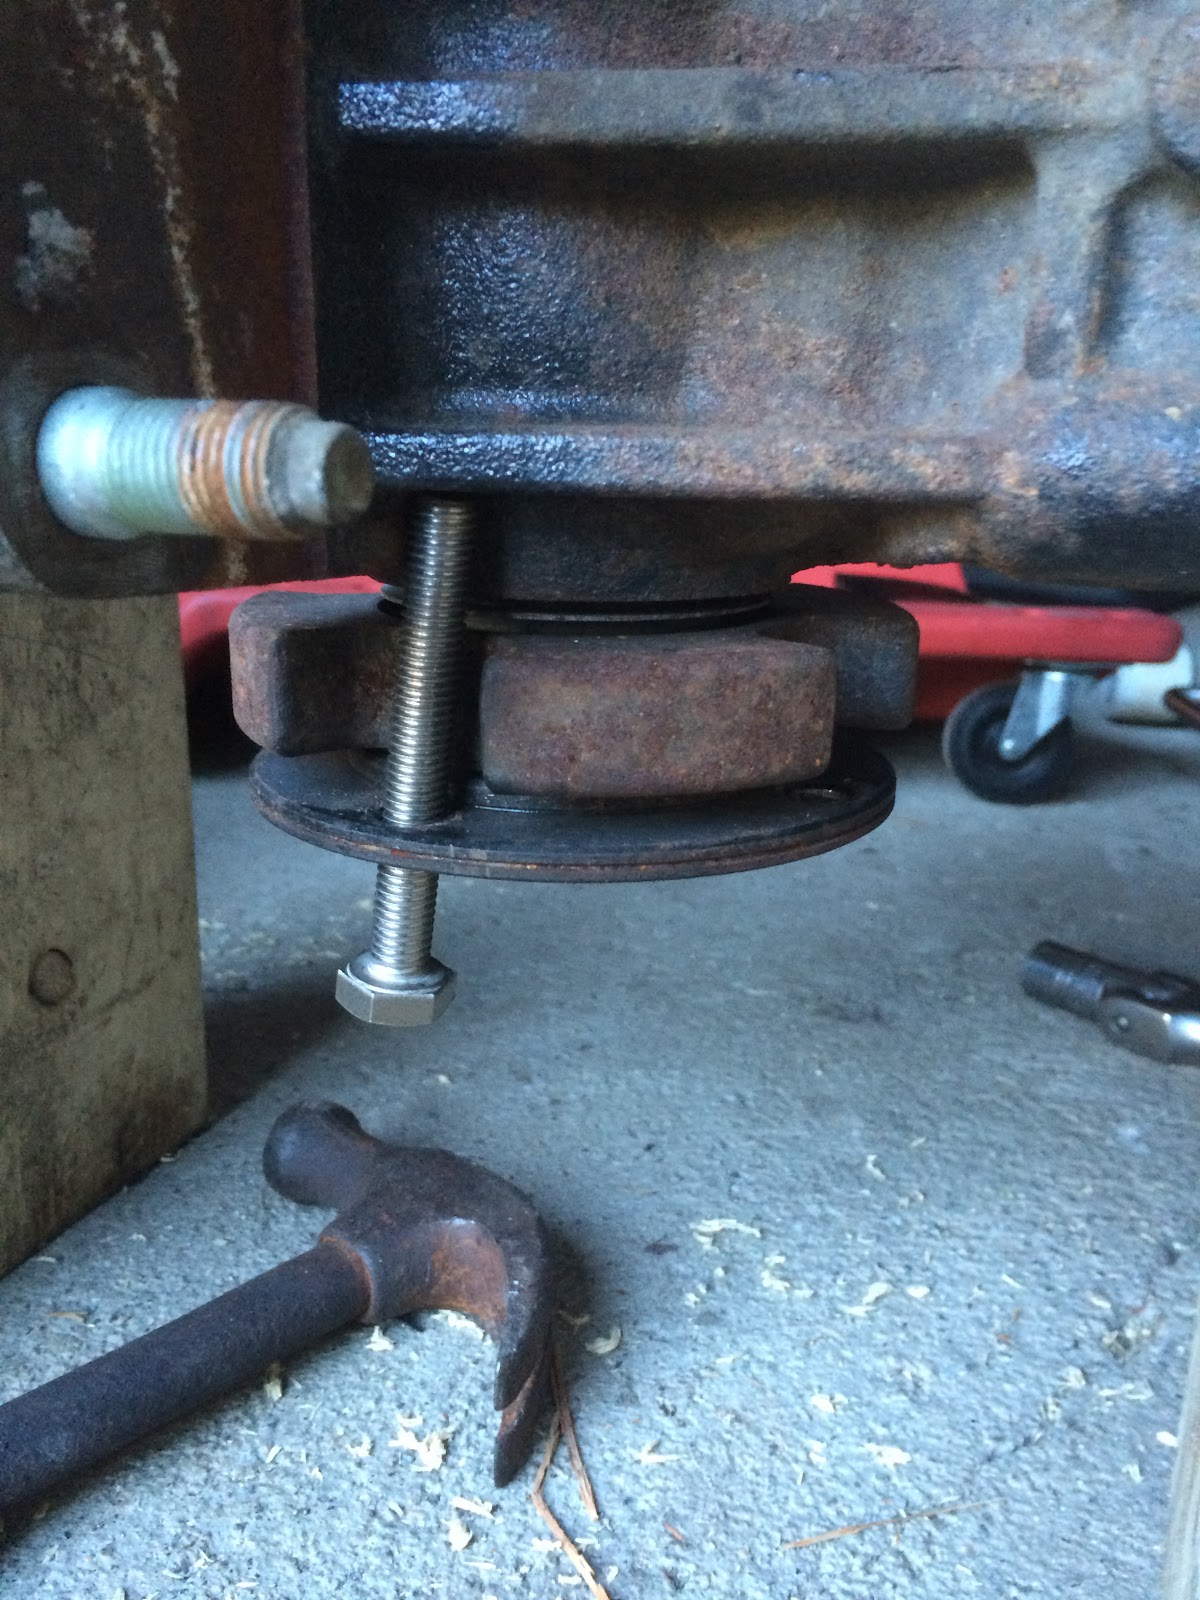
Since I didn’t have a press I just found a suitable socket and gently used my beloved BFH. Don’t do this at home kids.

Fitting the ring gear. I used red locktite both on the bolts and some drops on the backdise of the gear as described in the FSM.
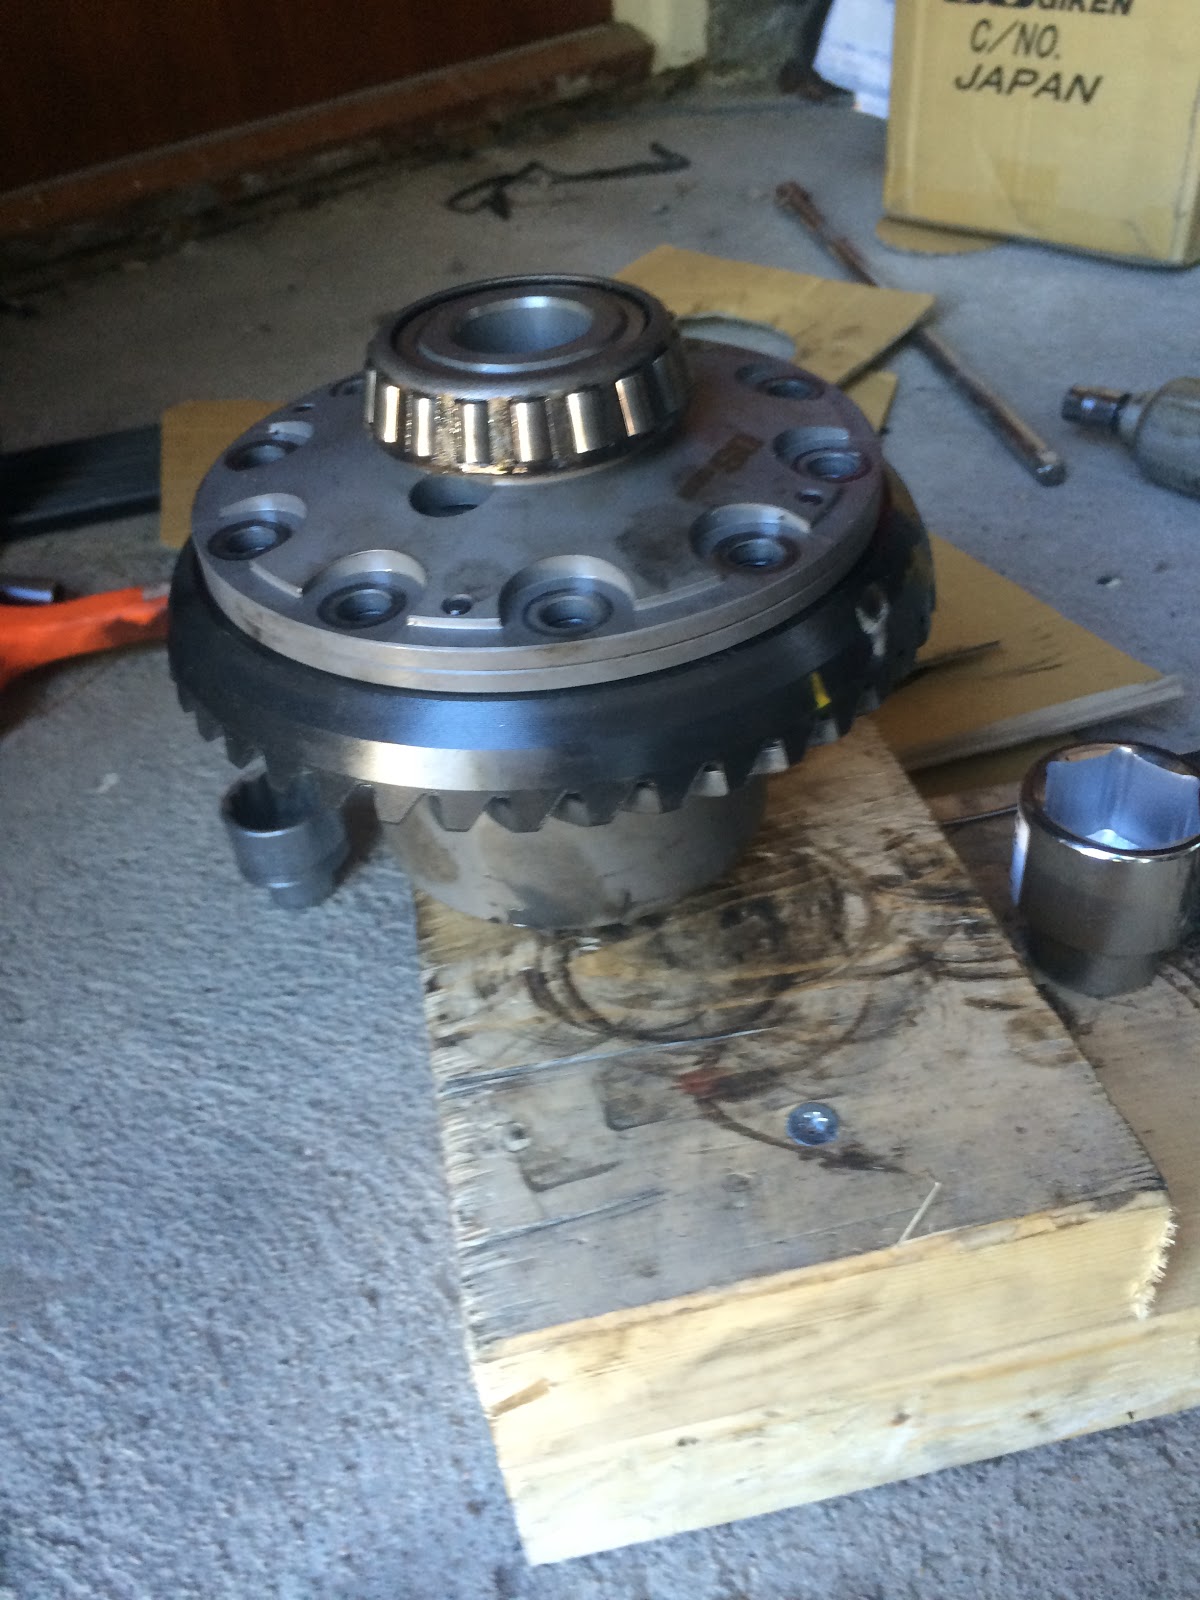
Pic of the carrier before install. The pinion does not need shimming as the change is only sideways when reusing the same gears.

I used a bolt to lock the pinion when torquing the ring gear bolts.
 |
 |
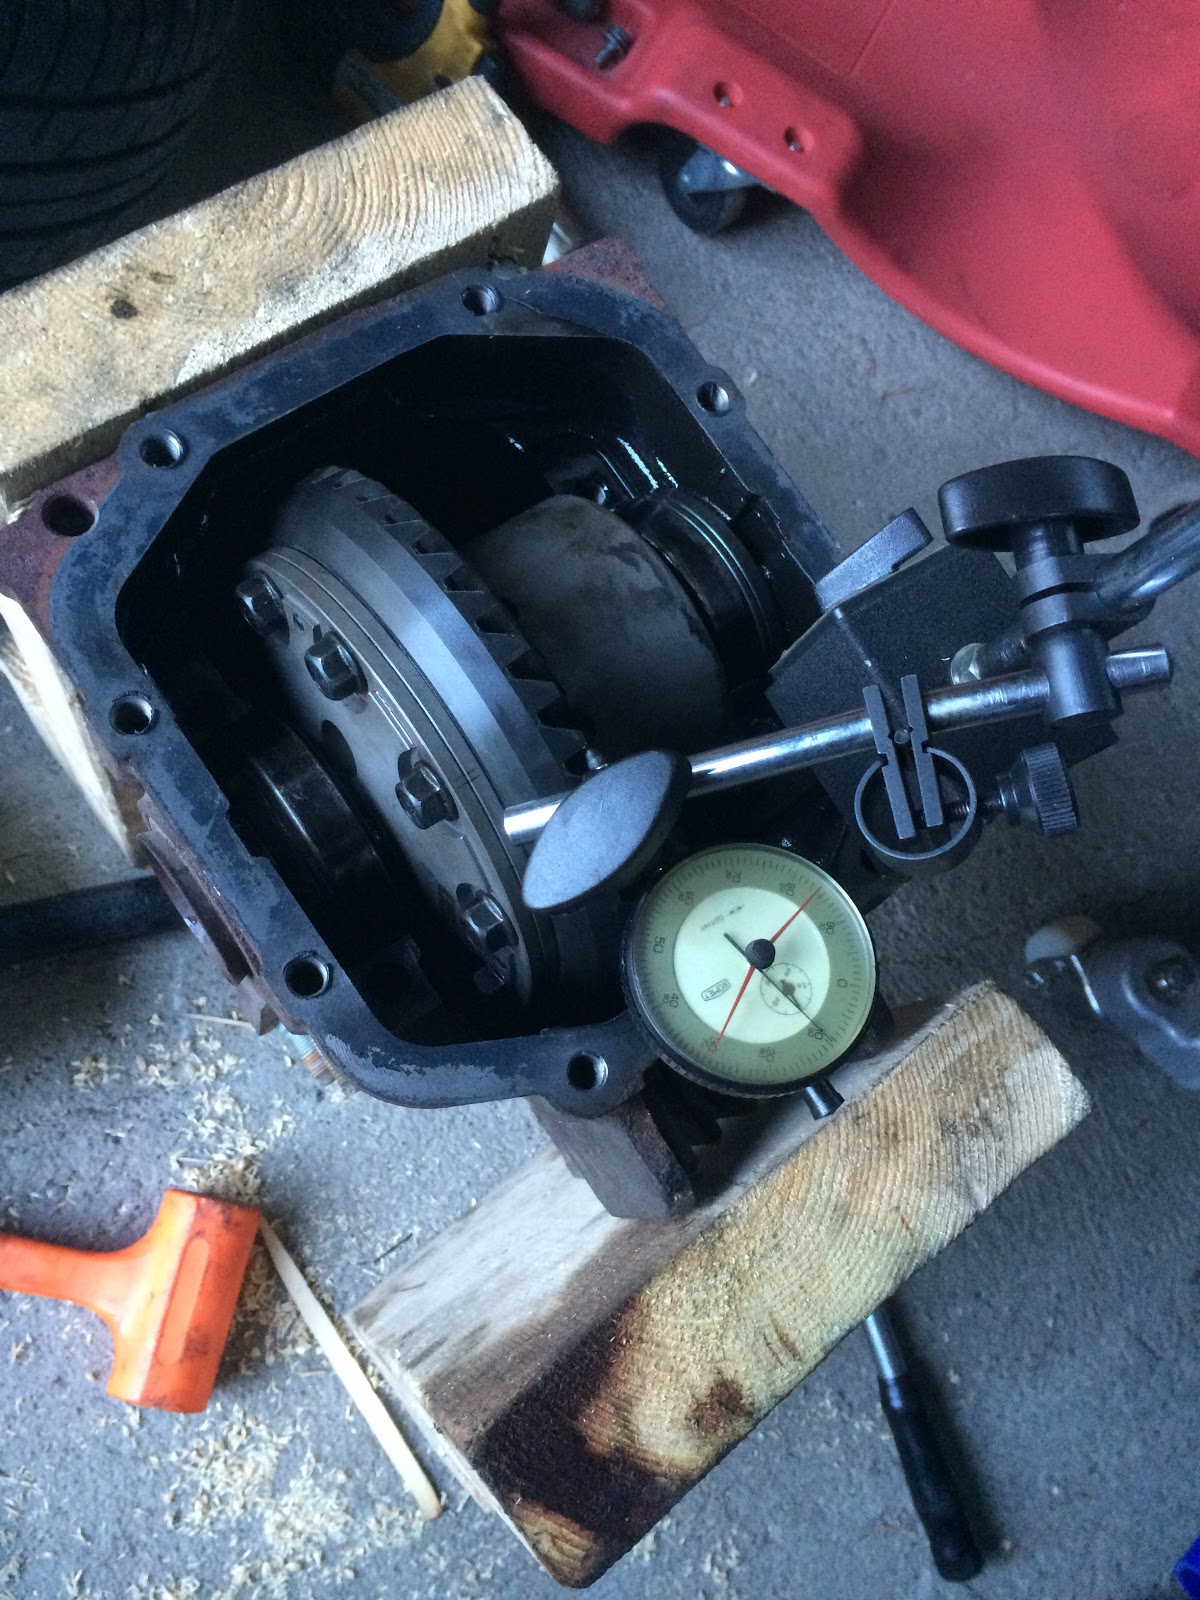
I was super lucky and had perfect lash measuring 4 points 90 deg apart with the stock shims. I even rechecked after torquing down the bearing caps to be sure nothing had moved. Mind blown..
This saved me a lot of time.
This is how a OSG looks from the outside. I reused the side seals. No leaks.
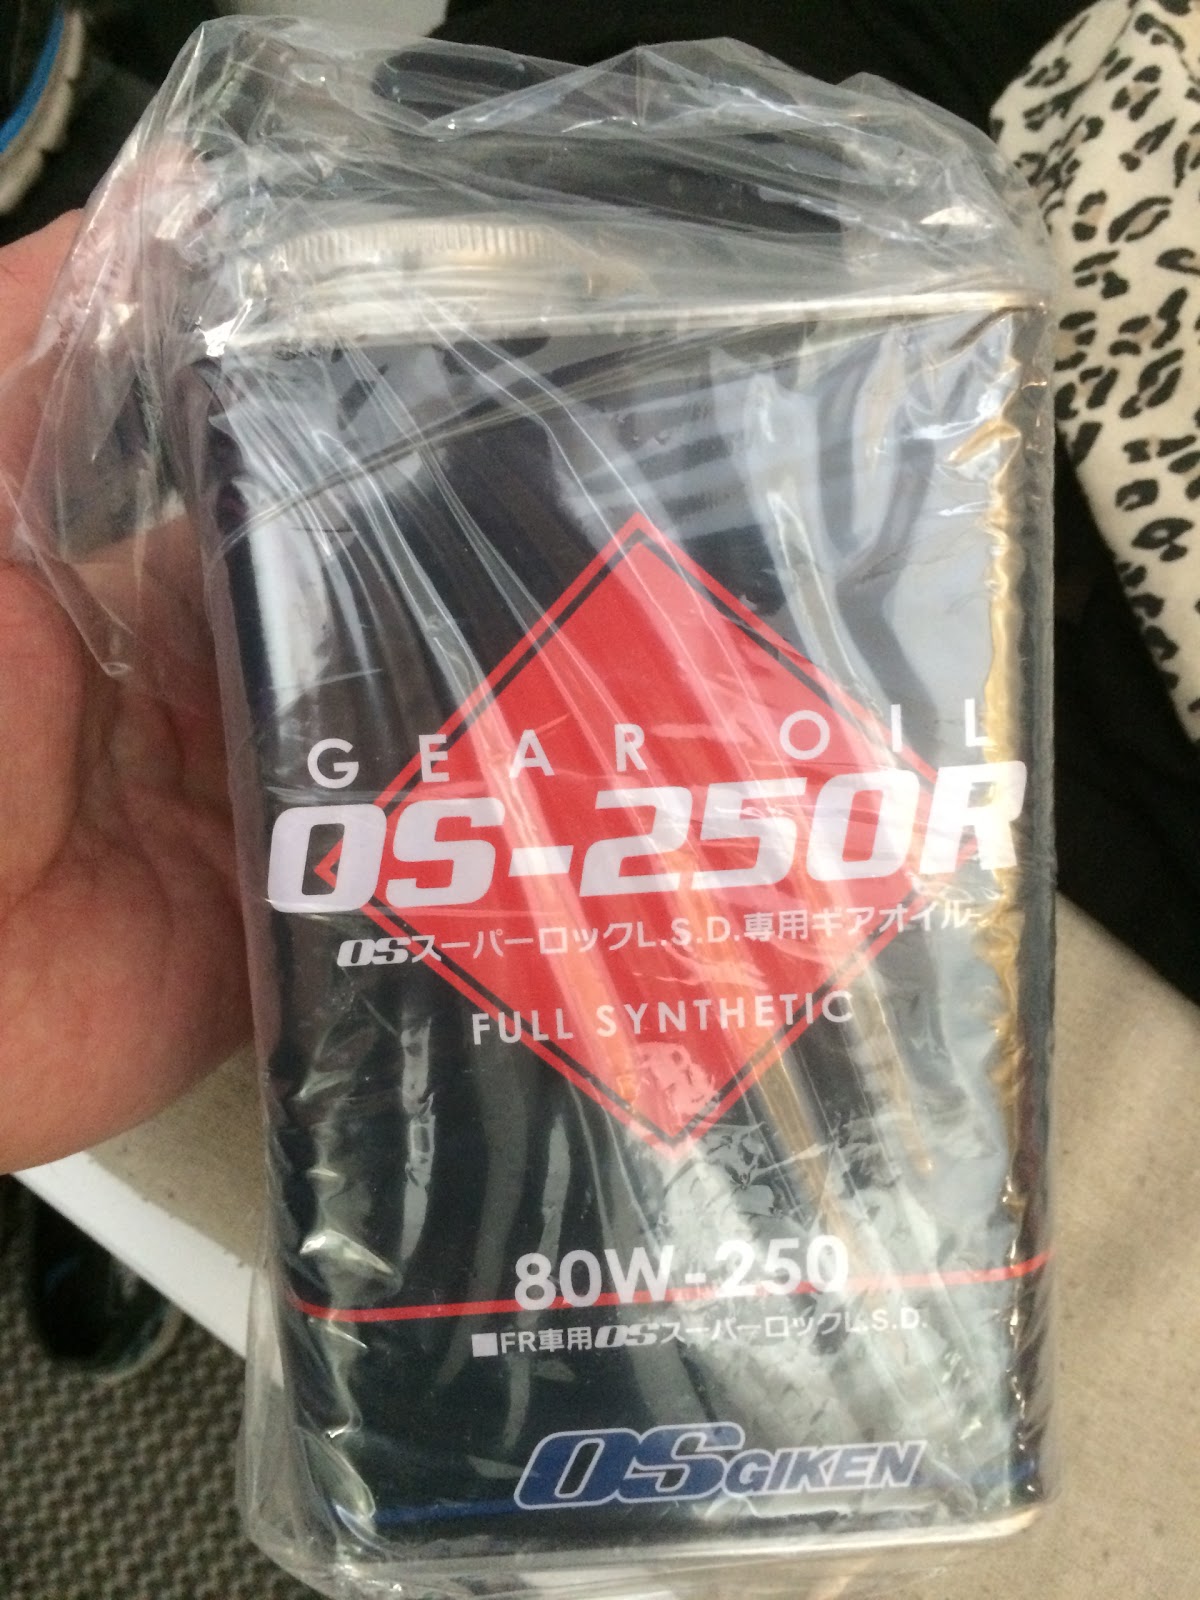
I googled for an alternative oil but ended up with the expensive OSG oil. Bought two cans which should be enough for 3 oil changes.
First impressions: Very different from the open diff. Smooth and not noticeable when rolling trough corners but bites very hard on throttle. A bit scary in the wet. Feels a bit wobbly on the higway accelerating trough the gears.
After one trackday + 13 laps on the Nurburgring: Perfect! Transition into accel is now smooth and predictive. It almost feels like I have lost power since I don’t loose traction out of corners anymore (local track). Very pleased with the results and a LOT better than the torsen diff I had in the MSM. Expensive stuff but for track use and some power under the hood this is one of the best upgrades for shaving seconds out of corners.
Comments