Engine rebuild part 4: Mazda MZR 2.5L valve job and assembly
My cylinder head needed some TLC after the port job as some of the seats had some minor scratches after the grinding, and I’m pretty sure some of the valves was misplaced according to which port they sat in originally.
I followed this guide from on youtube which is awesome. His arguments for doing this by hand and not a drill attached to the end of the valve is very obvious when you start lapping by hand.
If you want to do DIY engine building, overhaul etc. check out his videos.
<div class="separator" style="clear: both; text-align: center;"><iframe allowfullscreen="" class="YOUTUBE-iframe-video" data-thumbnail-src="https://i.ytimg.com/vi/7GEmuQa3dPY/0.jpg" frameborder="0" height="266" src="https://www.youtube.com/embed/7GEmuQa3dPY?feature=player_embedded" width="320"></iframe></div><div class="separator" style="clear: both;">
</div><div class="separator" style="clear: both;">My garage is too dirty and cold for this work so I moved all engine related parts and tools to my cellar in house. I really need to get my garage insulated and reorganized.</div><div class="separator" style="clear: both; text-align: center;">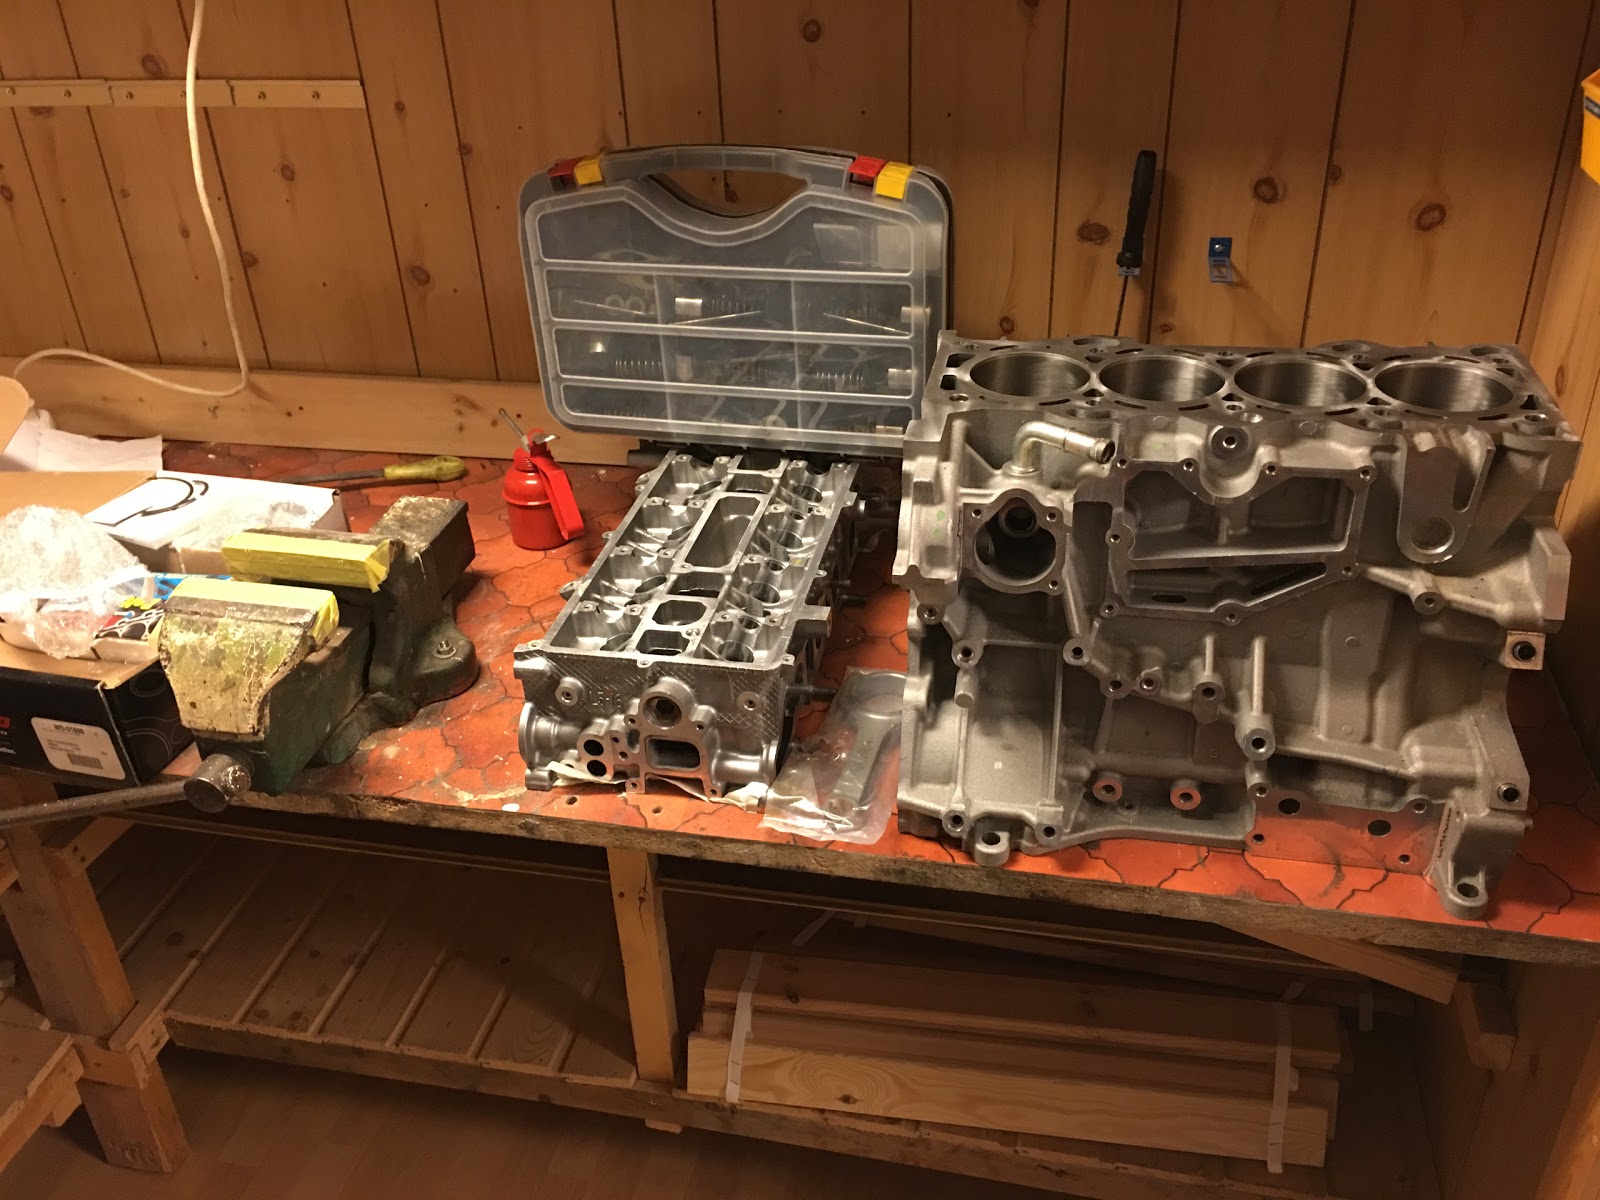 </div>
I had to start off by cleaning all the parts, again… Looks like the lid was open during the porting as there is aluminium grinding dust all over the valvetrain parts. THANKS.
<div class="separator" style="clear: both; text-align: center;">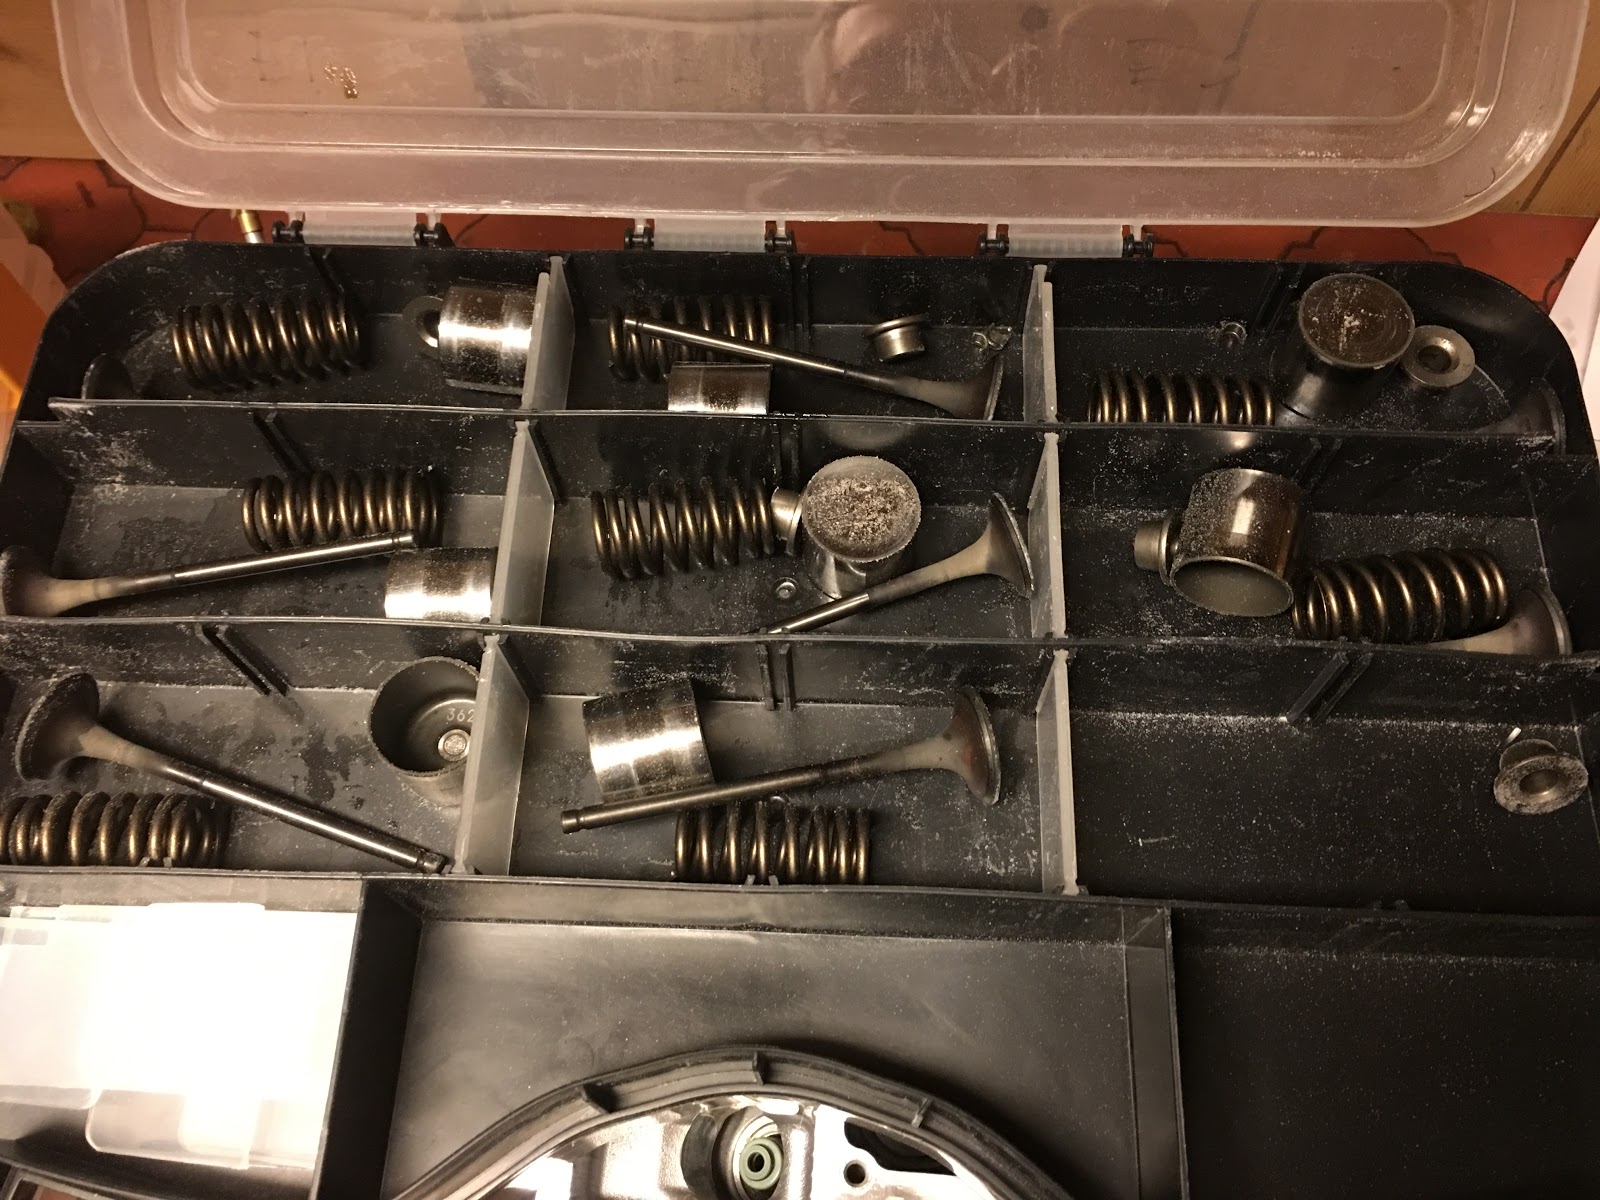 </div>
<div class="separator" style="clear: both; text-align: center;">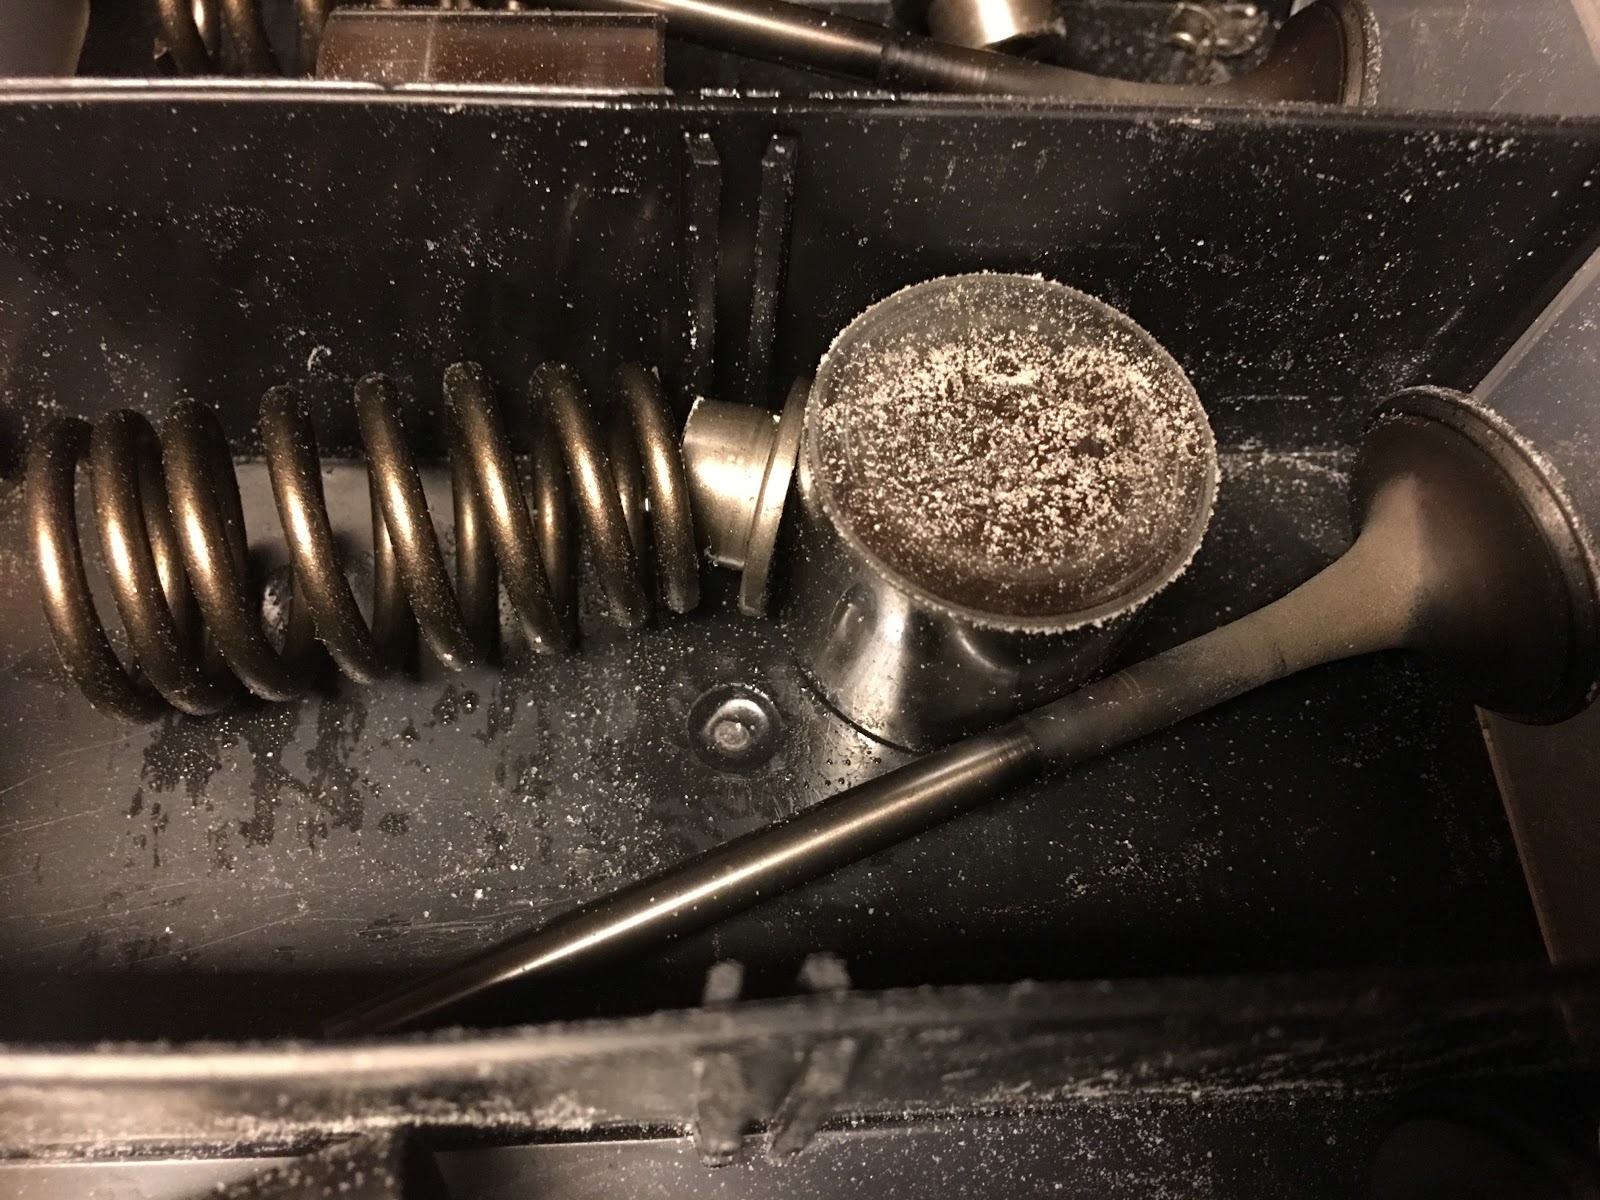 </div>
The exhaust valves had a thick layer of soot due to all the oil in the intake via the PCV.
I didn’t find a brass wire wheel in any store on a saturday so used a steel one and took extra care.
<div class="separator" style="clear: both; text-align: center;">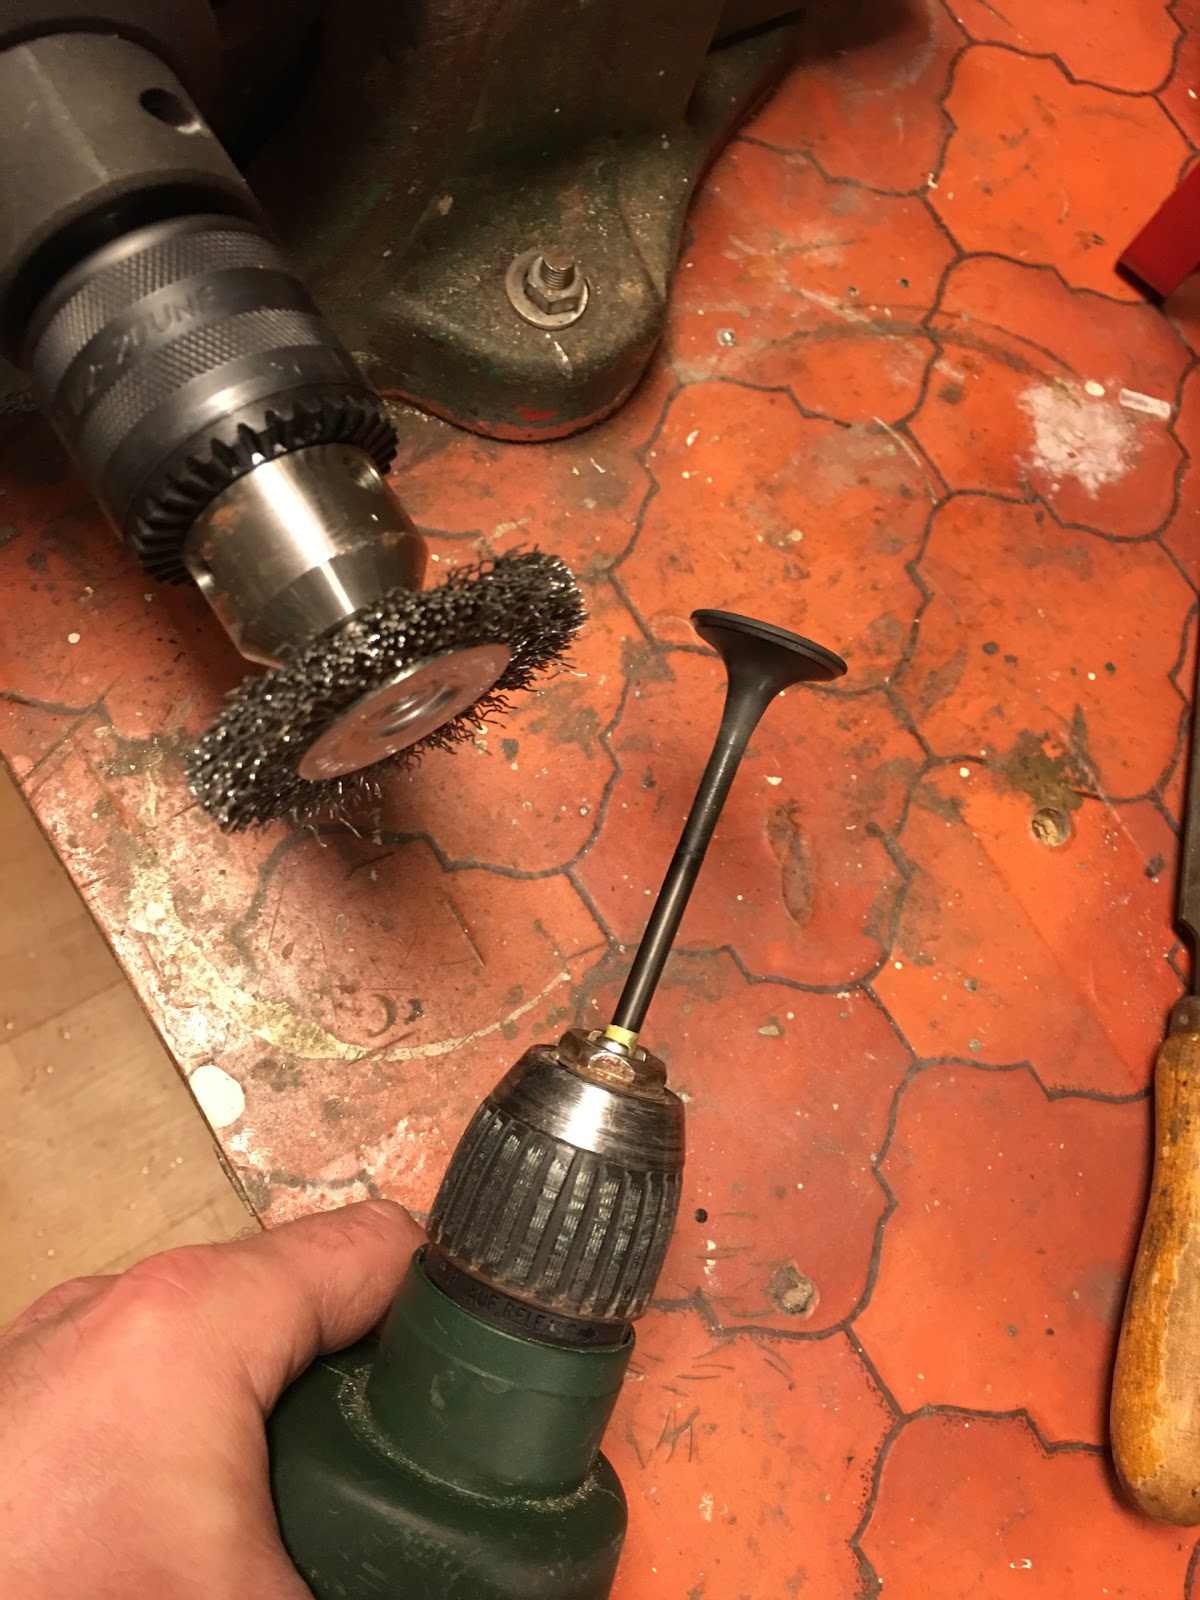 </div>
<div class="separator" style="clear: both; text-align: center;">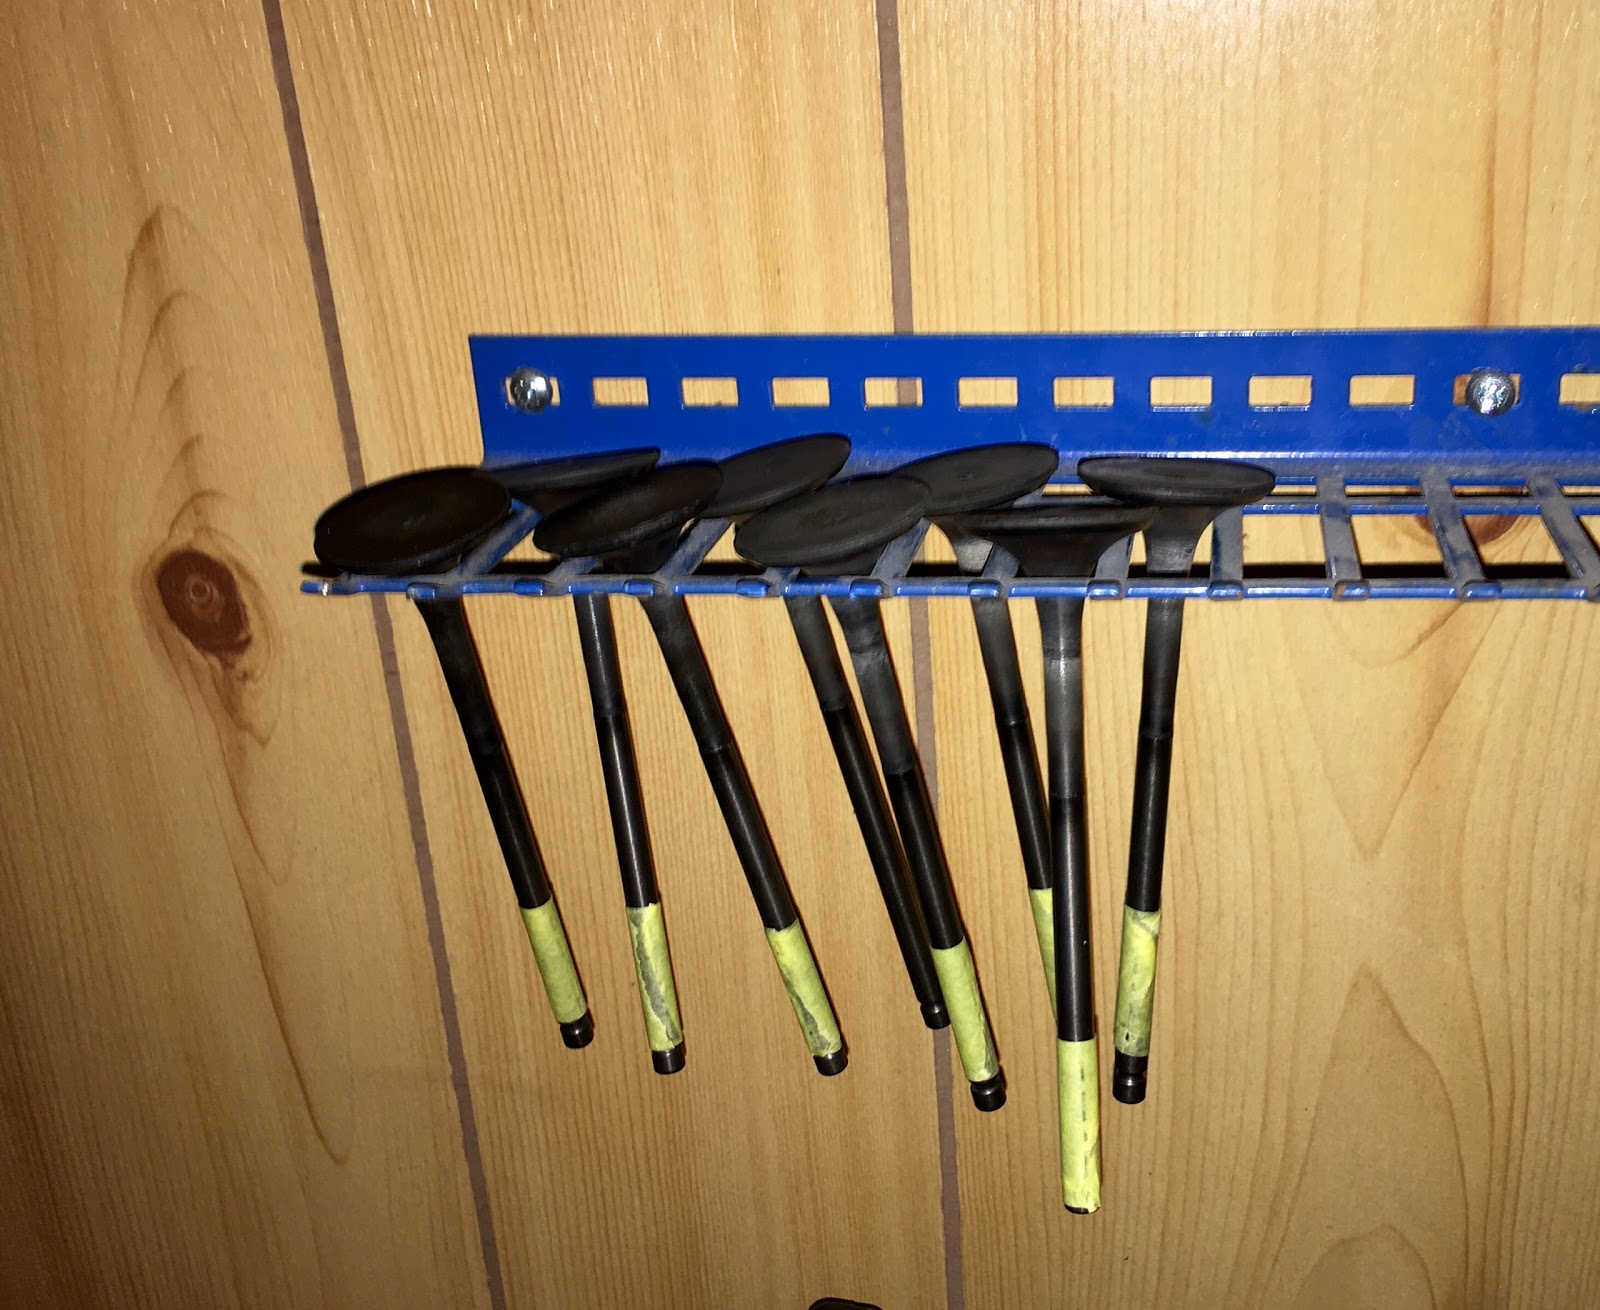 </div>
Exhaust valves had some pitting but it could not be felt when scratching.
<div class="separator" style="clear: both; text-align: center;">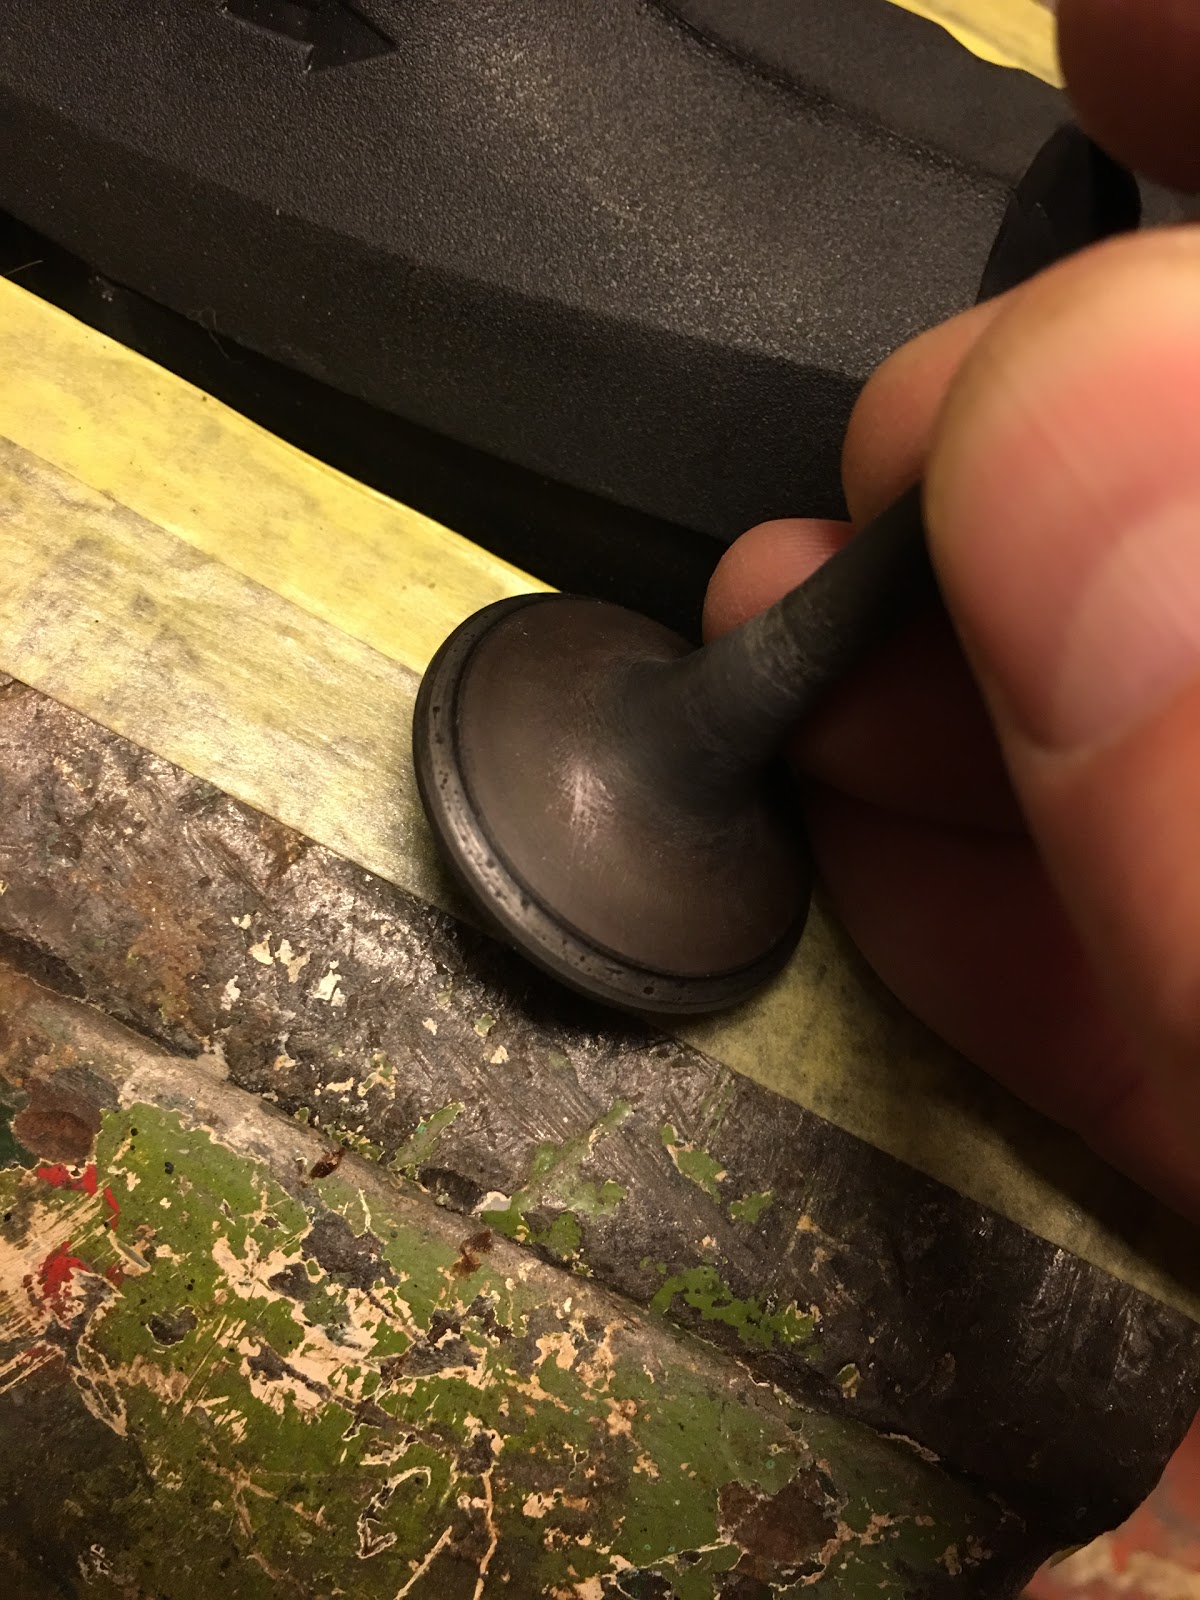 </div>
It all went away after some action with fine grain paste and the lapping tool. Again, watch the video for how to do this properly including paying close attention to the sound changing while grinding.
<div class="separator" style="clear: both; text-align: center;">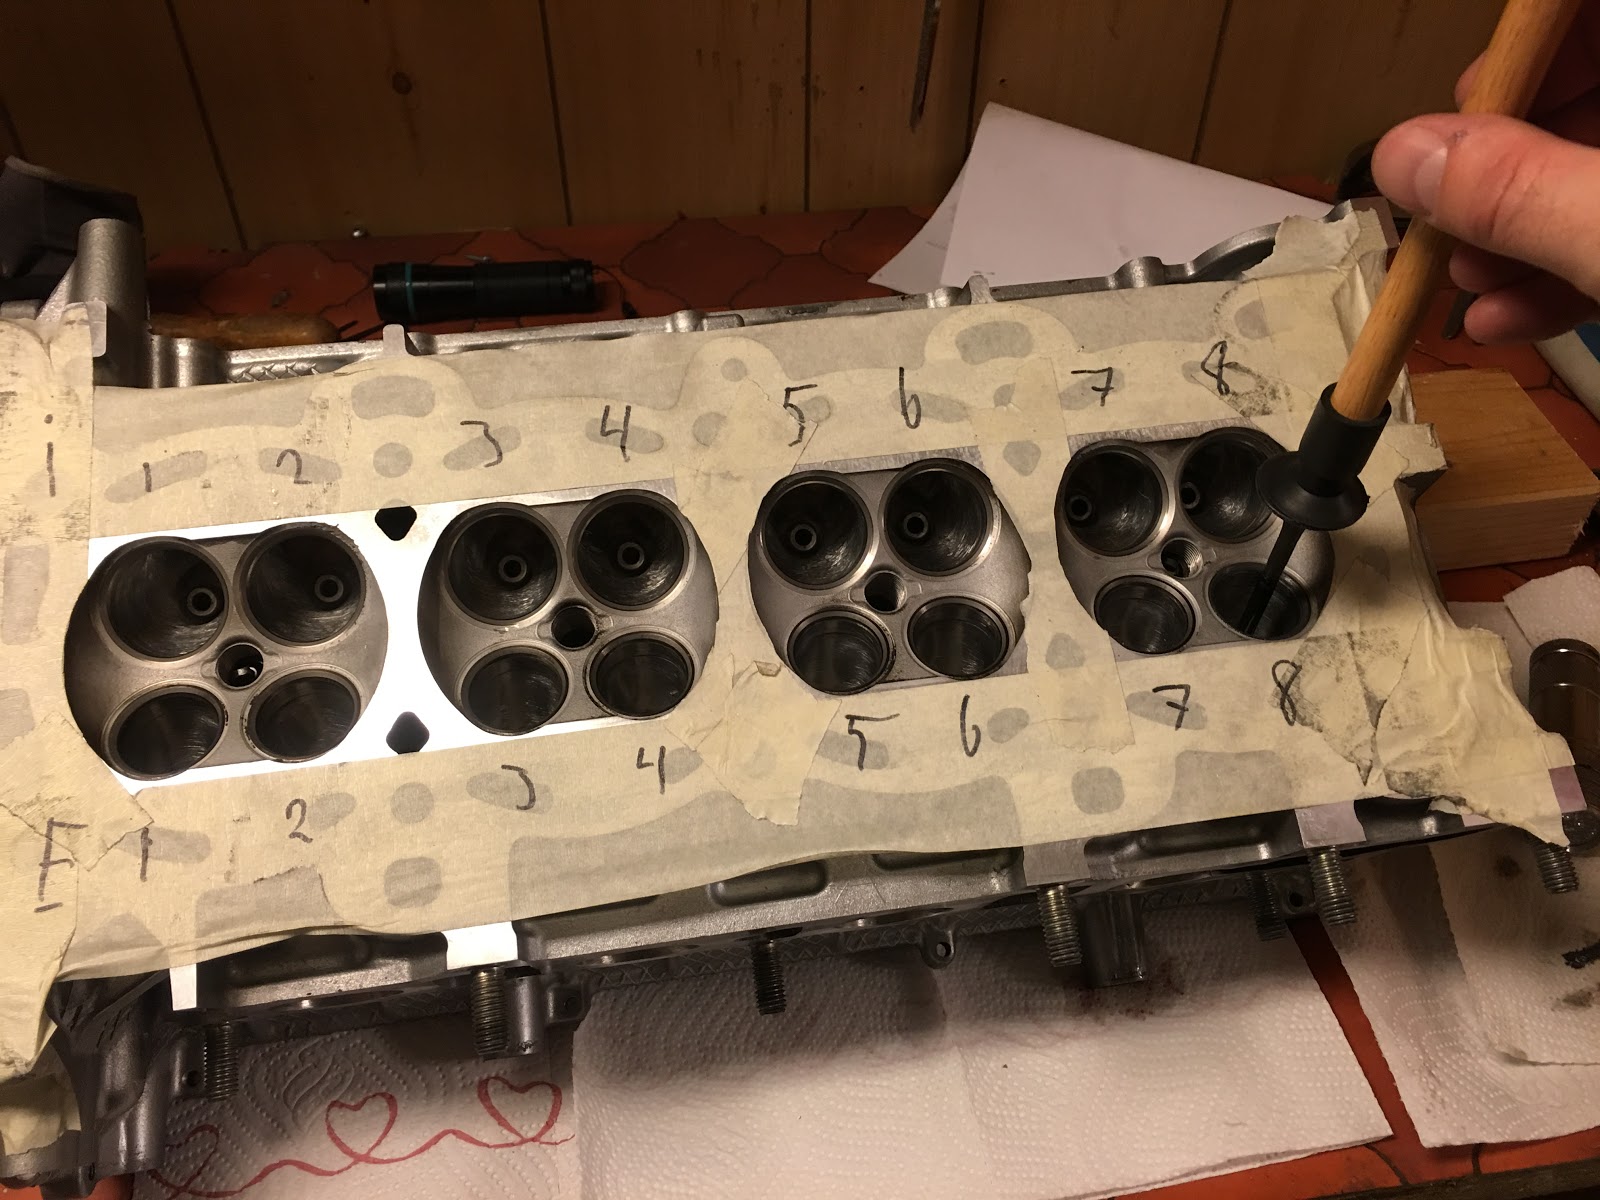 </div>
The intake valves all looked good. The only thing I noticed is that the shiny area where the valve touches the seat seemed very narrow compared to the seat width. This changed after lapping.
Before:
<div class="separator" style="clear: both; text-align: center;">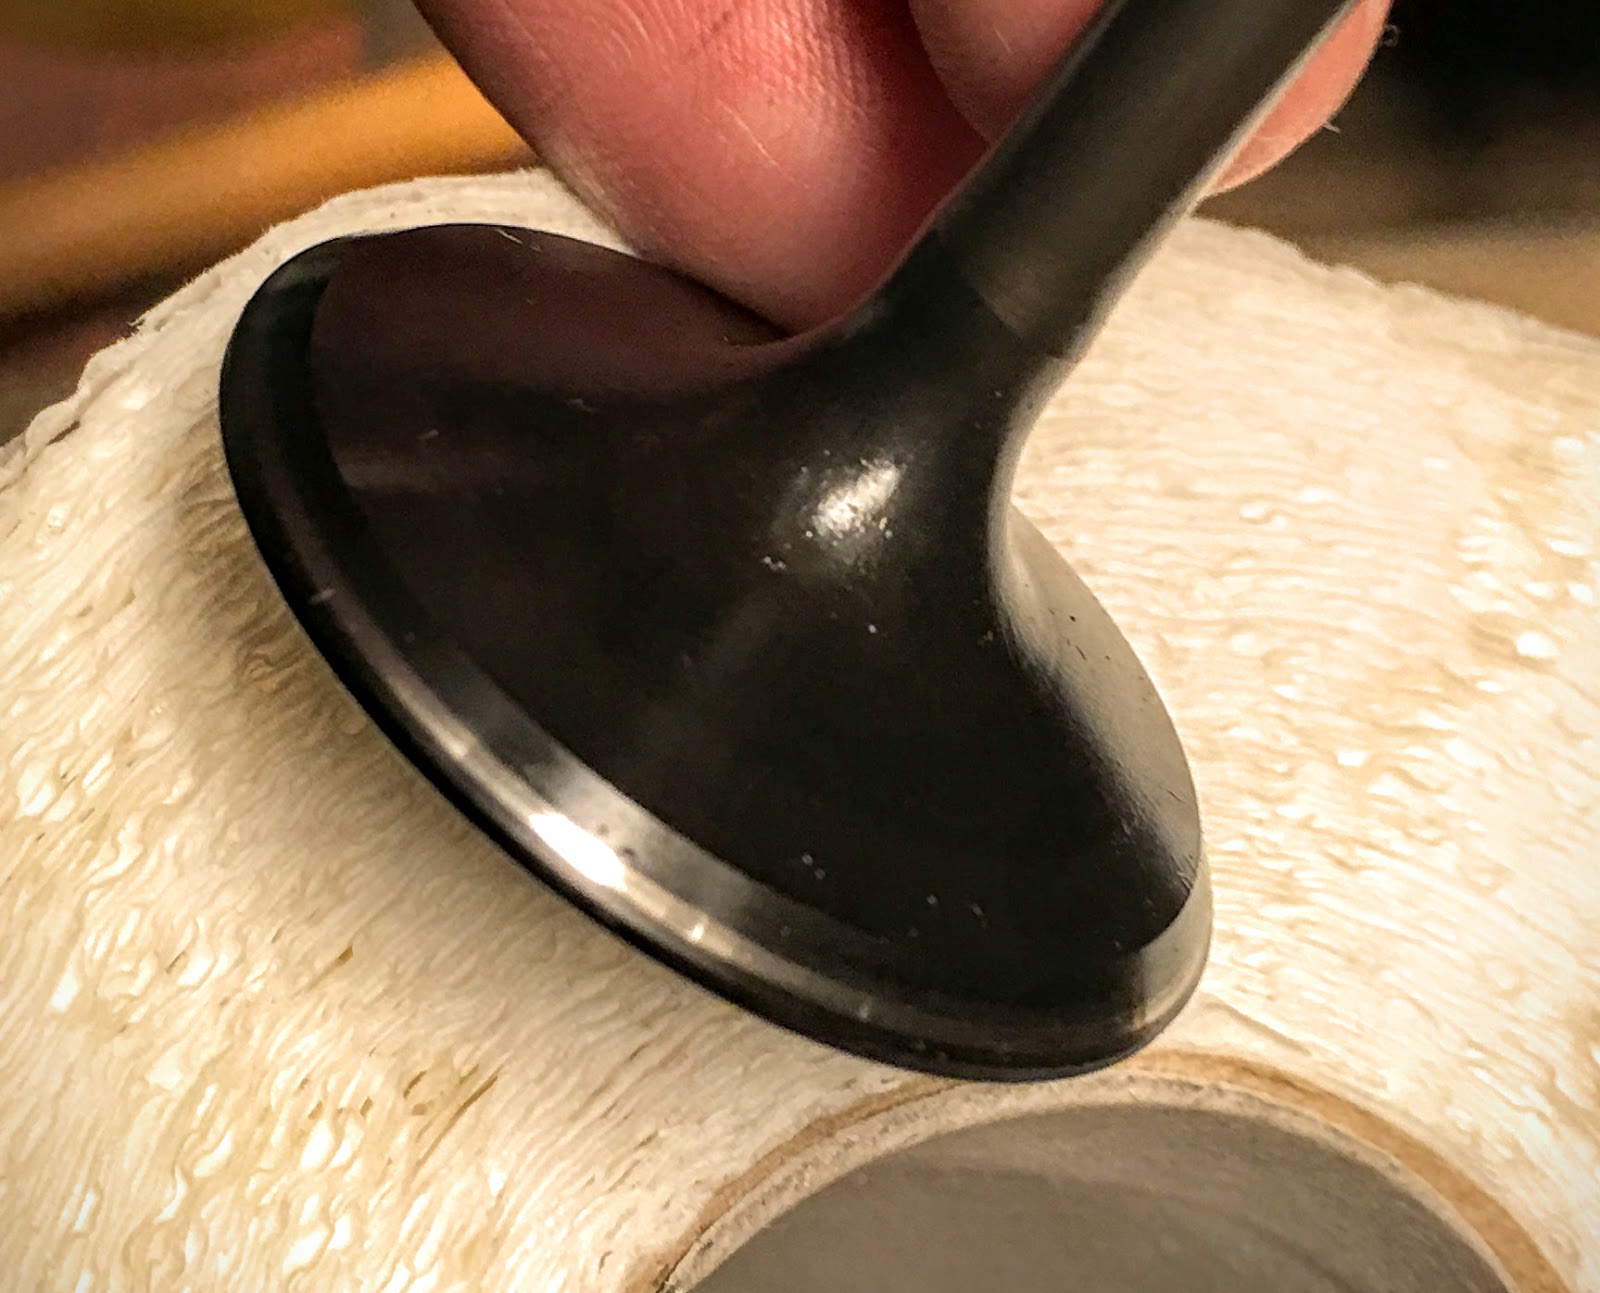 </div>
After lapping.
<div class="separator" style="clear: both; text-align: center;">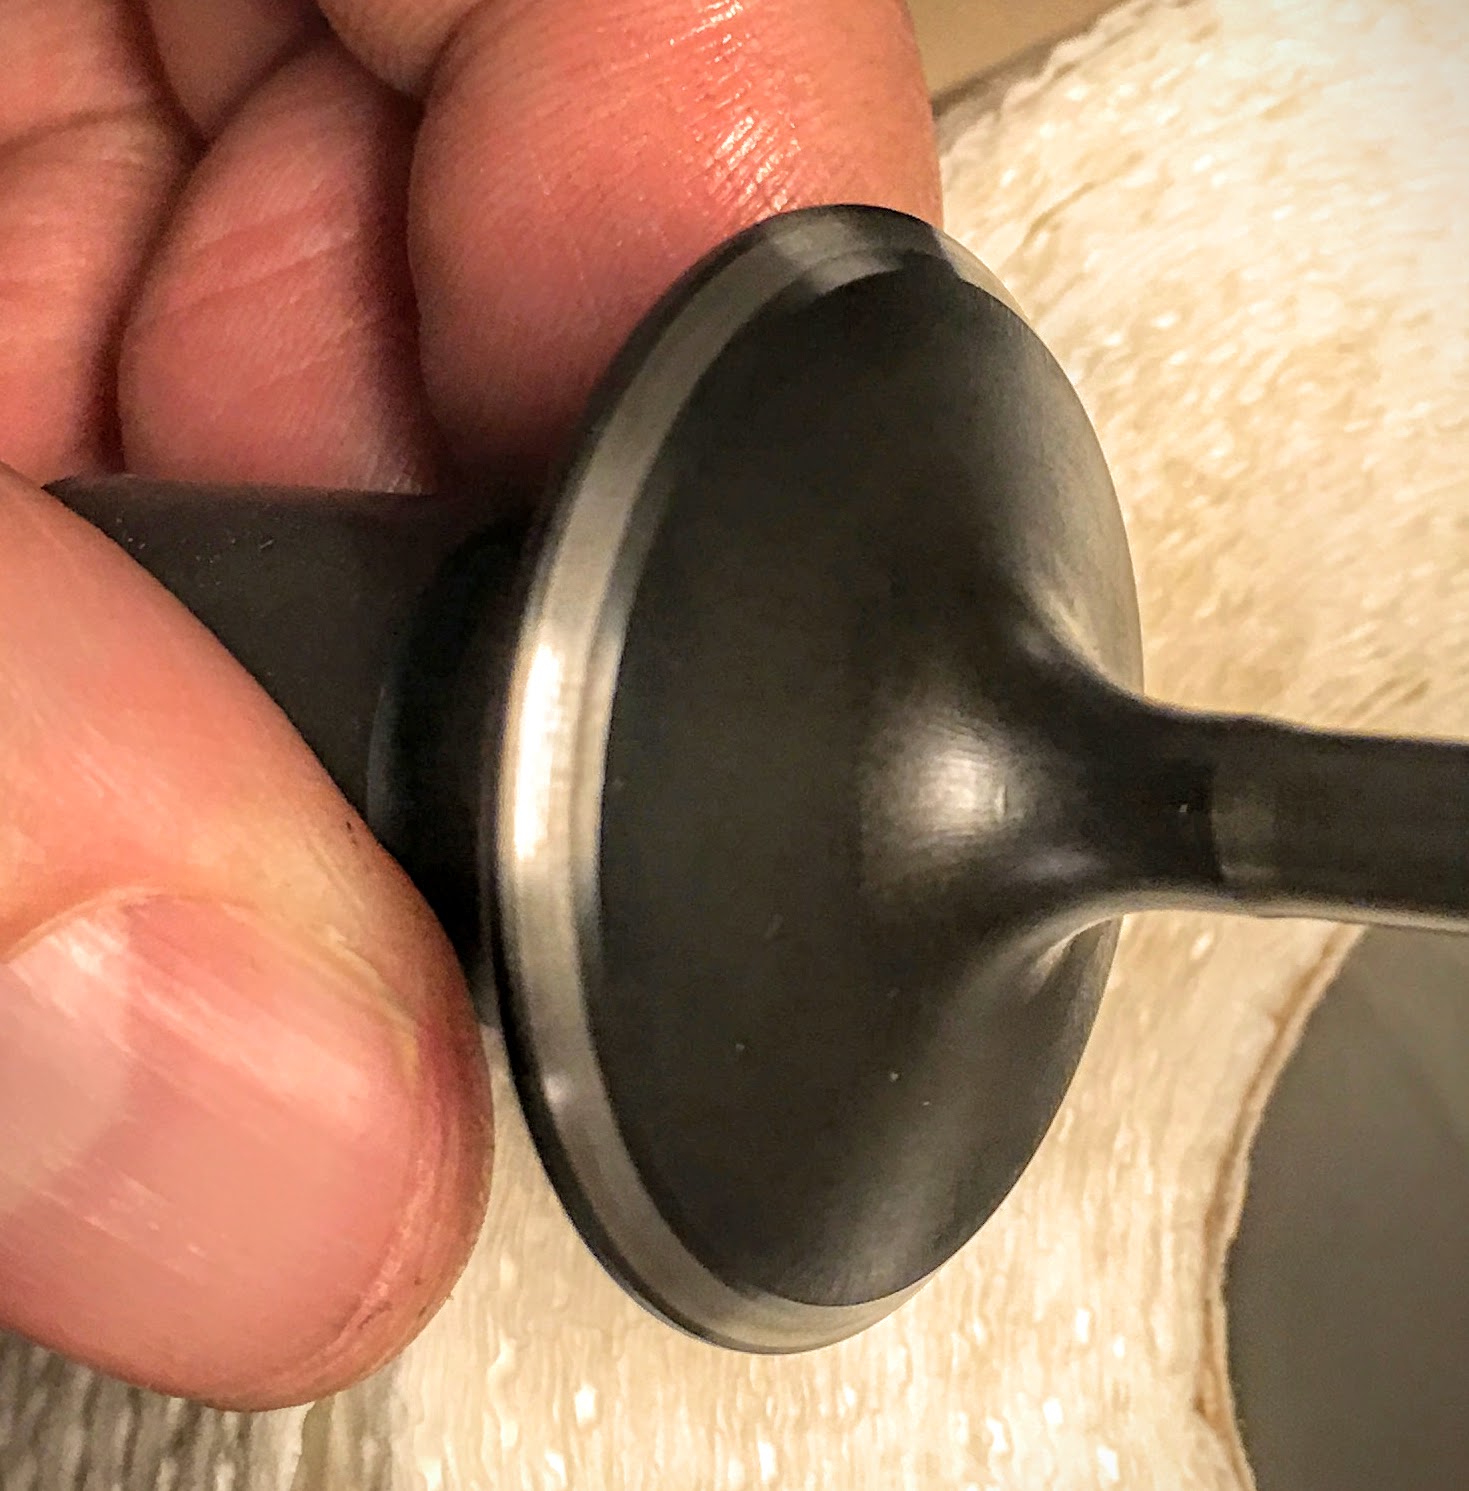 </div>
x 16 and you understand why people are tempted to do shortcuts in this area. It’s an easy job but takes a lot of time and care to get it right. I oiled-cleaned-reoiled both the valves and guides several times to make sure that none of the grinding compound was left as it would destroy any moving part in no time.
Some pics of the damaged to the valve seats that happend during porting. I was not able to fix this 100% but I’m pretty sure they seal well. Annoying.
<div class="separator" style="clear: both; text-align: center;">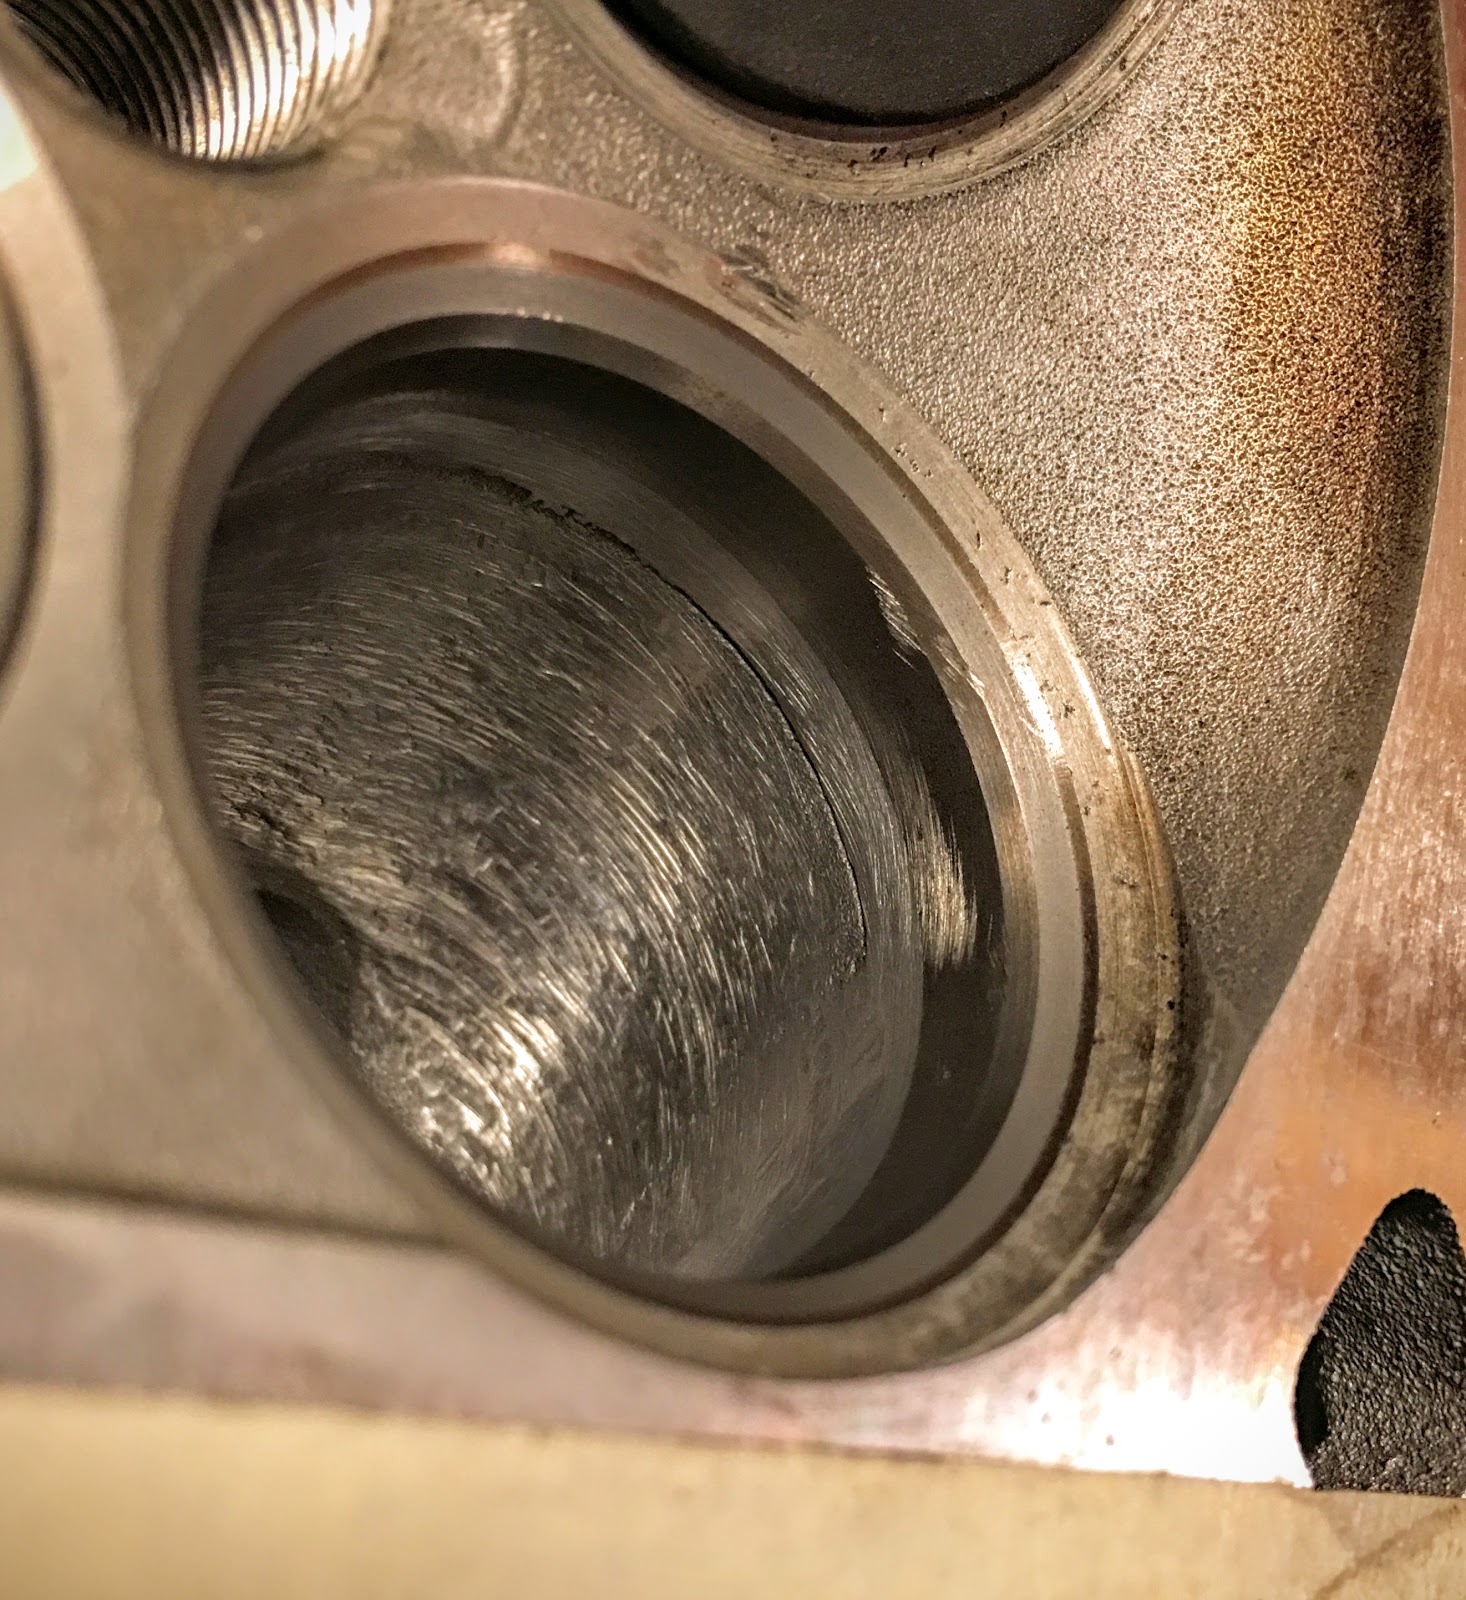 </div>
<div class="separator" style="clear: both; text-align: center;"> </div>
Assembly went well except some flying valve locks. Biltema.no has a tool for inserting these that’s probably worth it.
<div class="separator" style="clear: both; text-align: center;">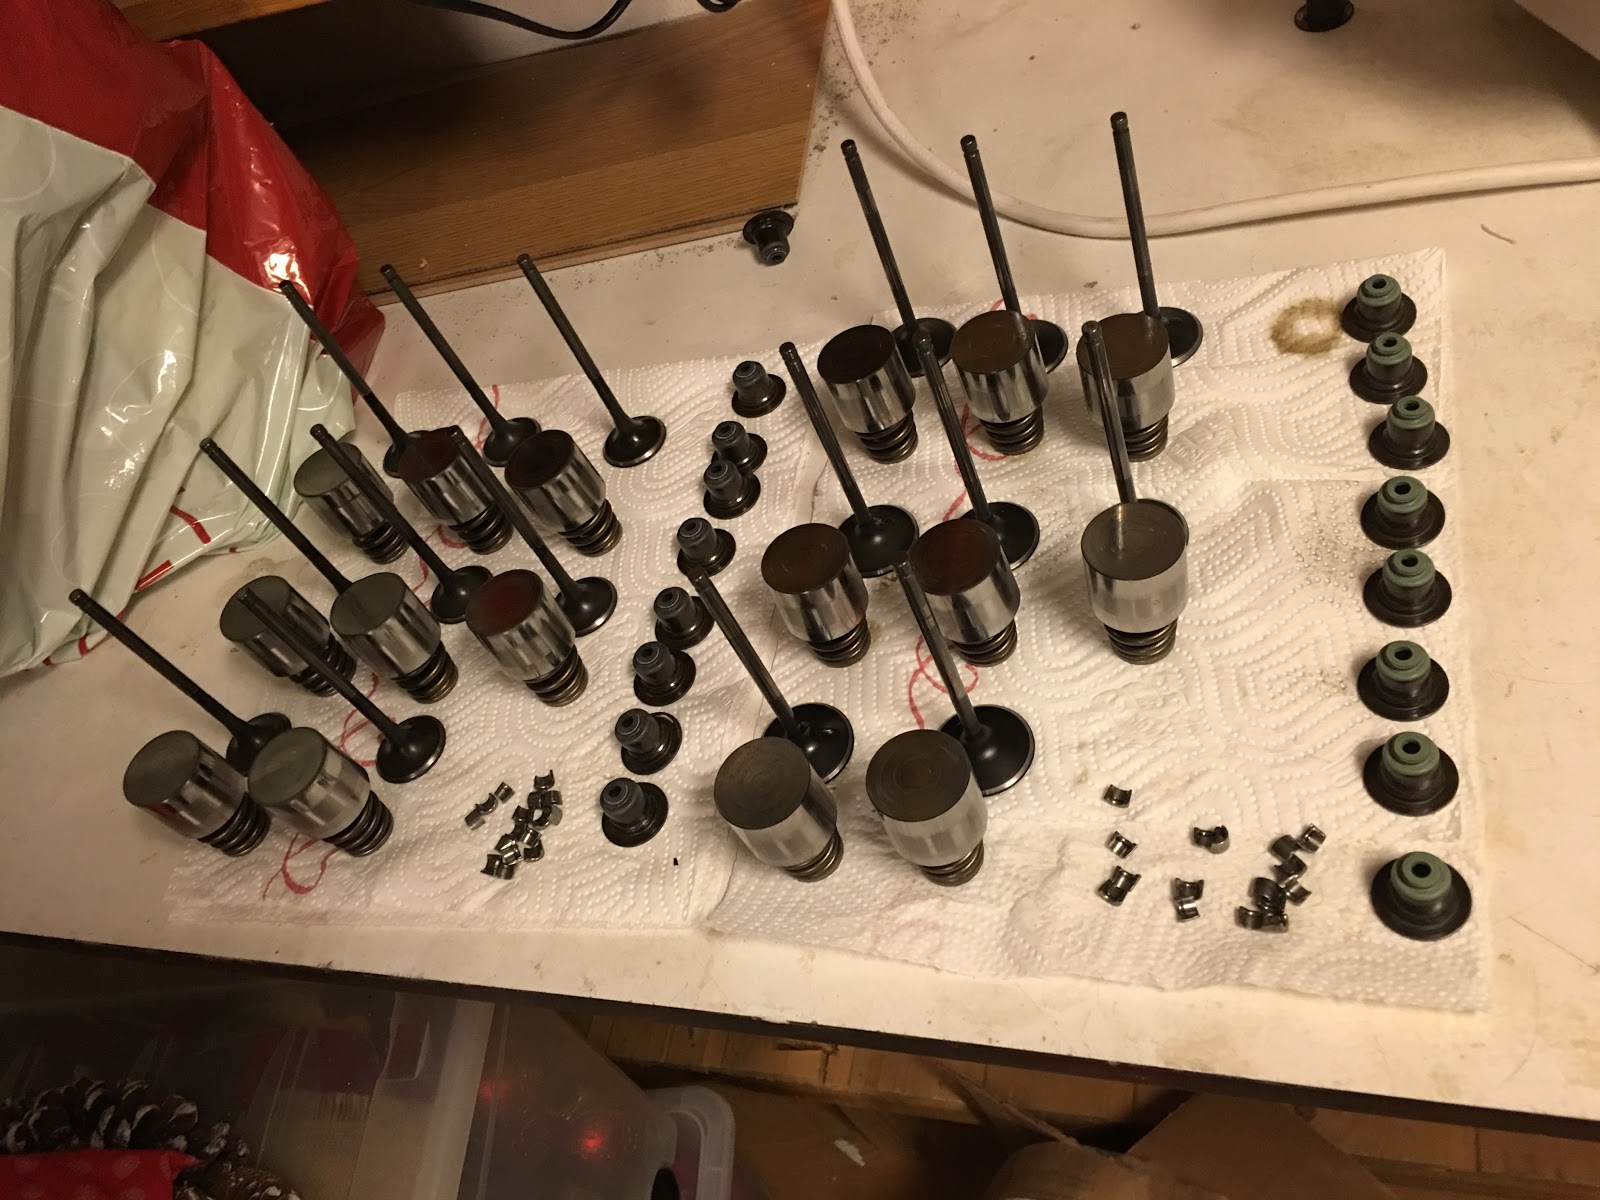 </div>
<div class="separator" style="clear: both; text-align: center;">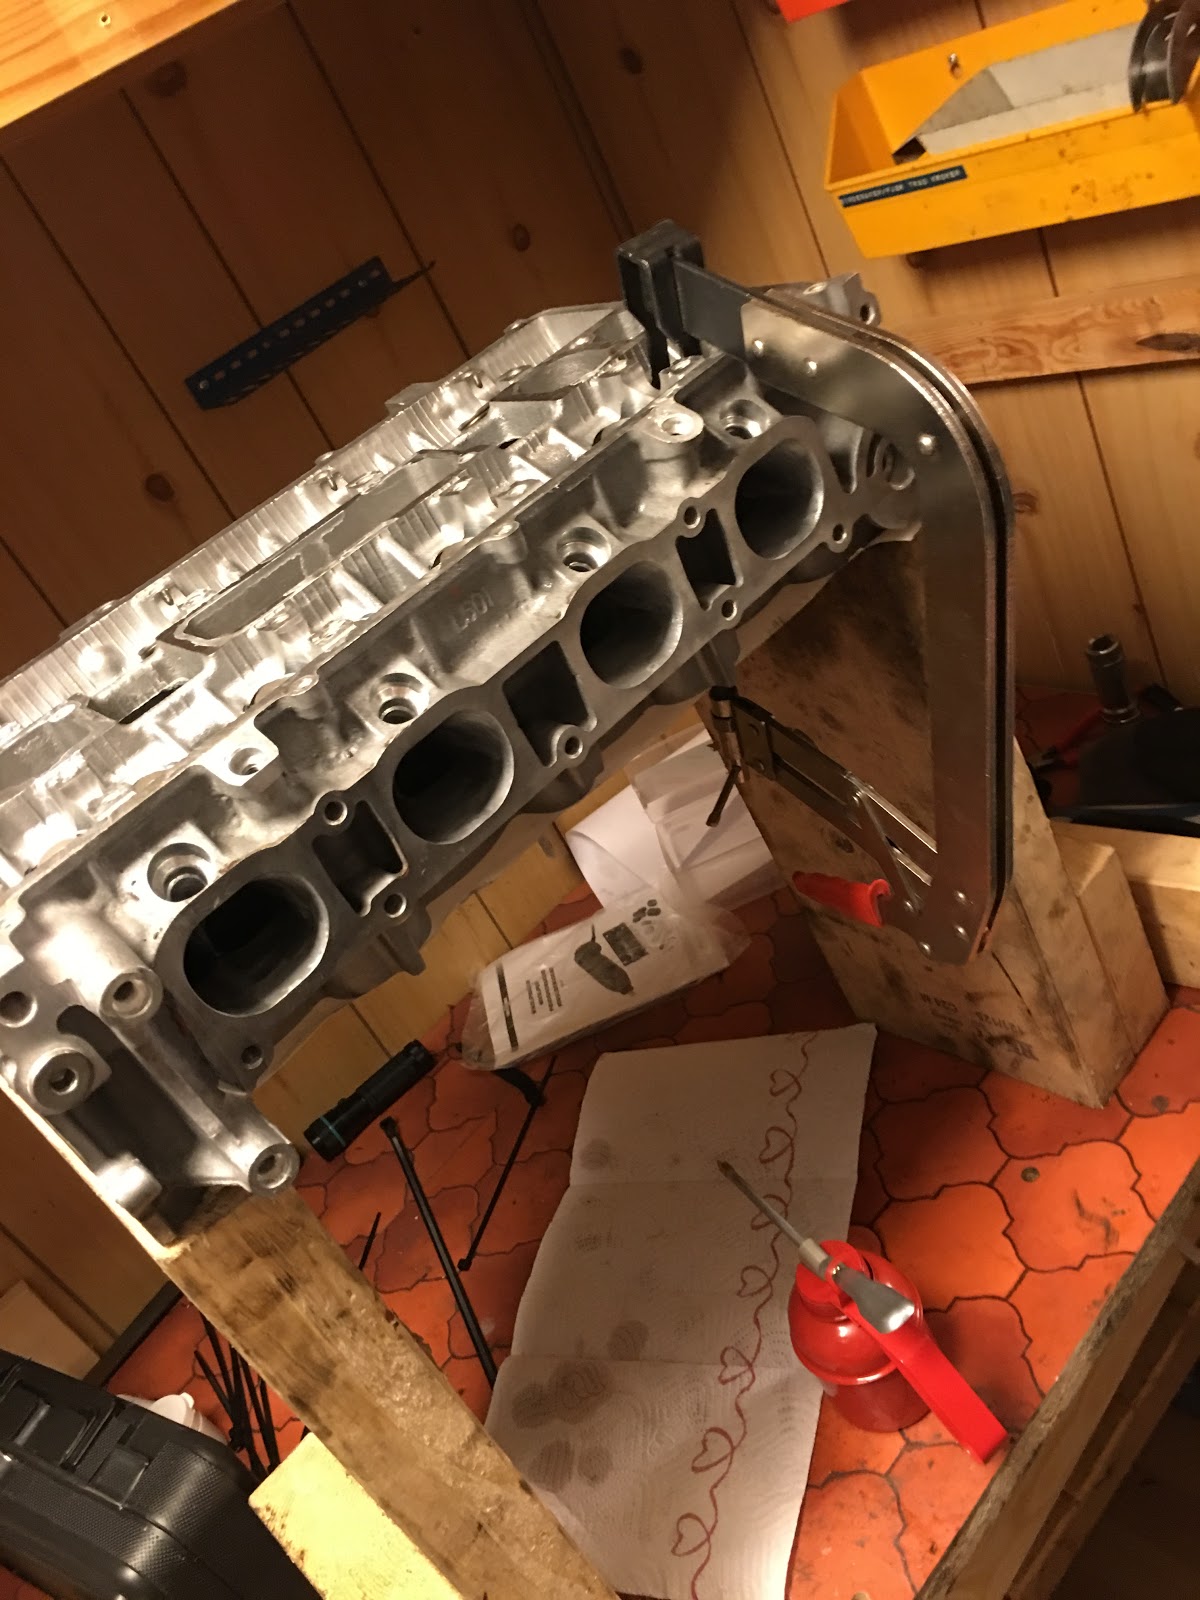 </div>
<div class="separator" style="clear: both; text-align: center;">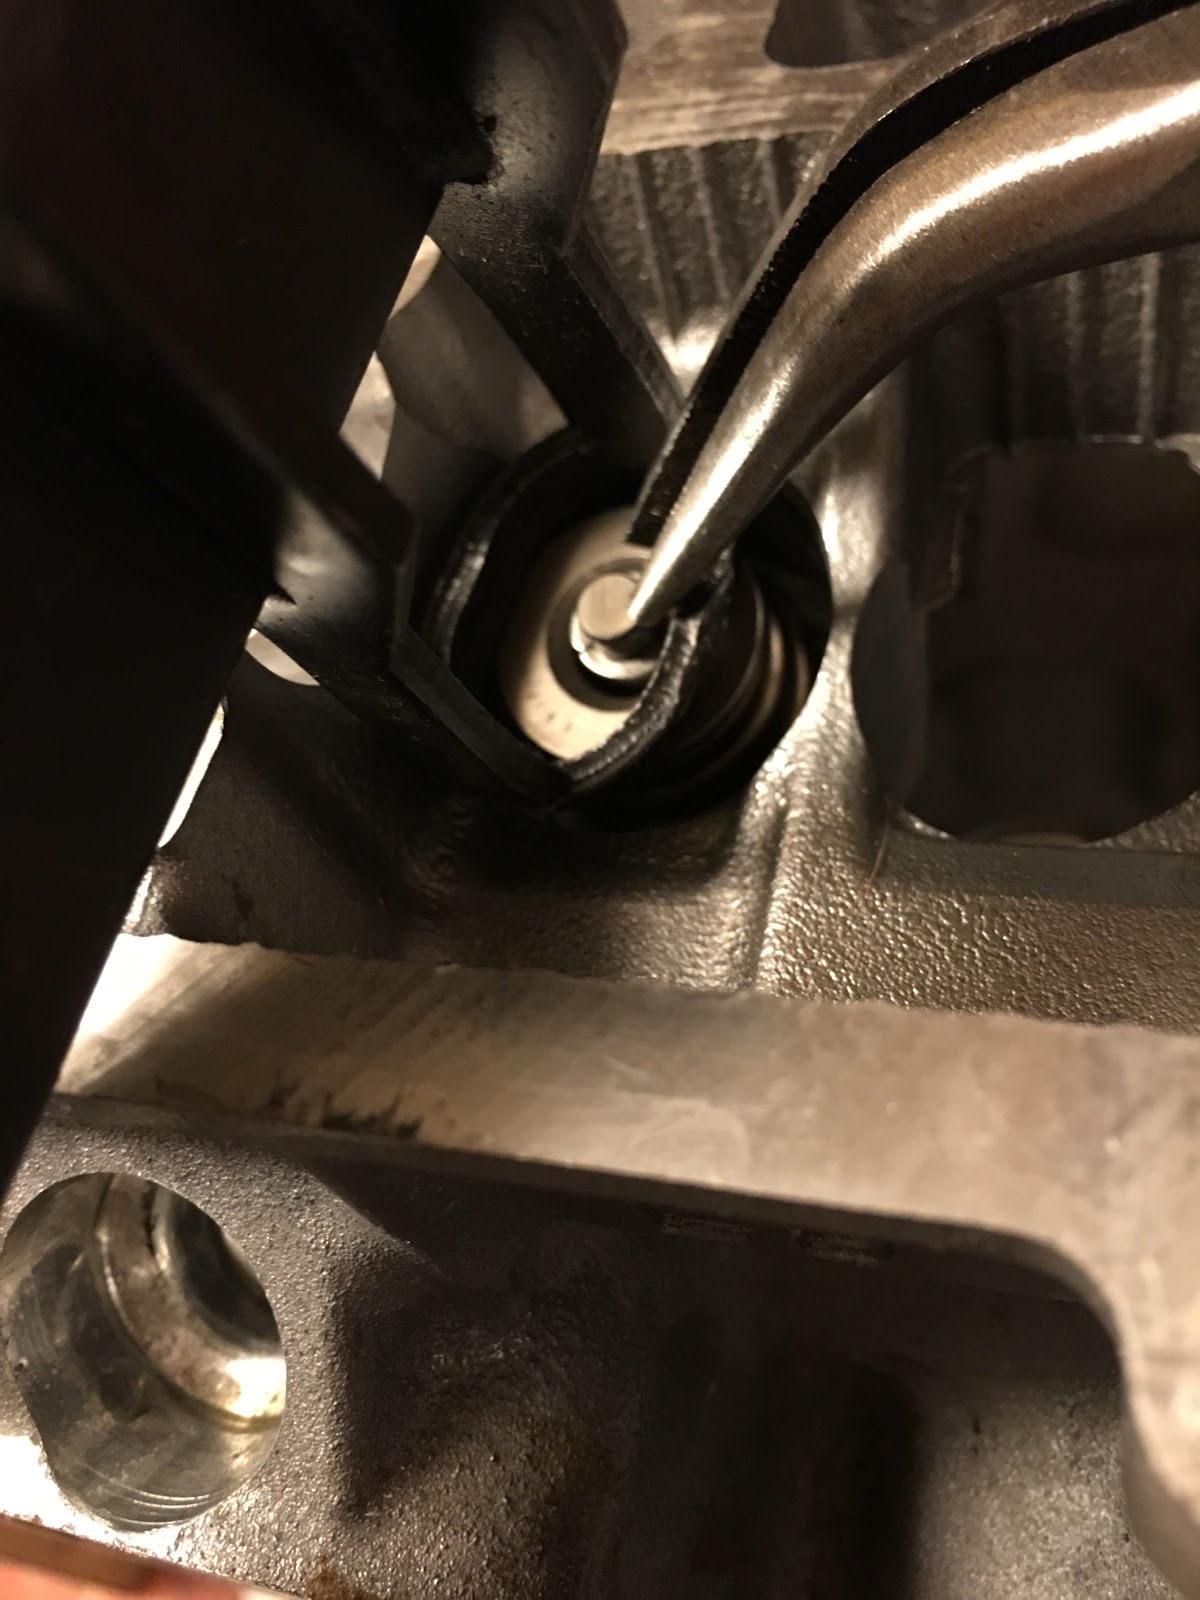 </div>
<div class="separator" style="clear: both; text-align: center;"></div>Finished. I probably need some new valve caps as the valve lapping might have sunk the valve into the seat altering the lash.
<div class="separator" style="clear: both; text-align: center;">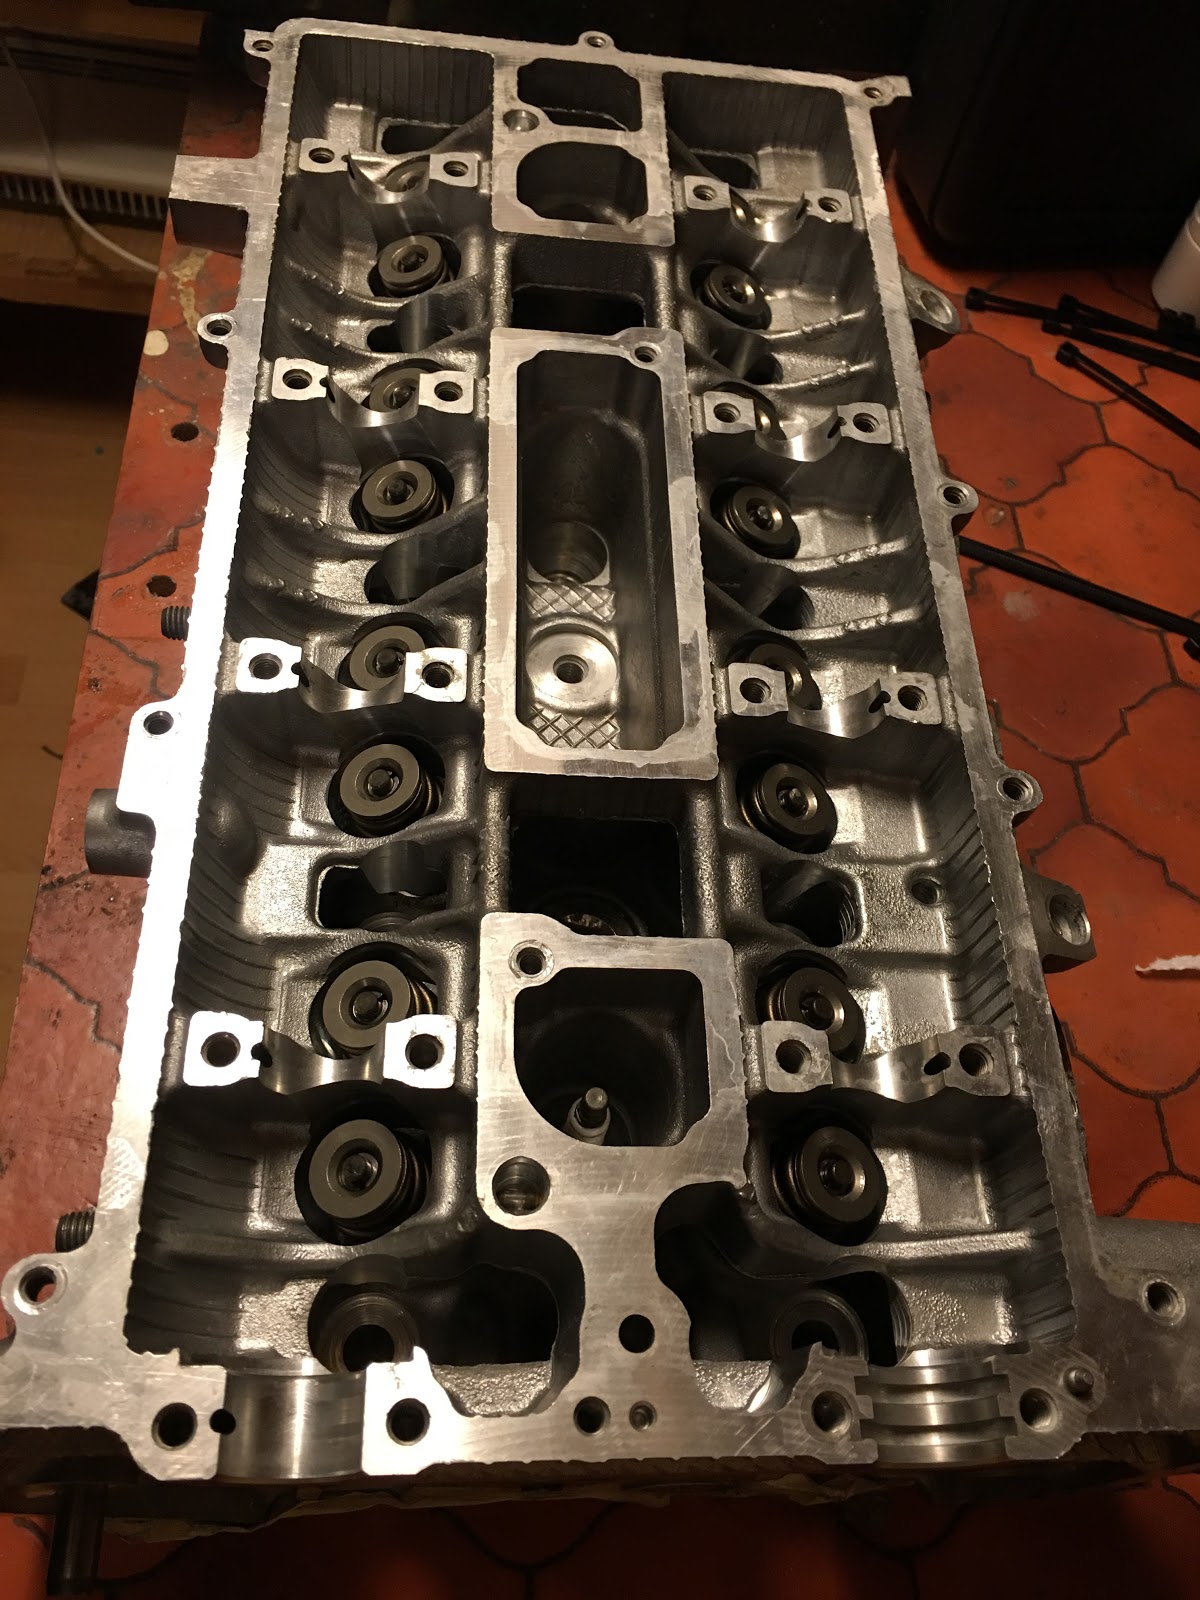 </div><div>
</div>
Comments