
Engine rebuild part 8: Assembling the bottom end, crank, rods and pistons. Twice of course...
Progress, although things are going slow.
- Crank oil holes deburred. Took a lot of work to polish after deburr. No pics.
- I received the bearings.
The old ones were marked with an unknown id that differed slightly for each bearing.
Cyl#,uppper(grove),lower
1= D3GH4 , D3HC3
2= D3HA3, D3IH2
3= D3IB3,D3HC3
4= D3GH4,D3HC3
5= D3HA3, D3HC3
I didn’t find anything on mazdaepc.com or onlinemazdaparts.com about the markings.
Nor did my local dealer find any info on this in any of the EPC software they use to order parts.
I also asked on m.net but didn’t get any answers so I just mounted the bearings.
Of course, not long after I had torqued down the last mains Joe @dynot ronics confirmed in the m.net thread that the markings indeed are OS / US bearings for each STD, .025 and .050 undersize.
So I had to redo everything including measuring the clearance etc.
Lucky me they where ok. #5 was a bit off but far from max which is 0.1 mm according to the FSM.
But I find it strange that these seems to be unavailable online and they did not show up in EPC3 according to the mazda dealer.
<div class="separator" style="clear: both; text-align: center;"></div>
Main new bearings D4HB1, D5DF1
(mm)
1 = 51.99 c 0.025
2= 52.00 c 0.03
3= 52.0.5 c 0.03
4= 52.00 c 0.025
5= 52.00 c 0.04
<div class="separator" style="clear: both; text-align: center;">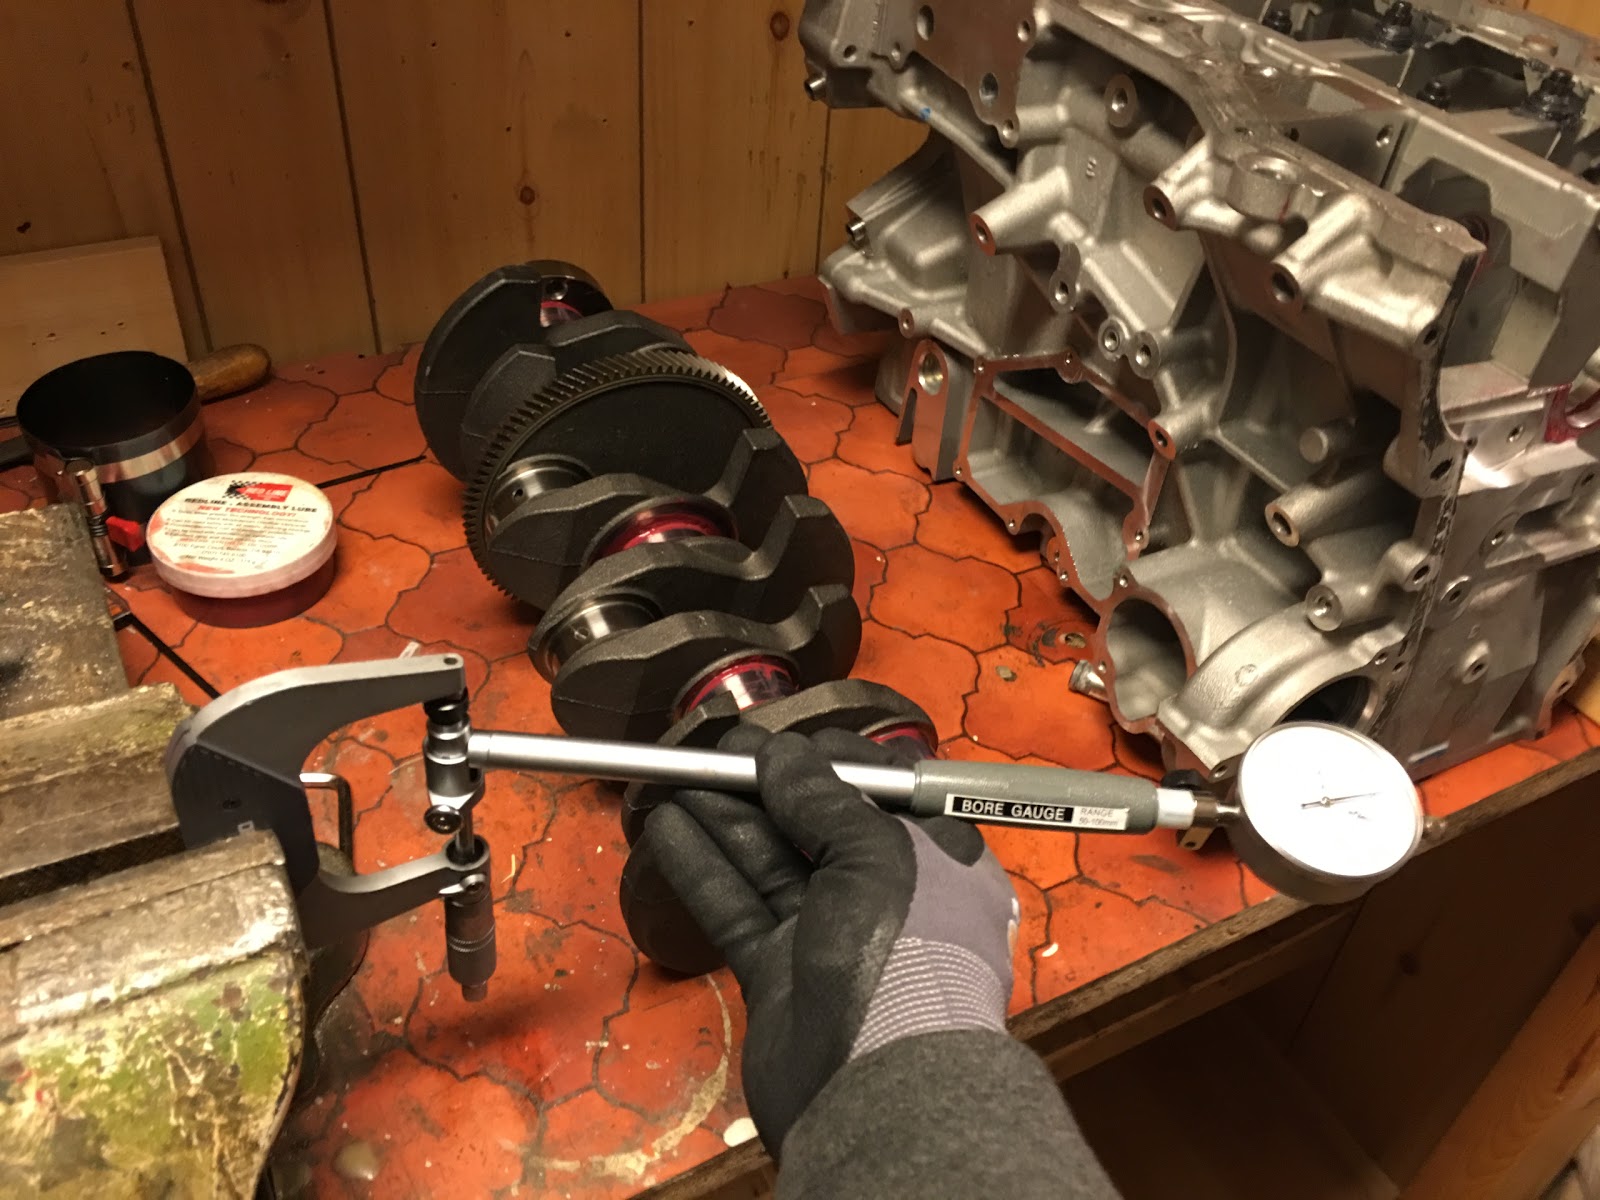 </div>
<div class="separator" style="clear: both; text-align: center;"></div><div class="separator" style="clear: both; text-align: center;">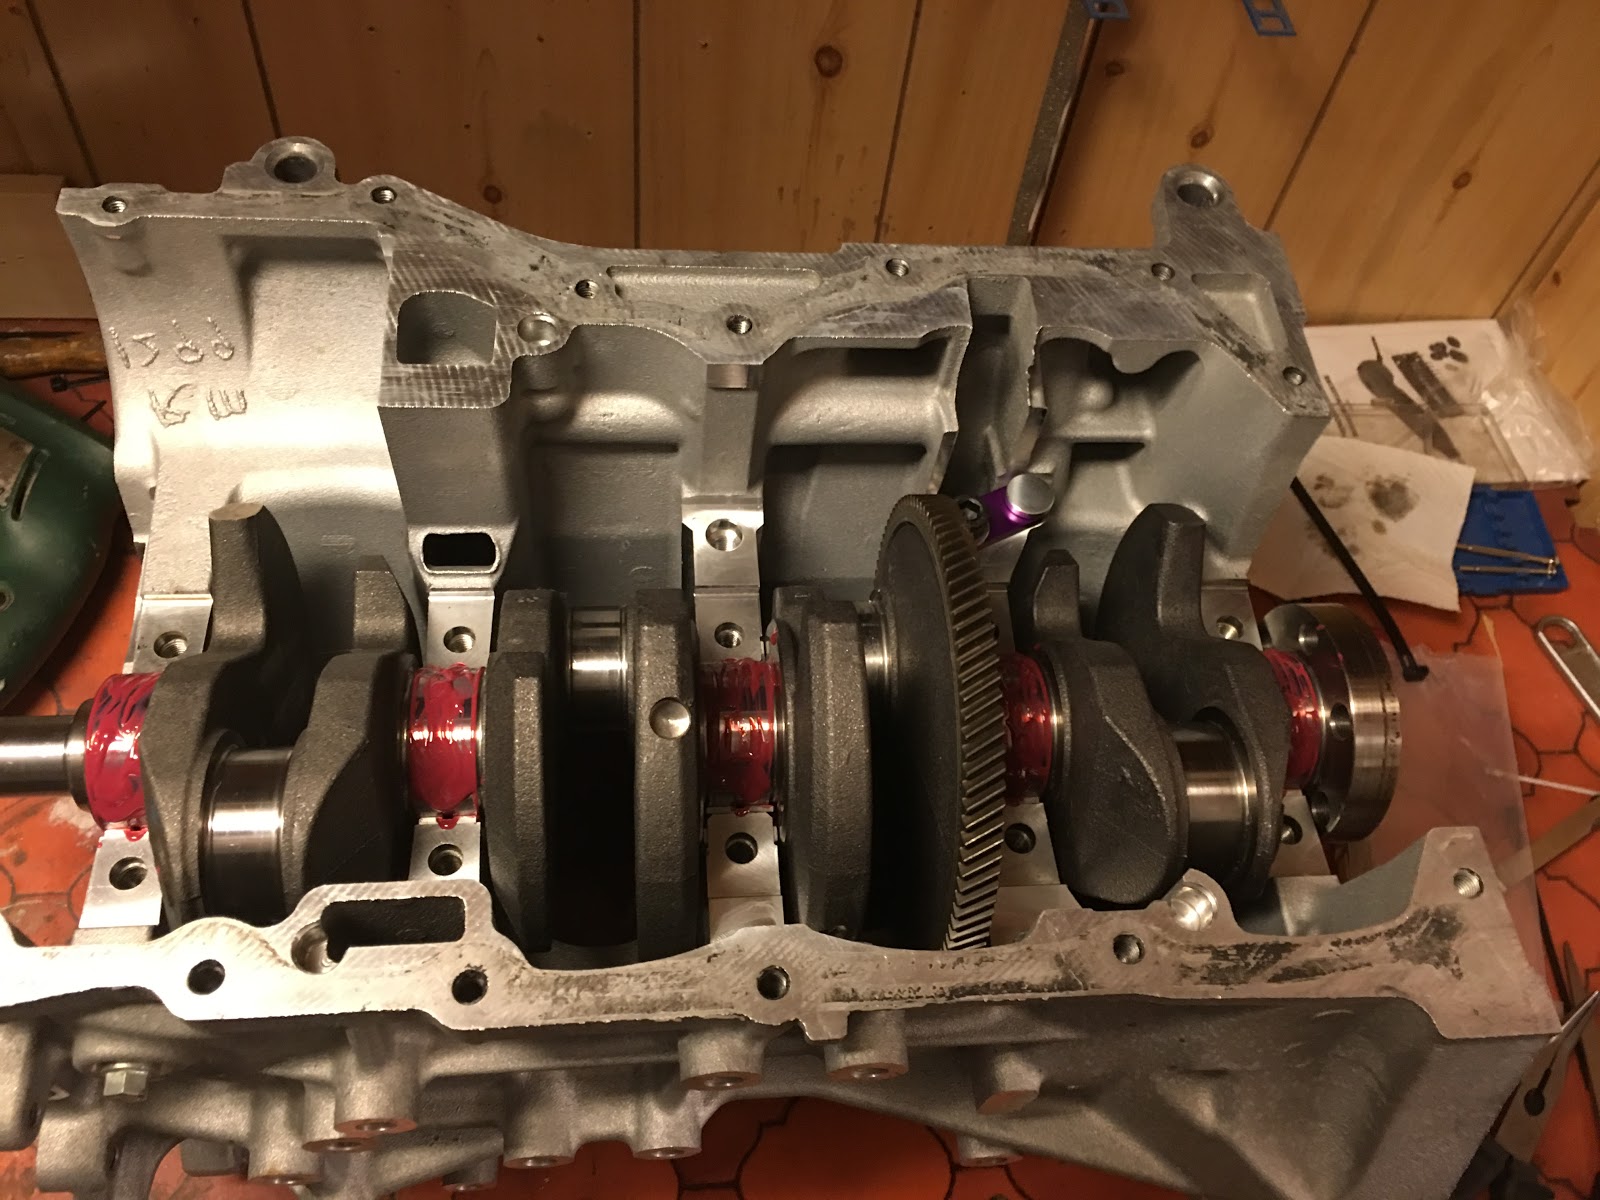 </div><div class="separator" style="clear: both; text-align: center;">
</div><div class="separator" style="clear: both; text-align: center;"> </div>
<div class="separator" style="clear: both; text-align: center;">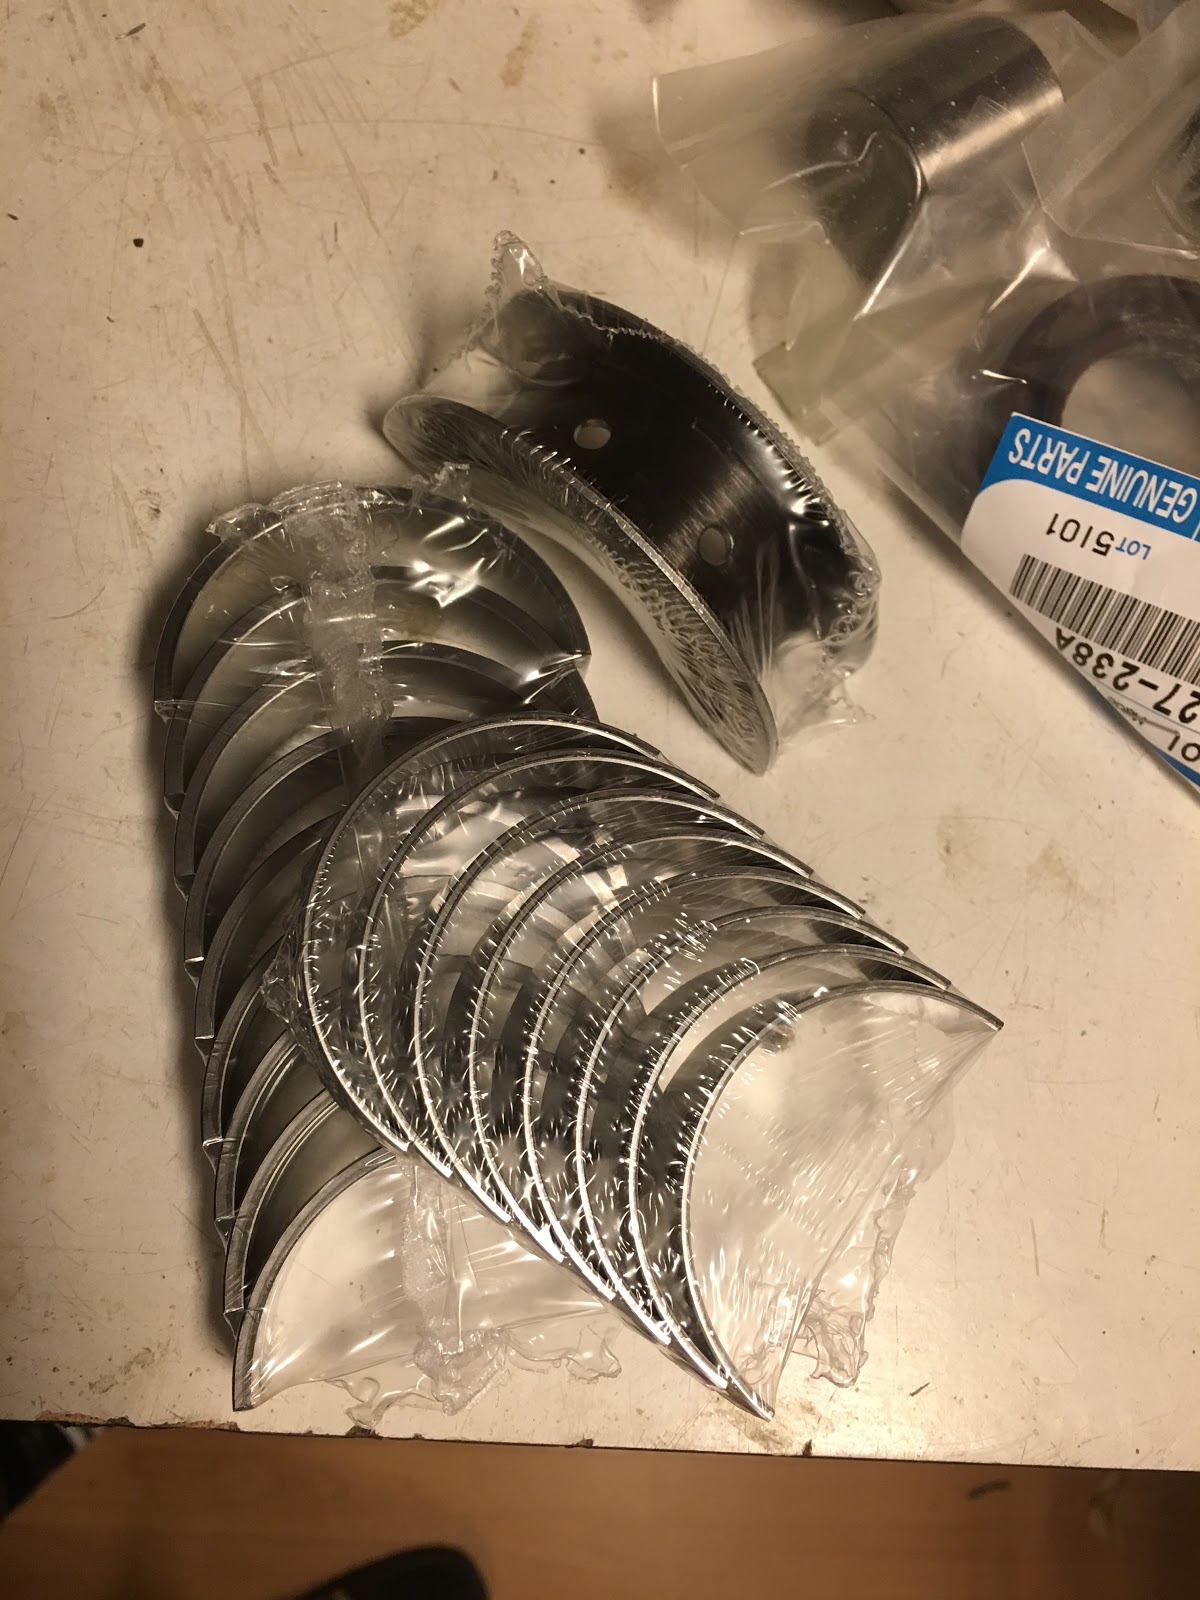 </div>
- I assembled the rod/pistons and put them into the block.
<div class="separator" style="clear: both; text-align: center;">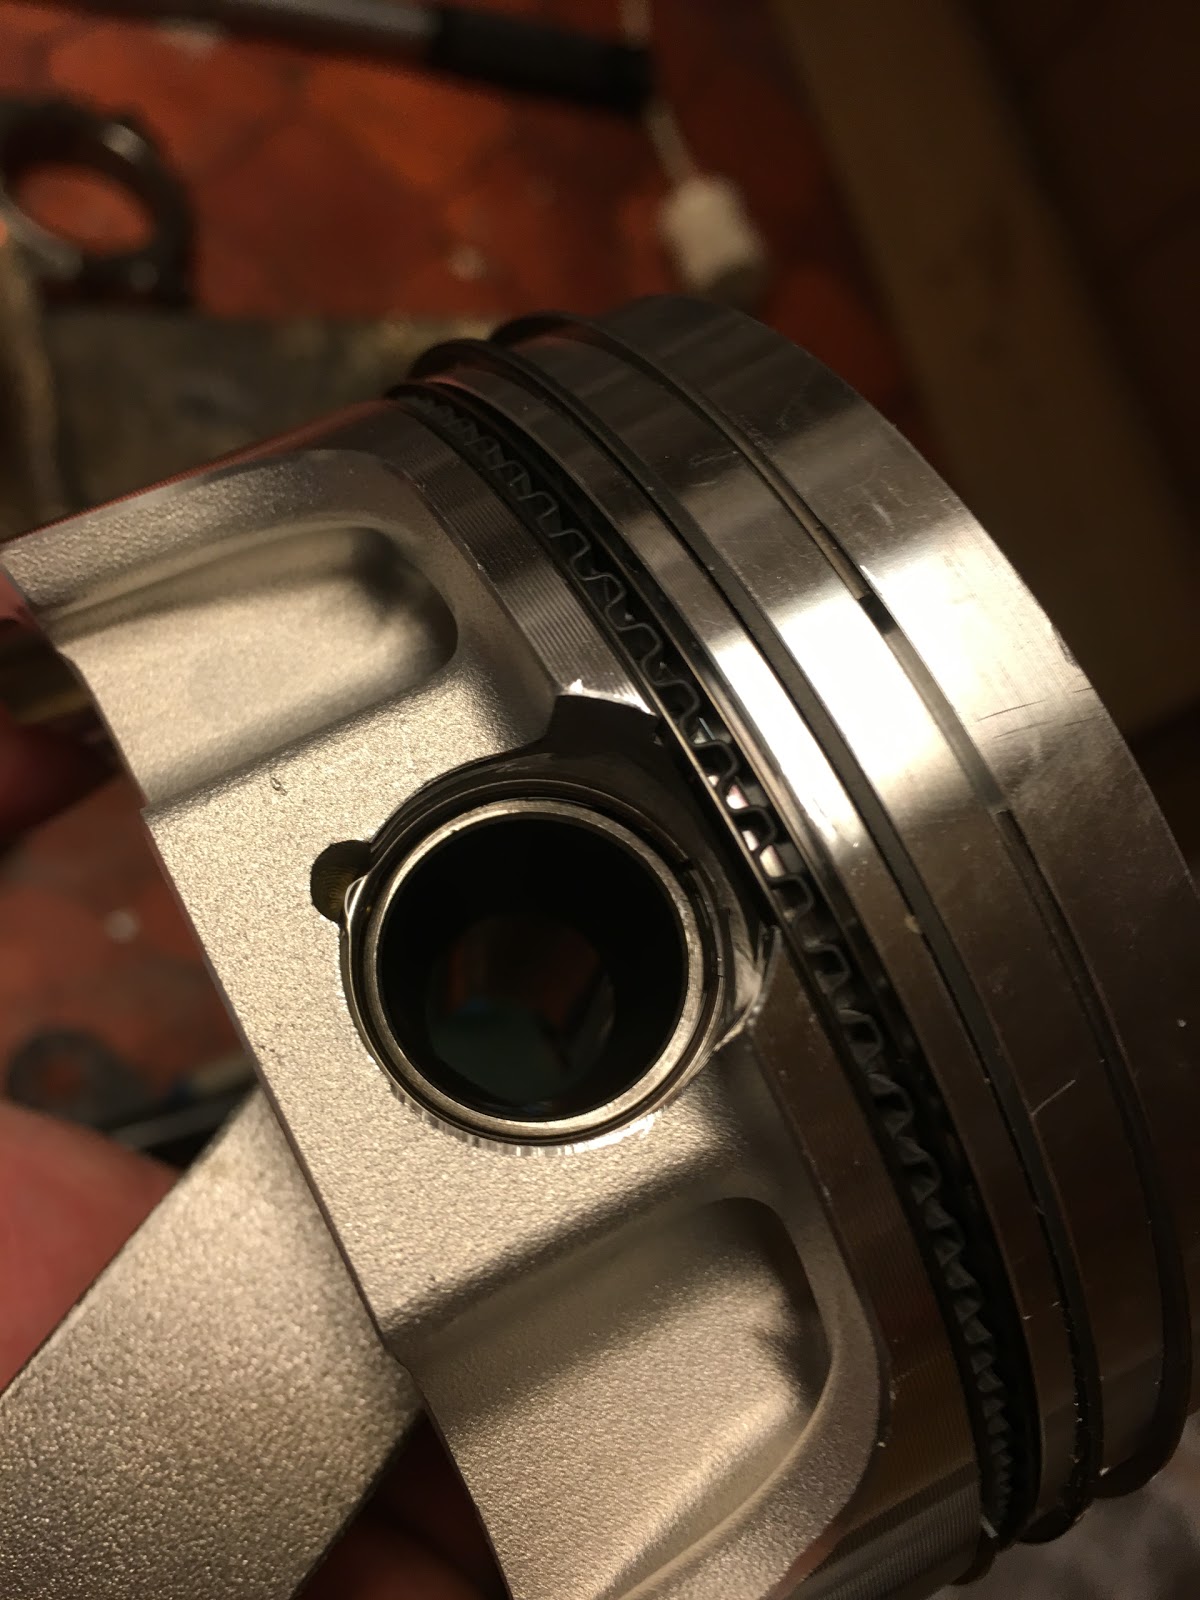 </div>
<div class="separator" style="clear: both; text-align: center;">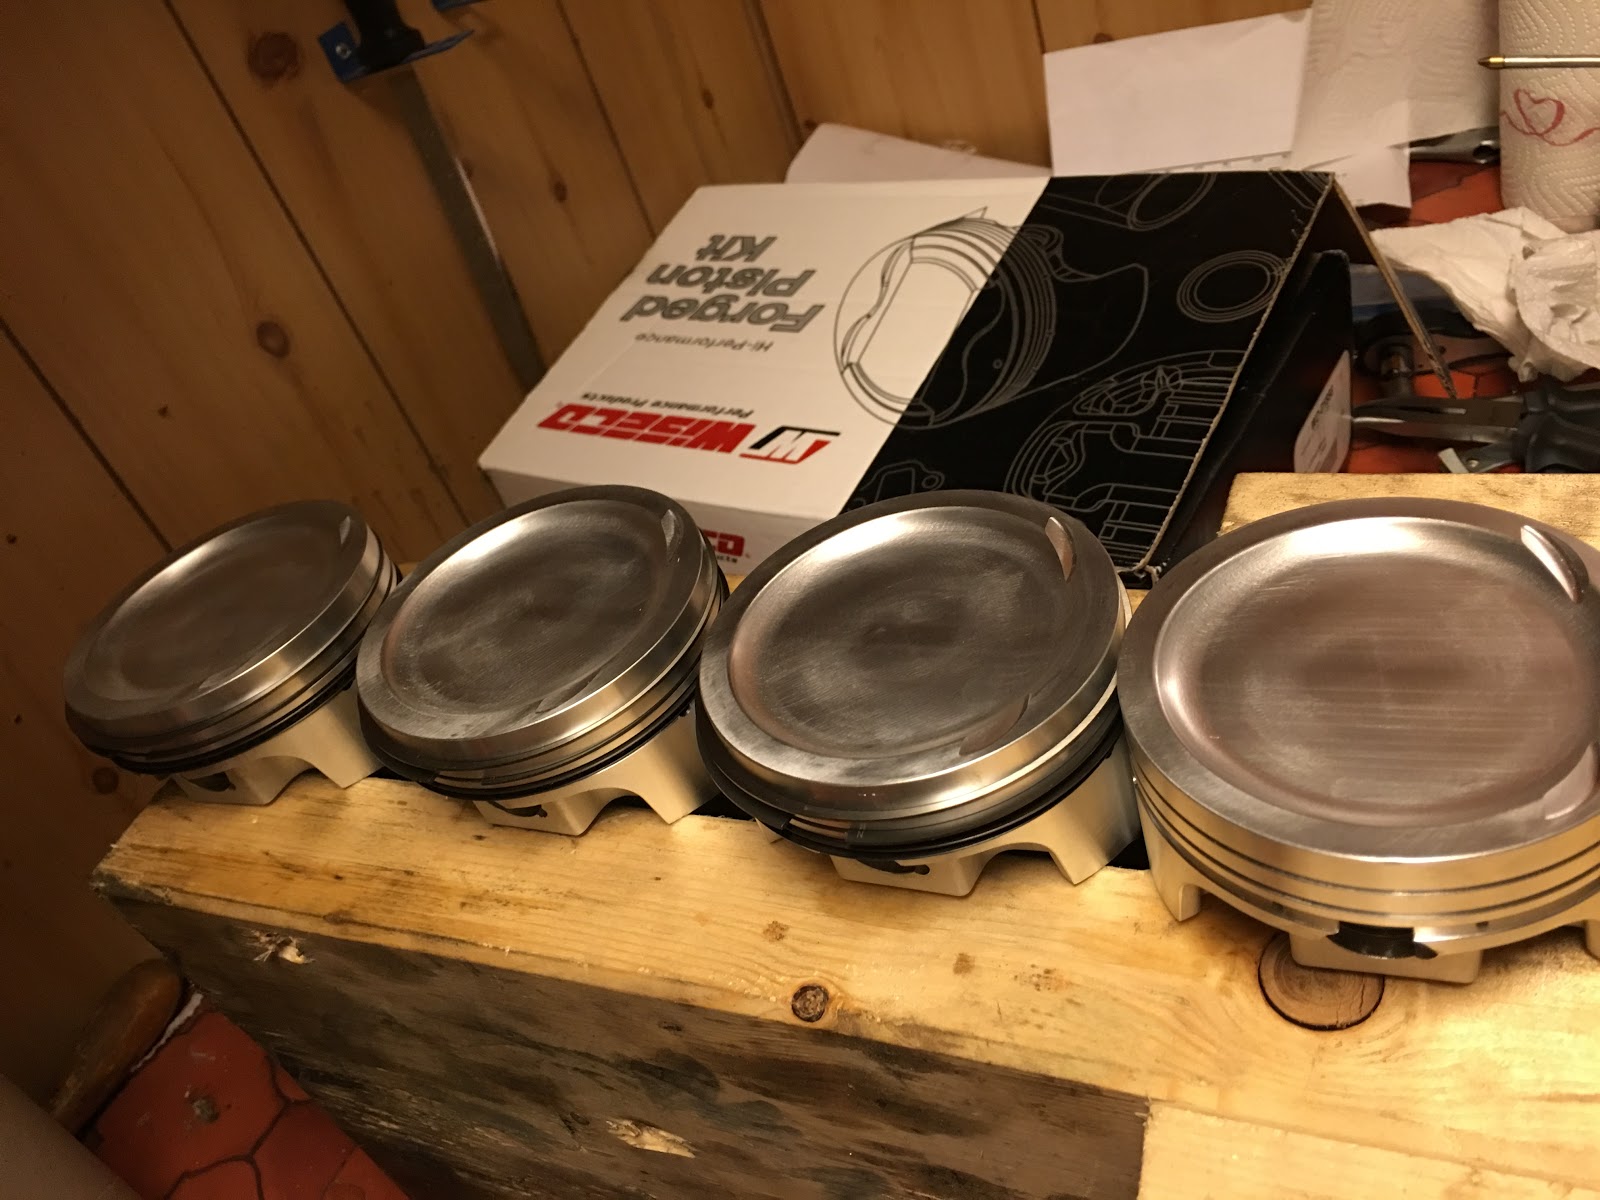 </div>
The combo weigh almost the same as the old ones. For some reason I expected them to be lighter but I guess that is a good thing for balance in the rotating assembly. I think however that the new ones have more weight in the piston area and less in the rod.
<div class="separator" style="clear: both; text-align: center;">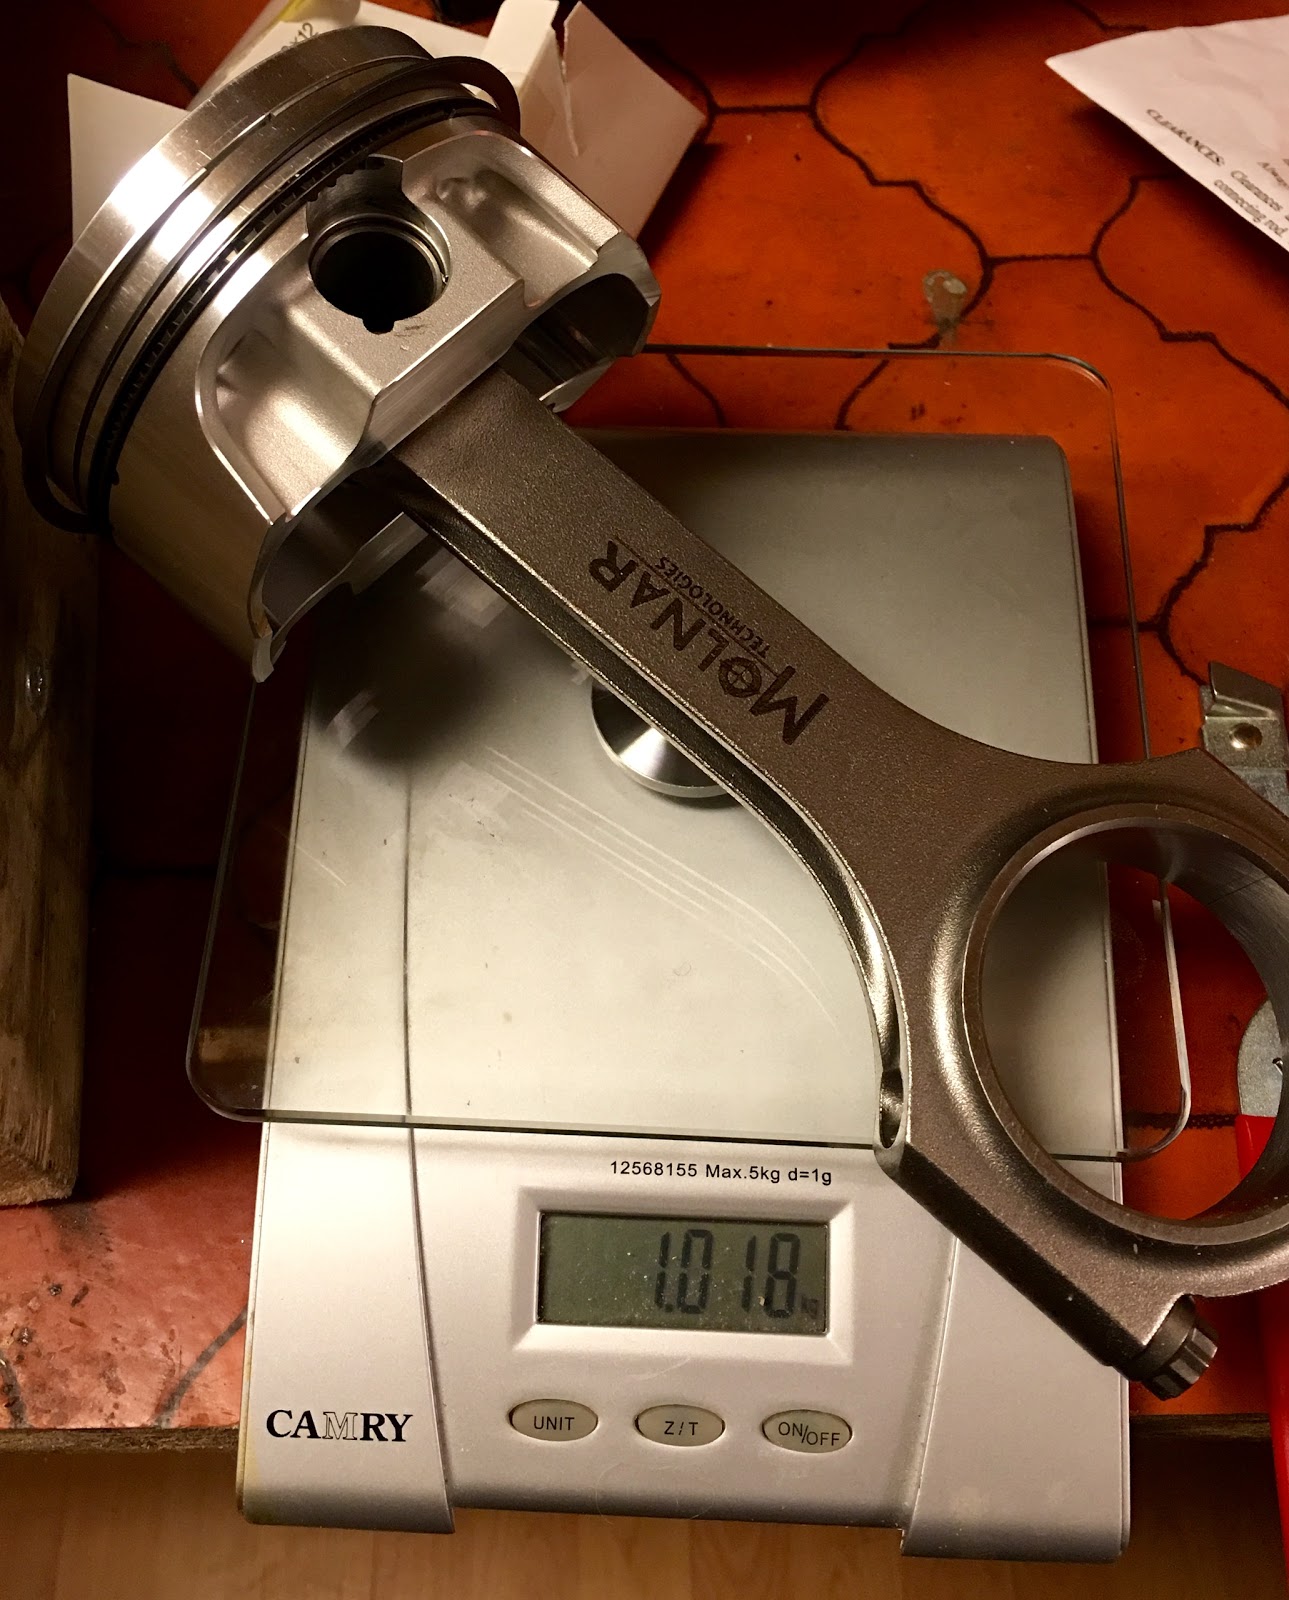 </div>
<div class="separator" style="clear: both; text-align: center;">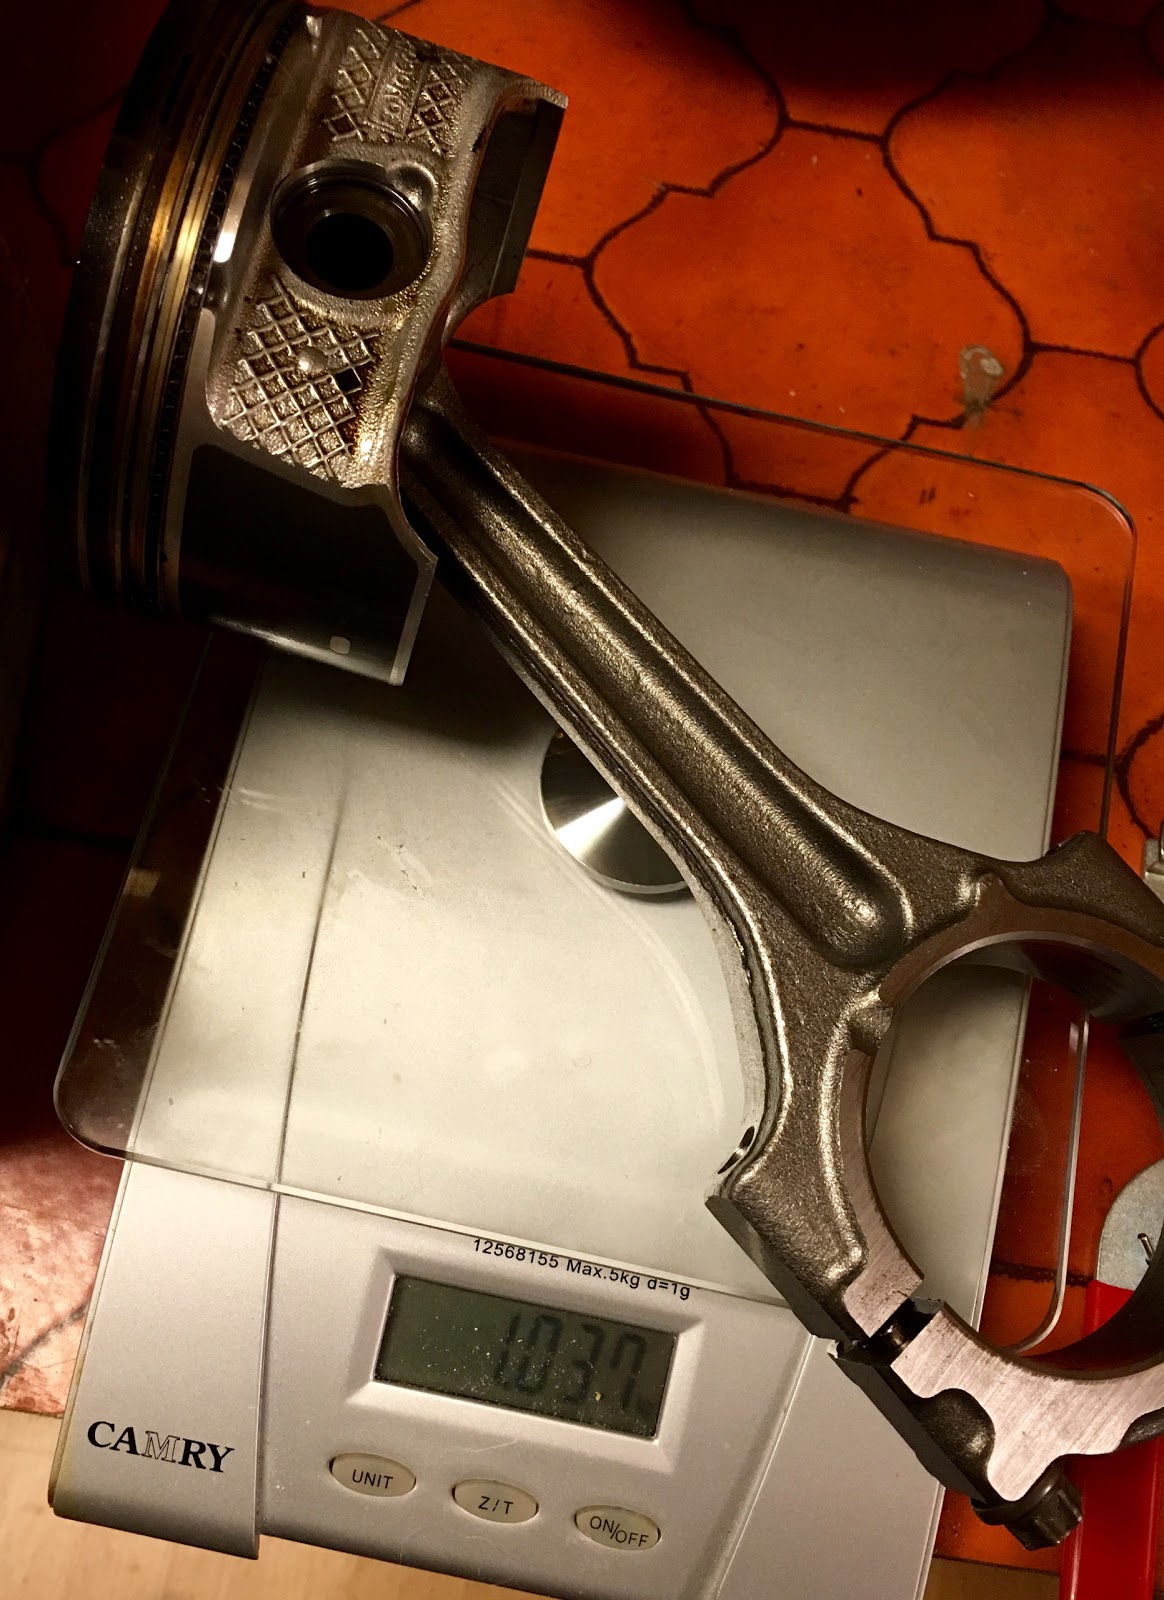 </div>
This time I used a stretch gauge for the rod bolts. I first torqued they down to the recommended 25 ft/lb + 55 deg and then measured stretch. All bolts needed additional torque to reach 0.0055-59 stretch. One bolt as much as 50 deg! Either my wrench is off, or a stretch gauge is a must.
Remember to zero out the gauge after loosening the bolt from the rod as they come pre torqued on the rod when delivered.(Obvious I know)
<div class="separator" style="clear: both; text-align: center;">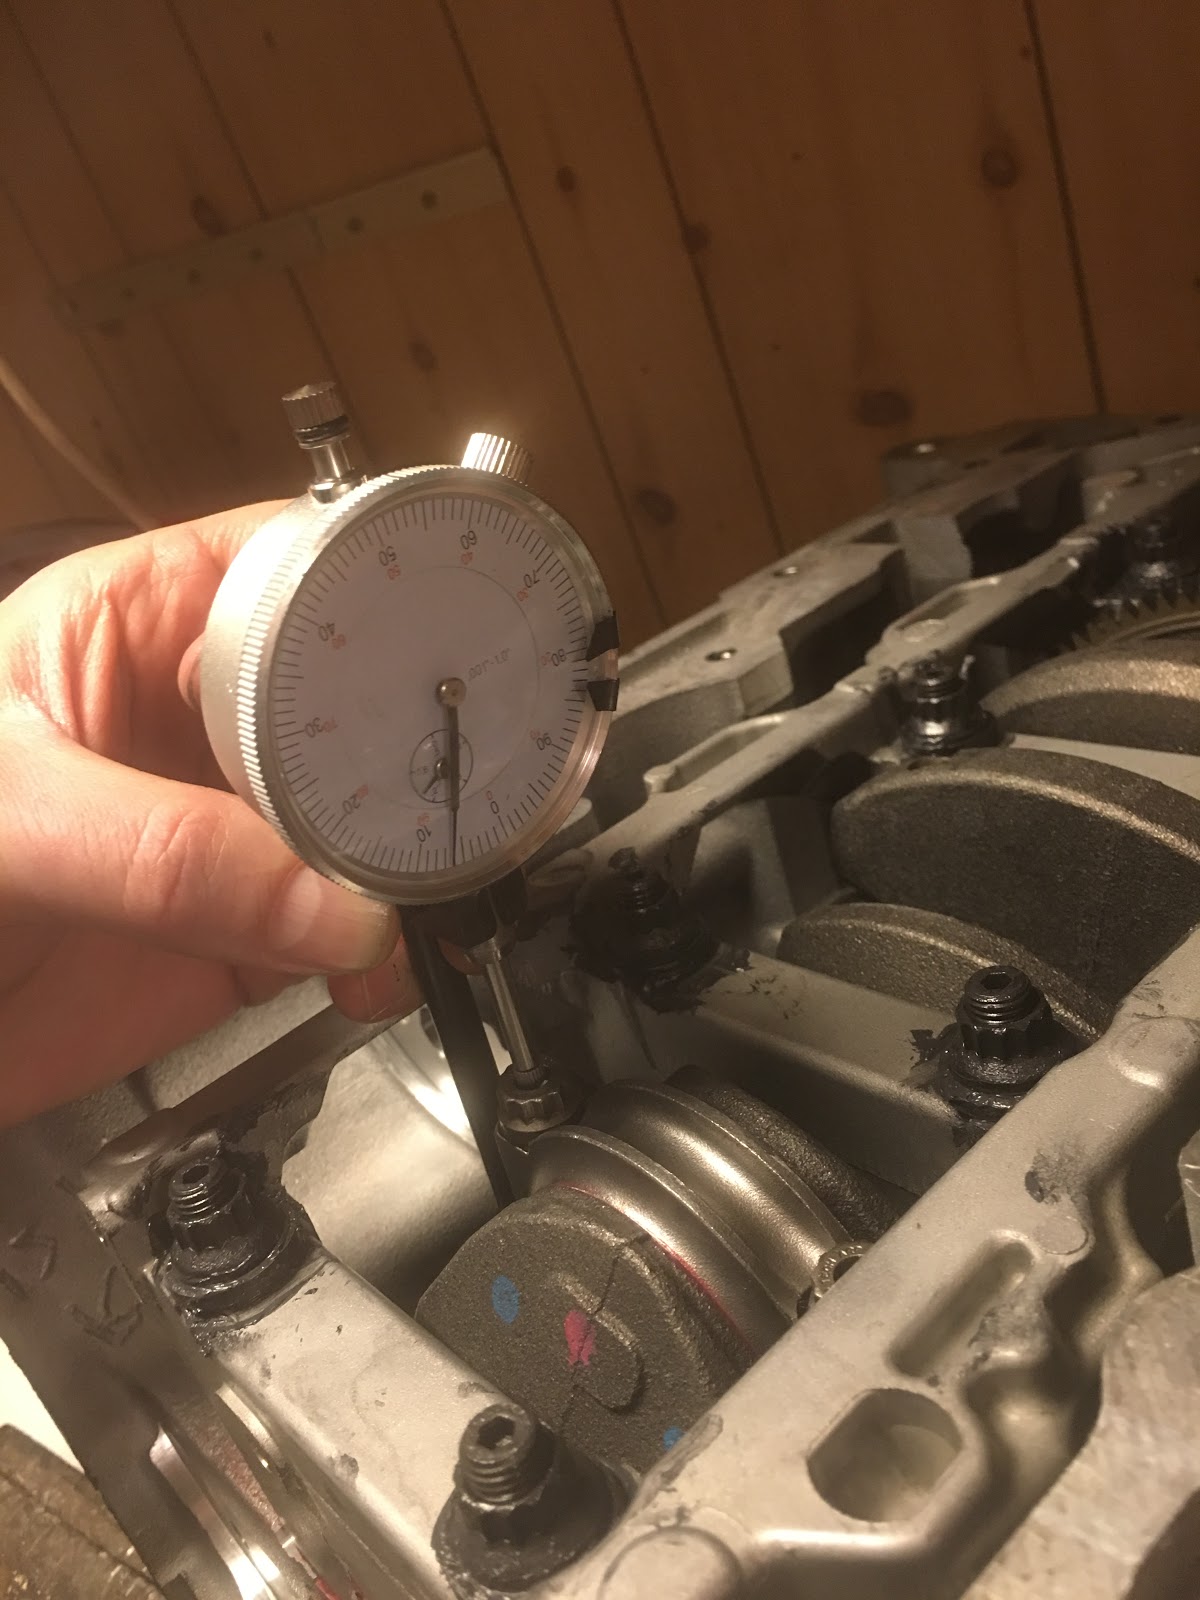 </div>
Getting the pistons into the block was almost impossible with the first ring compressor I used. I found an older one in the shed that made it a breeze.
Stay away from the on to the right. I’m sure it’s available under different brand names but looks the same. The main problem was the mechanism and that the material was so thin that it jammed in between the piston and cylinder wall. Doing this without having the engine on an engine stand was also a bit of a hassle as the complete short block is a lot of weight to throw around on the bench.
<div class="separator" style="clear: both; text-align: center;">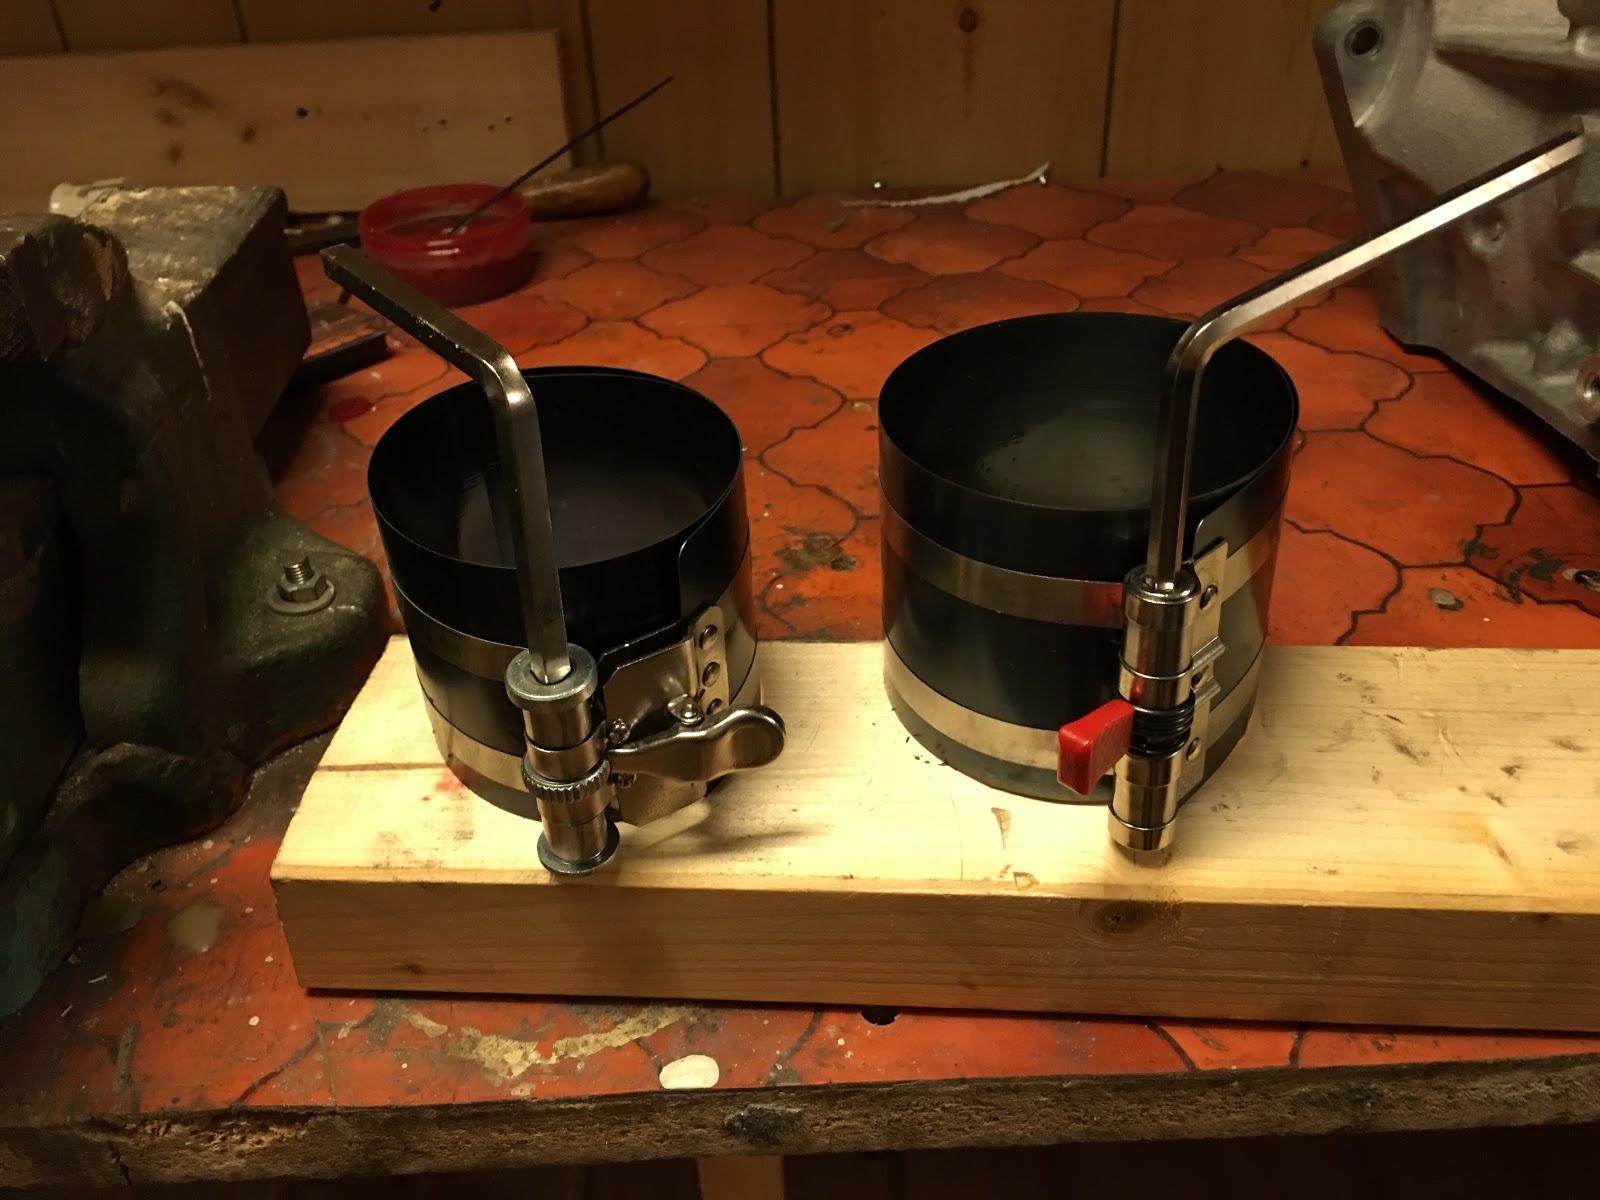 </div>
Piston in the block.
<div class="separator" style="clear: both; text-align: center;">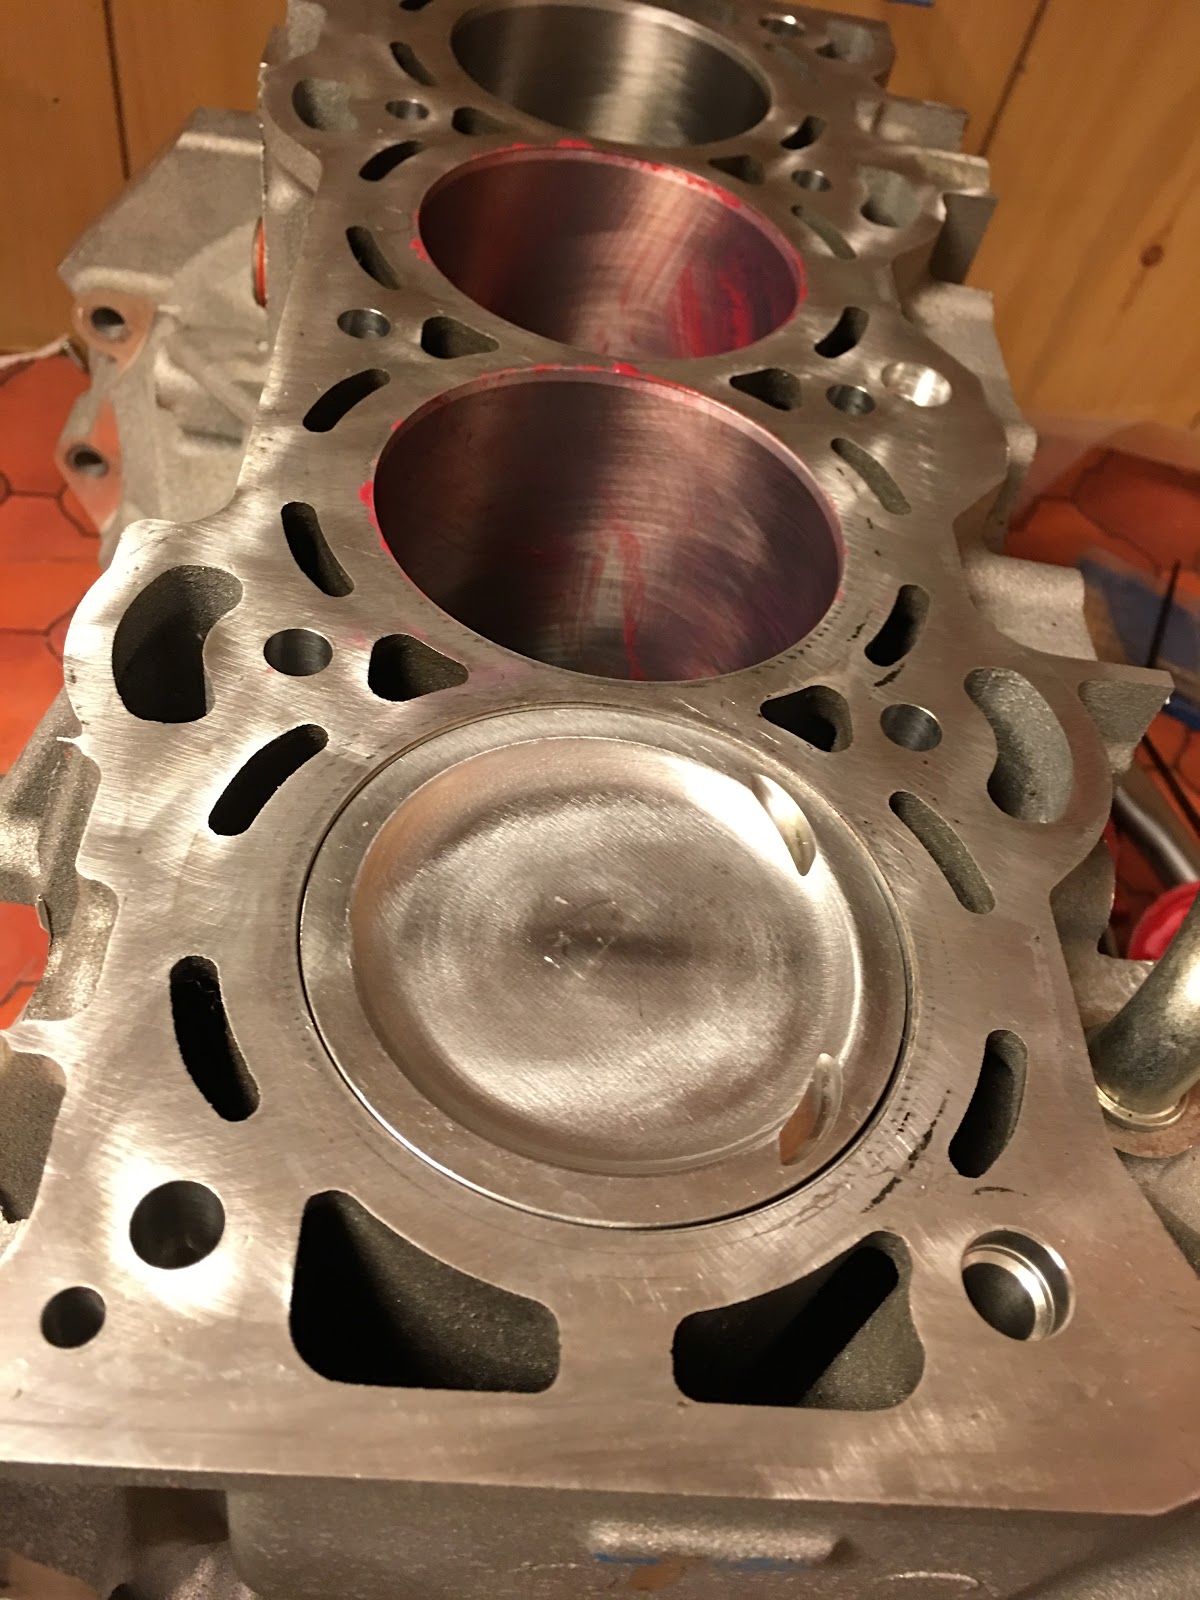 </div>
Thanks to the machine shop for disposing the dowel pins that should be located in the block.
Another $2 part (x2) that postpones the build by 8 days delivery…
Next up is finishing the head with new shims. Looking forward to closing up the engine and start working on getting it into the car again. I have some leaking diff seals to attend to as well while waiting for the dowel pins.
Comments