Wiring done right with Deutch DTM connectors.
I’m in the process of wiring in an AEM Infinity EMS where I’m creating the harness from scratch. It’s a parallel install which involves splicing, teeing and cutting misc wires in the OEM harness.
<div class="separator" style="clear: both; text-align: center;">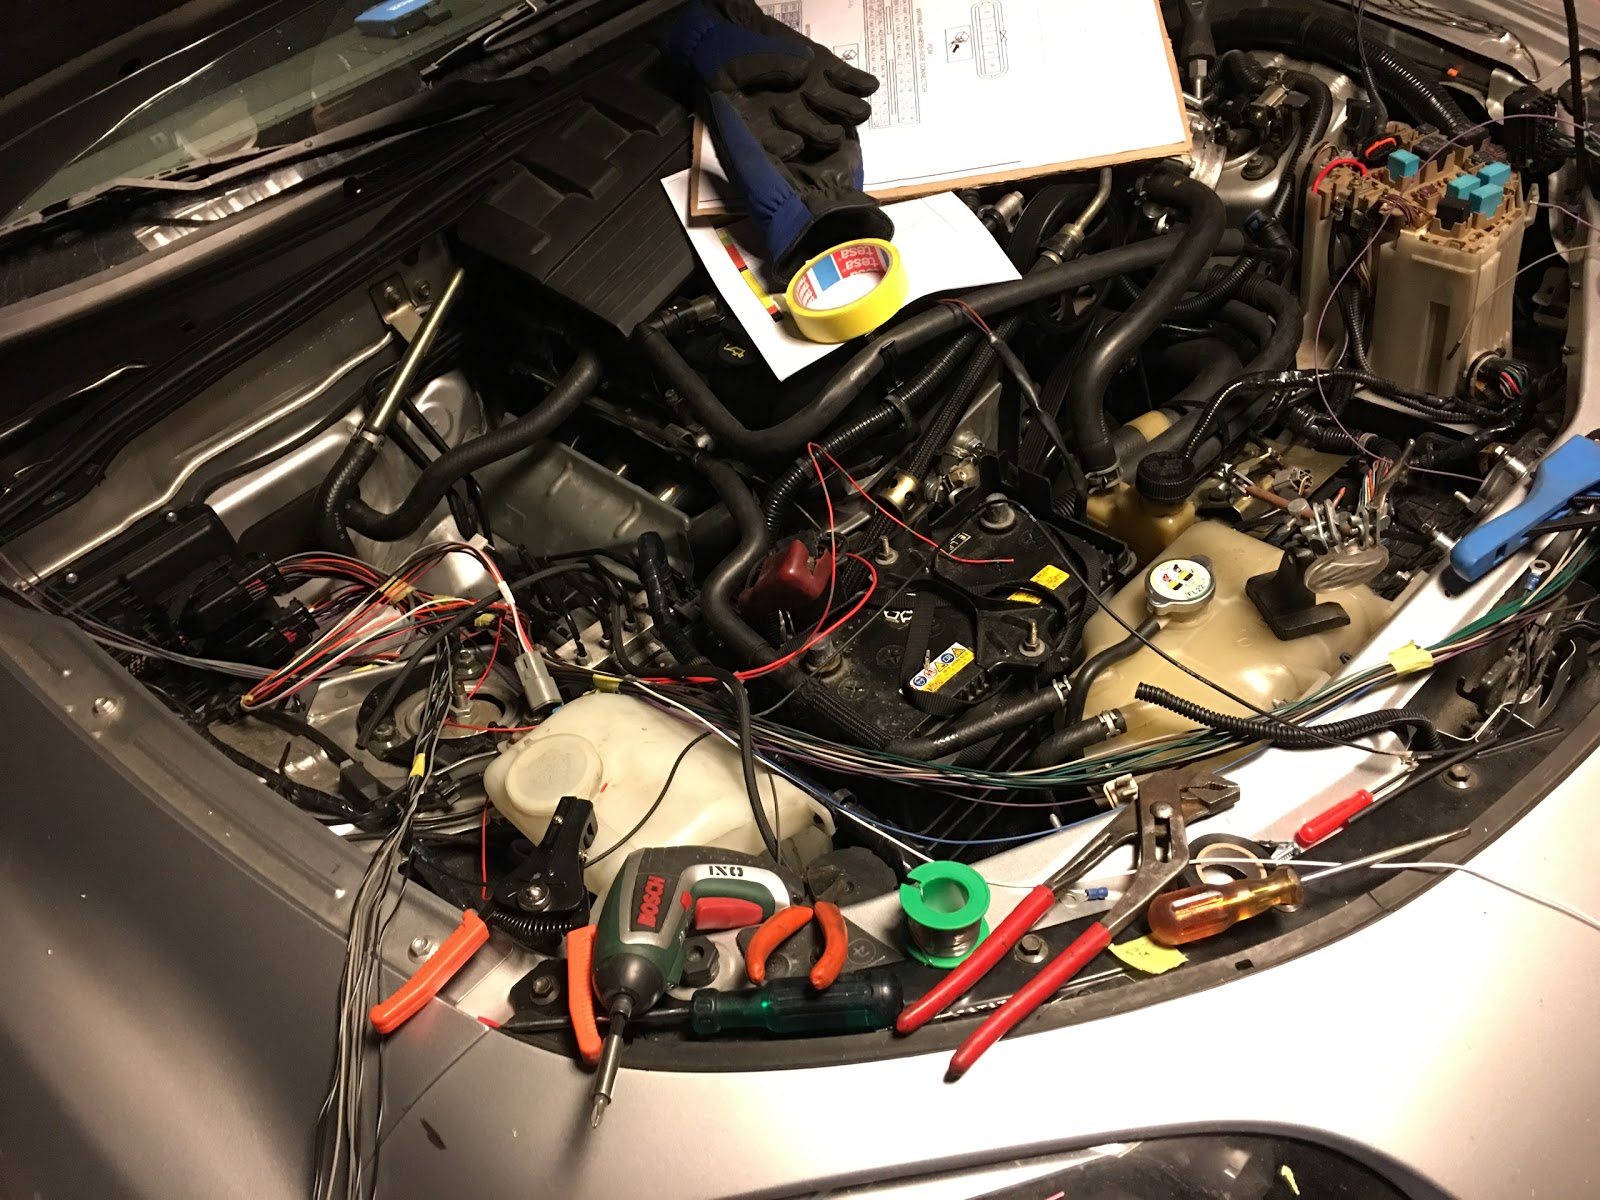 </div>
I would like to have as few soldered connections as possible both for reversibility and reliability.
The problem I have found with the usual electrical connectors are that they are bulky, hard to get a good crimp, meant for >1.0 wires and usually not more than 4 way.
Soldering will work when done right which can be hard to do in a dirty and cramped engine bay. To ensure low resistance and and durability you also need to strip and tin quite a bit of wire at both ends for a good twist which shortens the harness and is crap if it has to be reversed. I still do soldering for the most permanent connections though.
Deutch DTM connectors solves all this. Small, durable, superb crimp tool, 1-12 way, reusable. large contact patch..
I bought a whole kit from ebay with a bunch of connectors in all sizes as I was not sure how involving the harness ended up.
<div class="separator" style="clear: both; text-align: center;"></div>
<div class="separator" style="clear: both; text-align: center;">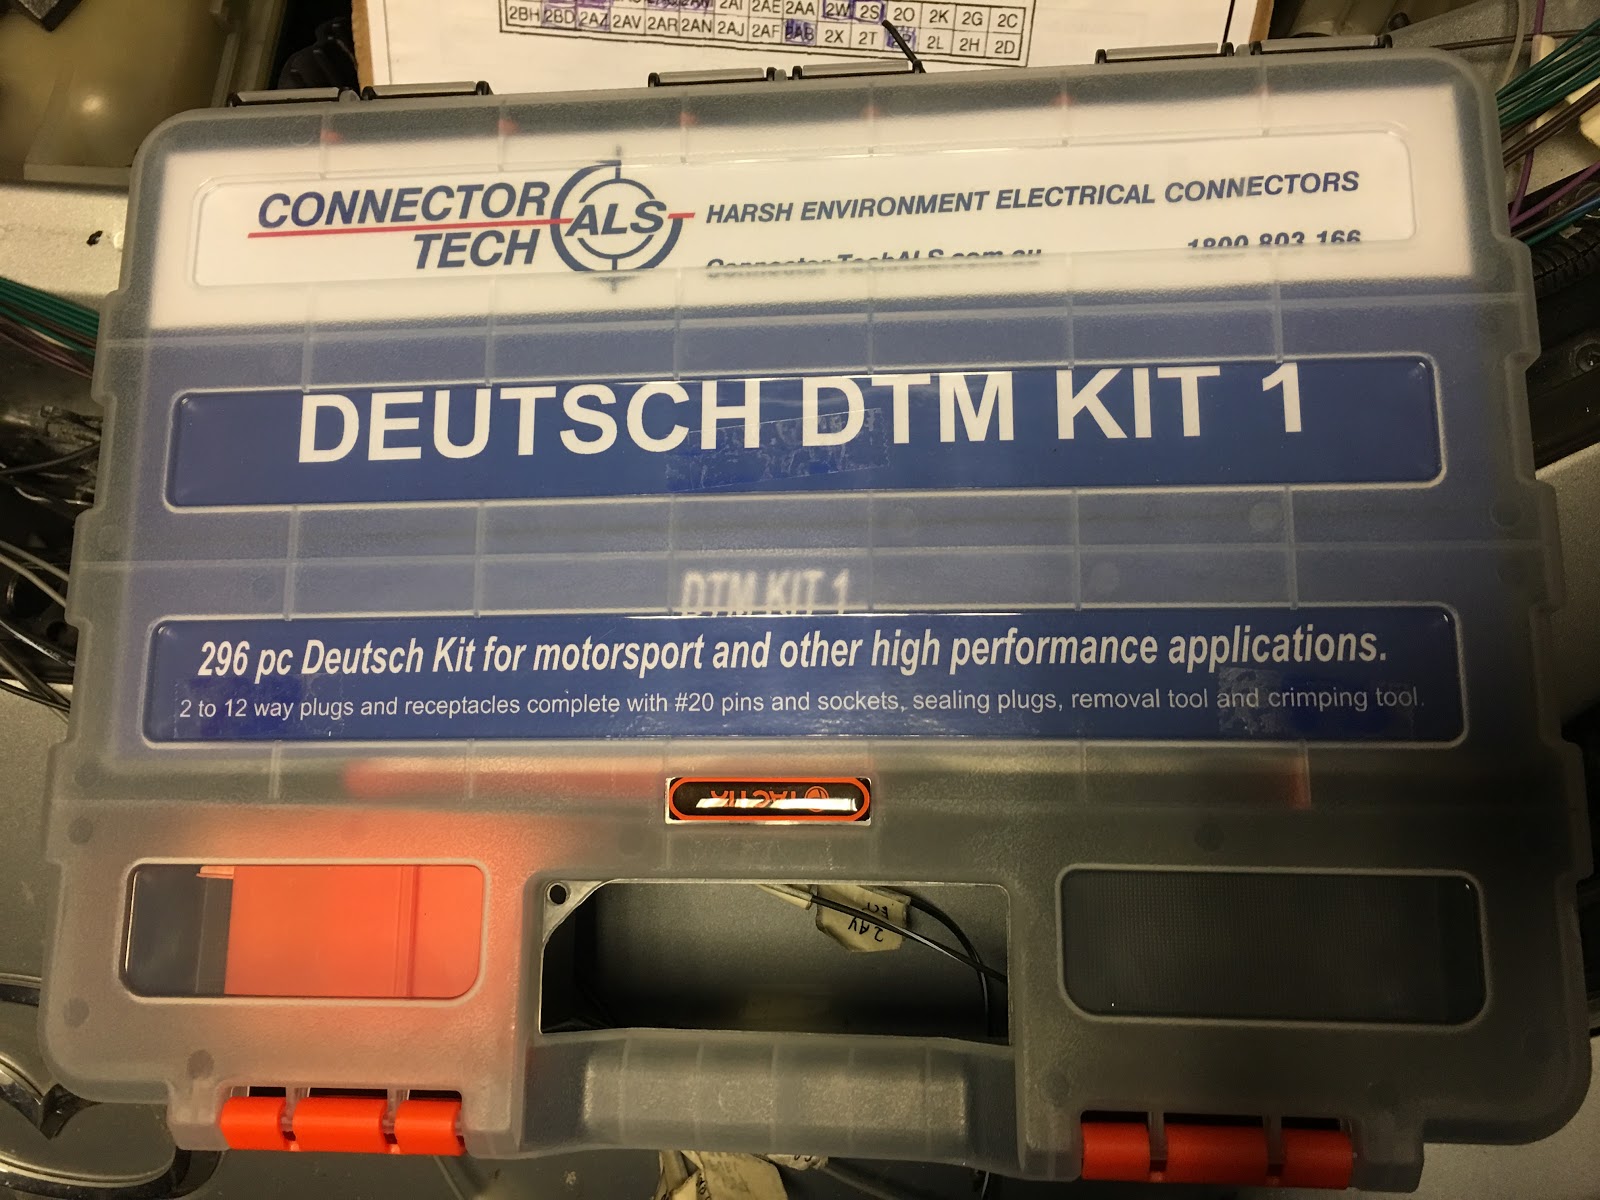 </div>
<div class="separator" style="clear: both; text-align: center;"> </div><div class="separator" style="clear: both; text-align: center;"></div>
AEM also uses Deutch connectors for misc harness stuff. Here is an example where I reuse a 6-way connector for the AEM UEGO extension cable. This is just me playing around. Check youtube for some official videos on best practice from DeutchConnectors. Take a note on how they want wires to be stripped etc.
<div class="separator" style="clear: both; text-align: center;">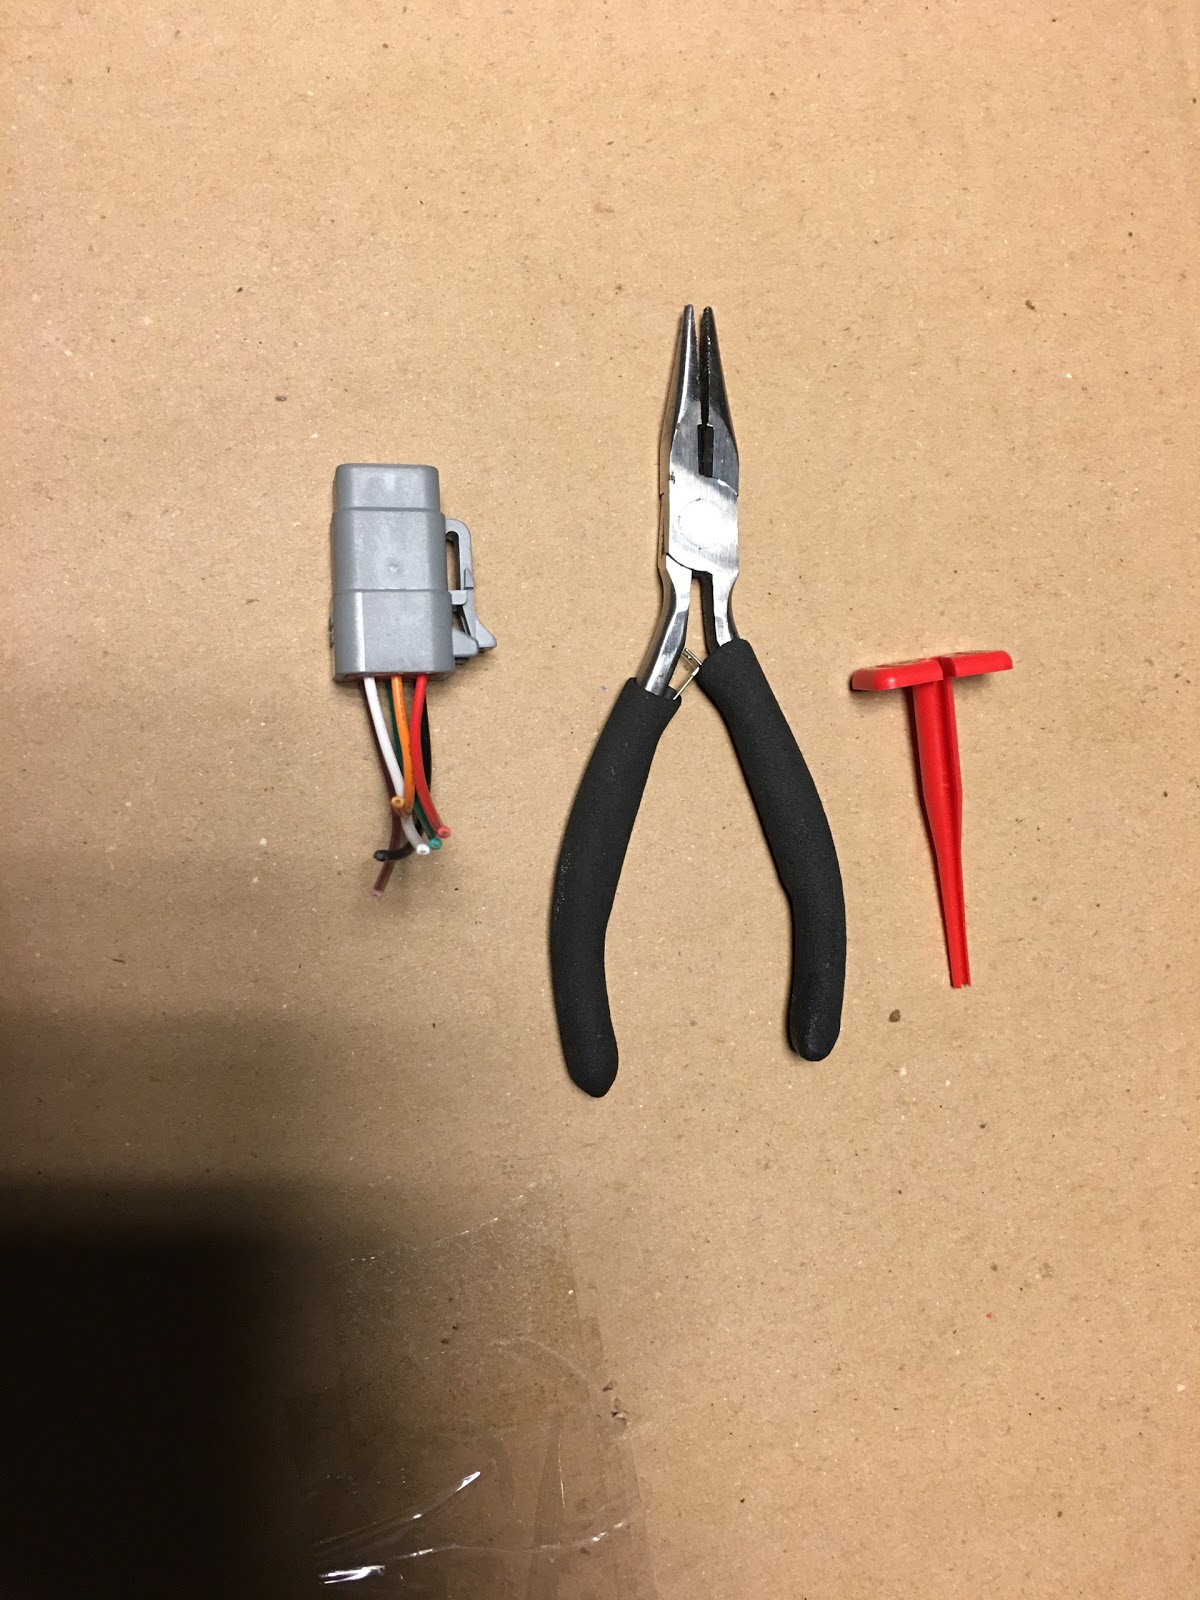 </div>
<div class="separator" style="clear: both; text-align: center;"> </div>
Removal tool works great. Doing the same for Molex connectors is a PITA compared to this.
<div class="separator" style="clear: both; text-align: center;">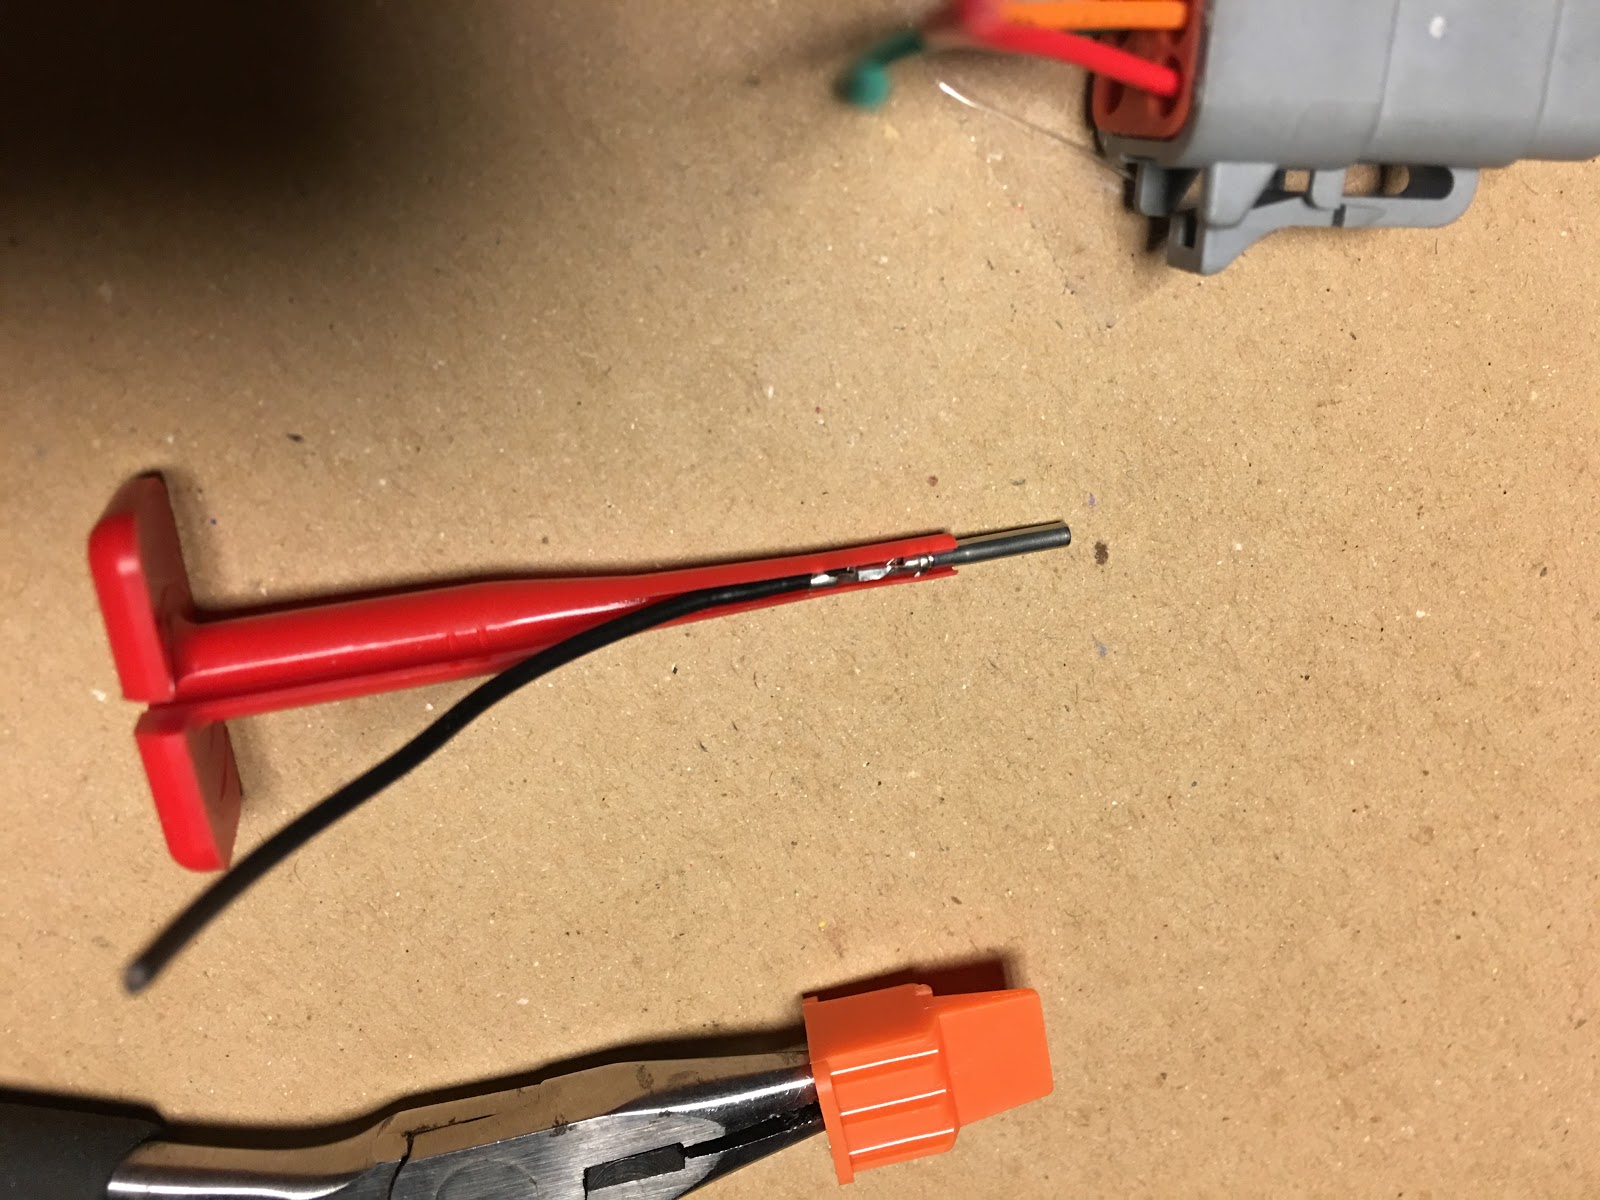 </div><div class="separator" style="clear: both; text-align: center;">
</div><div class="separator" style="clear: both; text-align: center;">
</div> Crimp tool was part of the kit. It works by sliding the whole crimp inside the opening and making it flush by adjusting the button.
<div class="separator" style="clear: both; text-align: center;">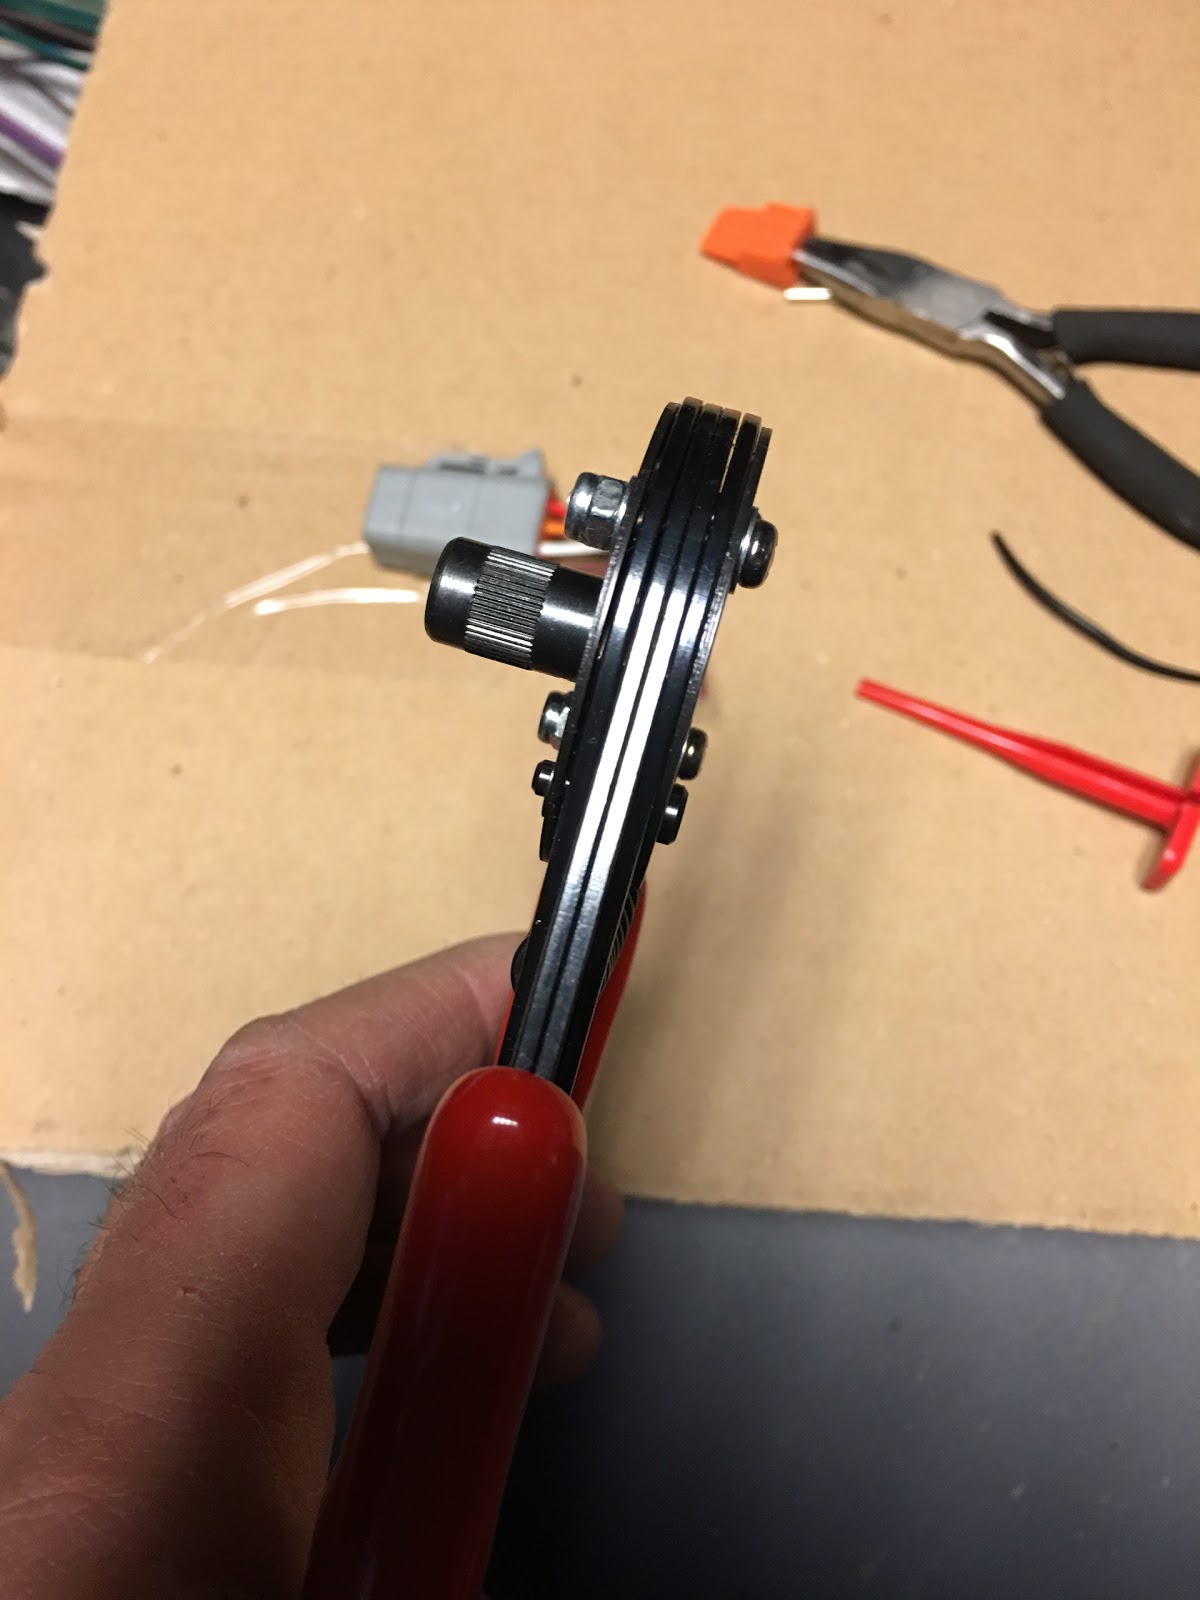 </div>
<div class="separator" style="clear: both; text-align: center;">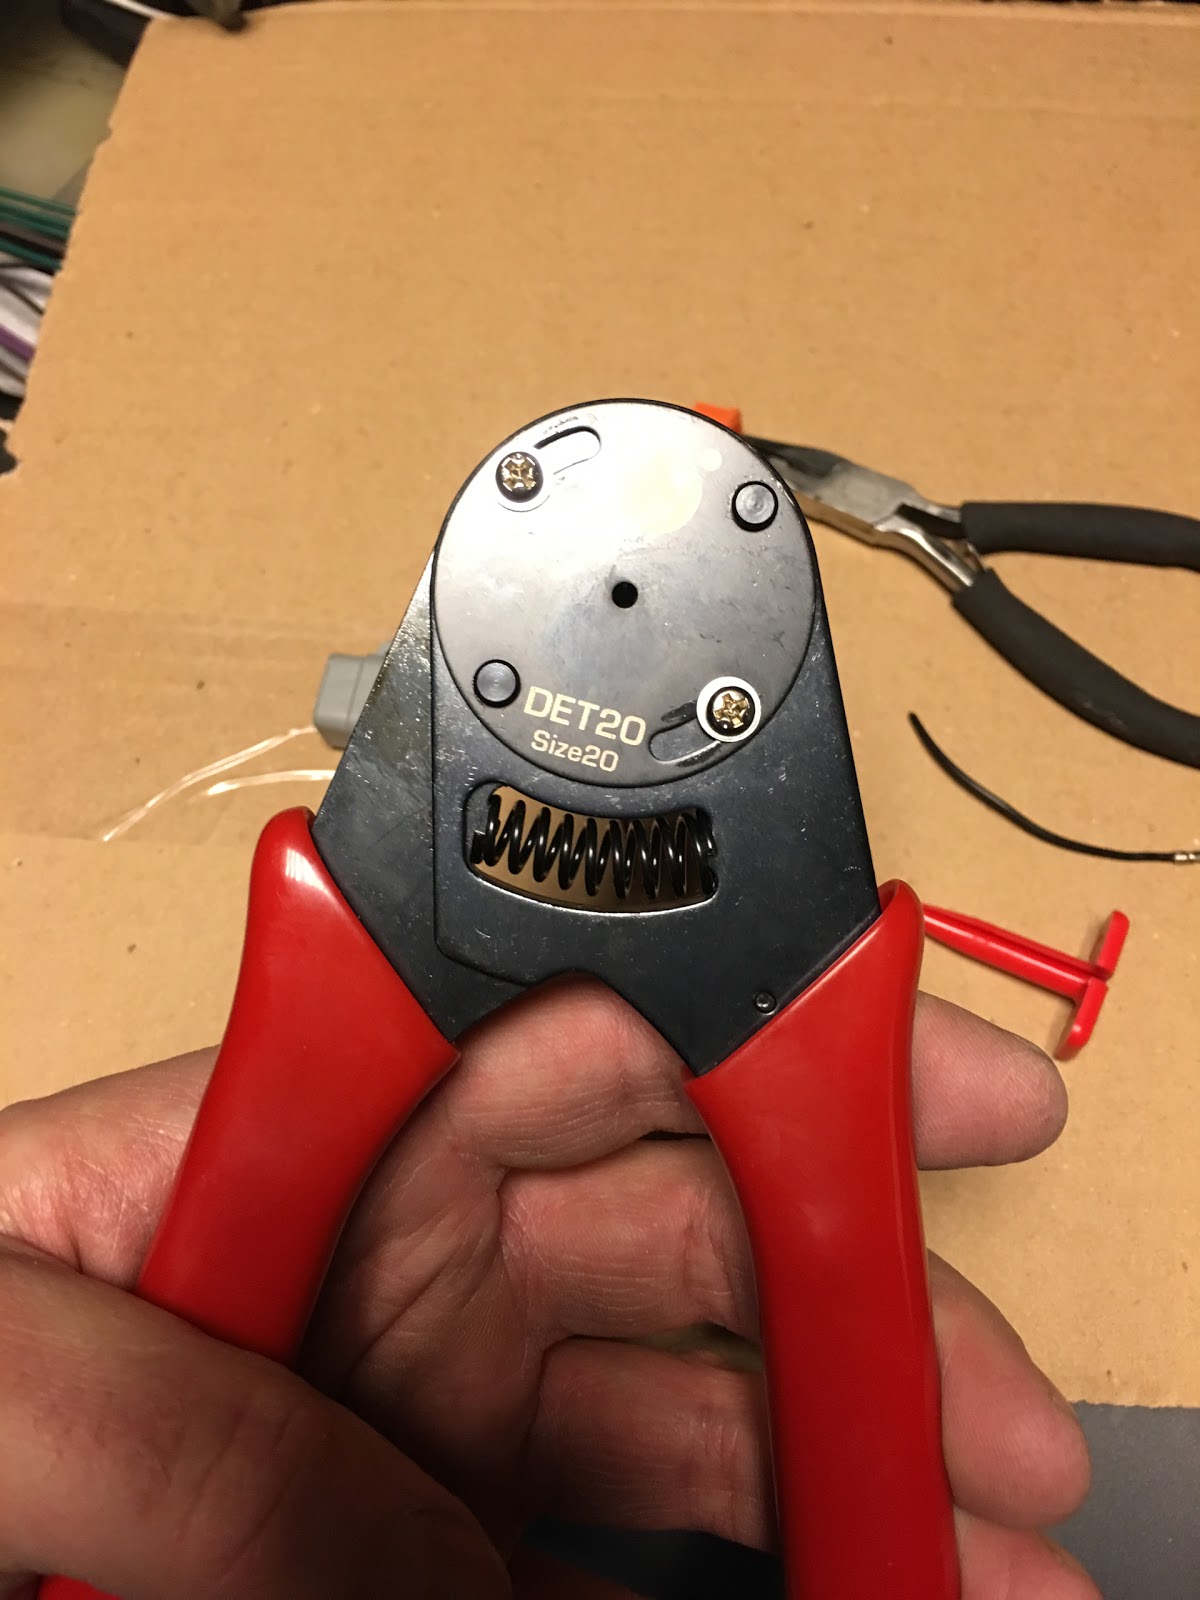 </div><div class="separator" style="clear: both; text-align: center;">
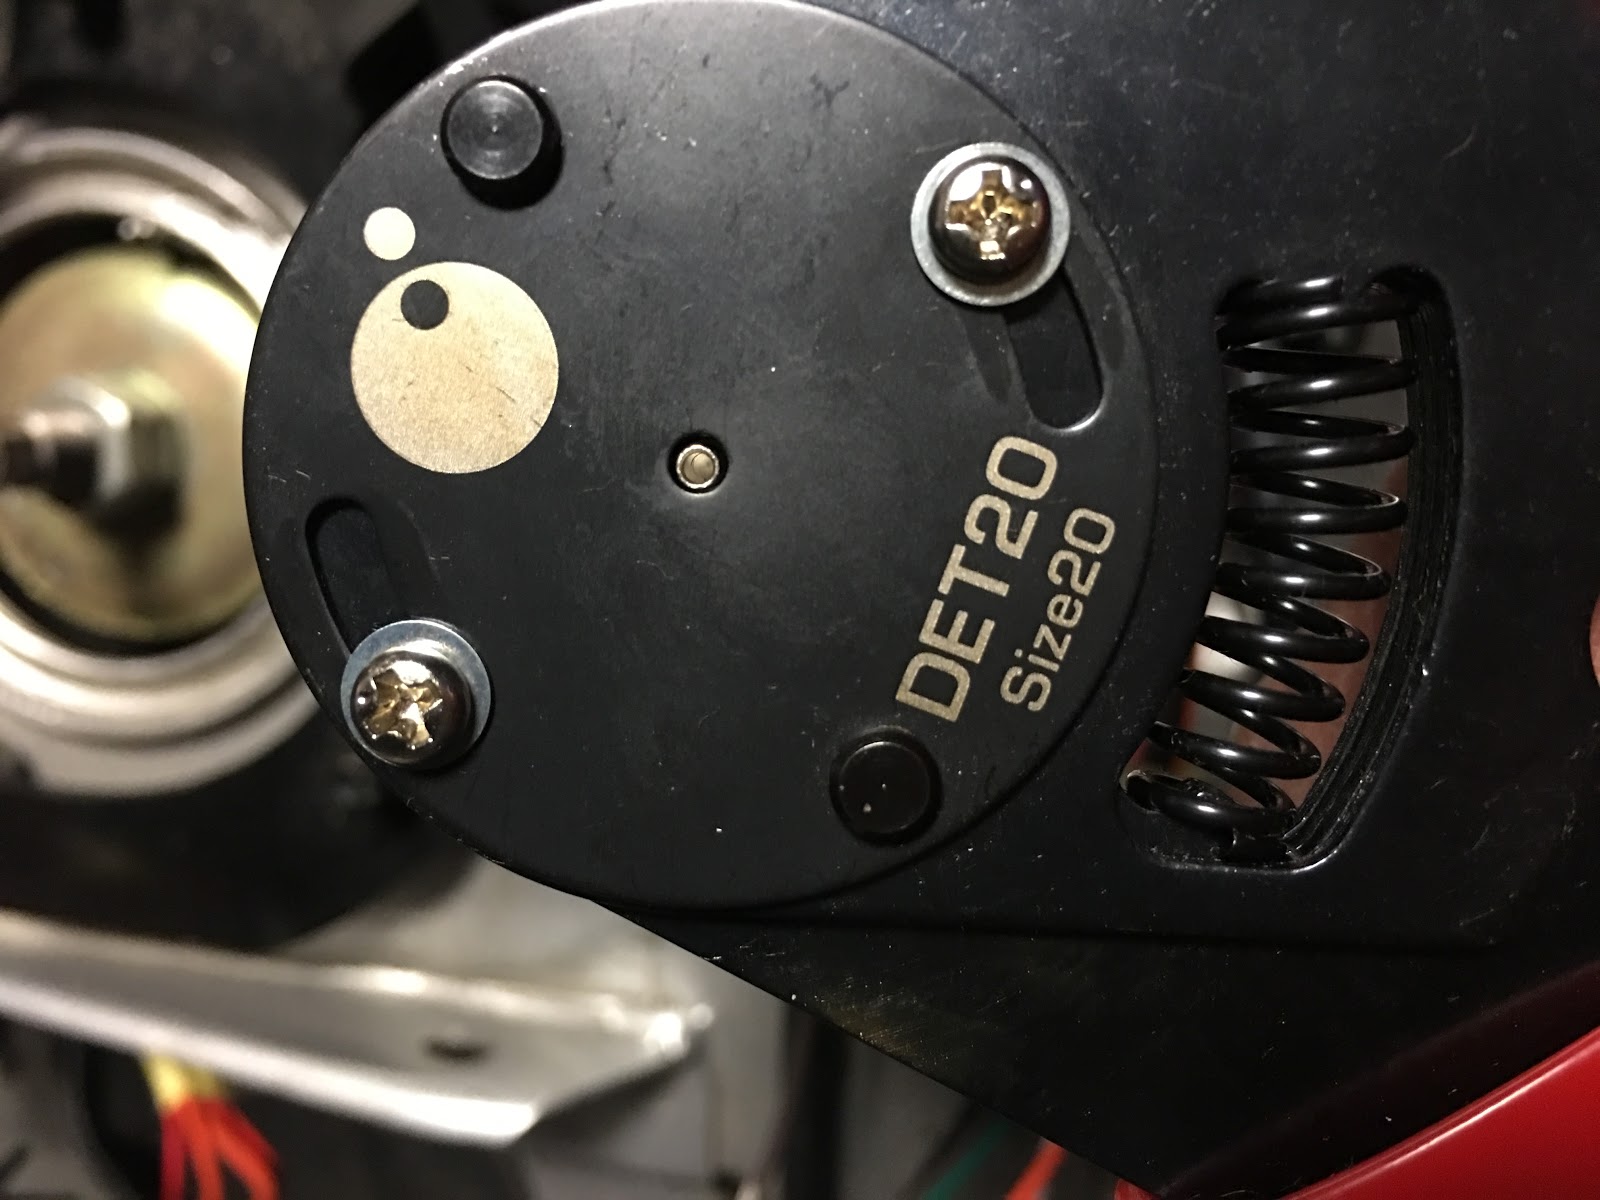 </div>
Instead of just pinching the crimp from one side and folding “wings” around the wire and insulation this works by pressing the solid “tube” crimps from all sides making a solid and tight connection. Everytime.
<div class="separator" style="clear: both; text-align: center;">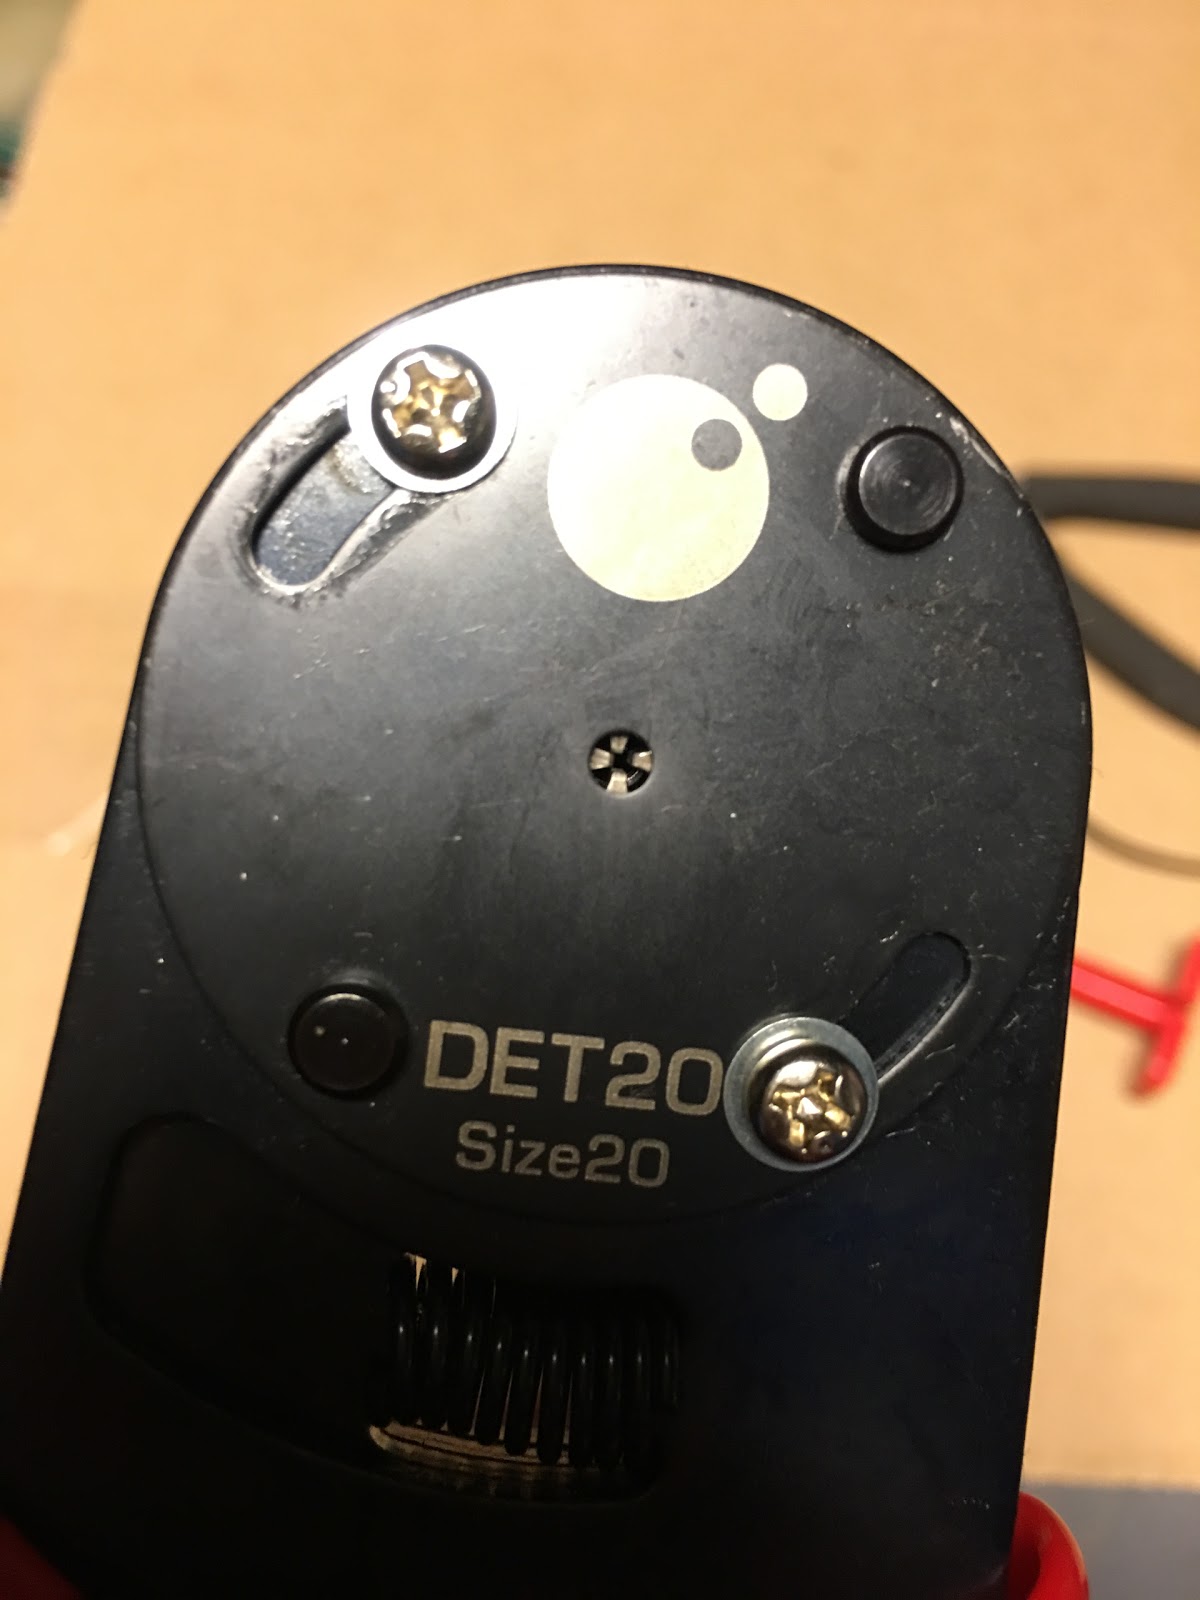 </div>
<div class="separator" style="clear: both; text-align: center;">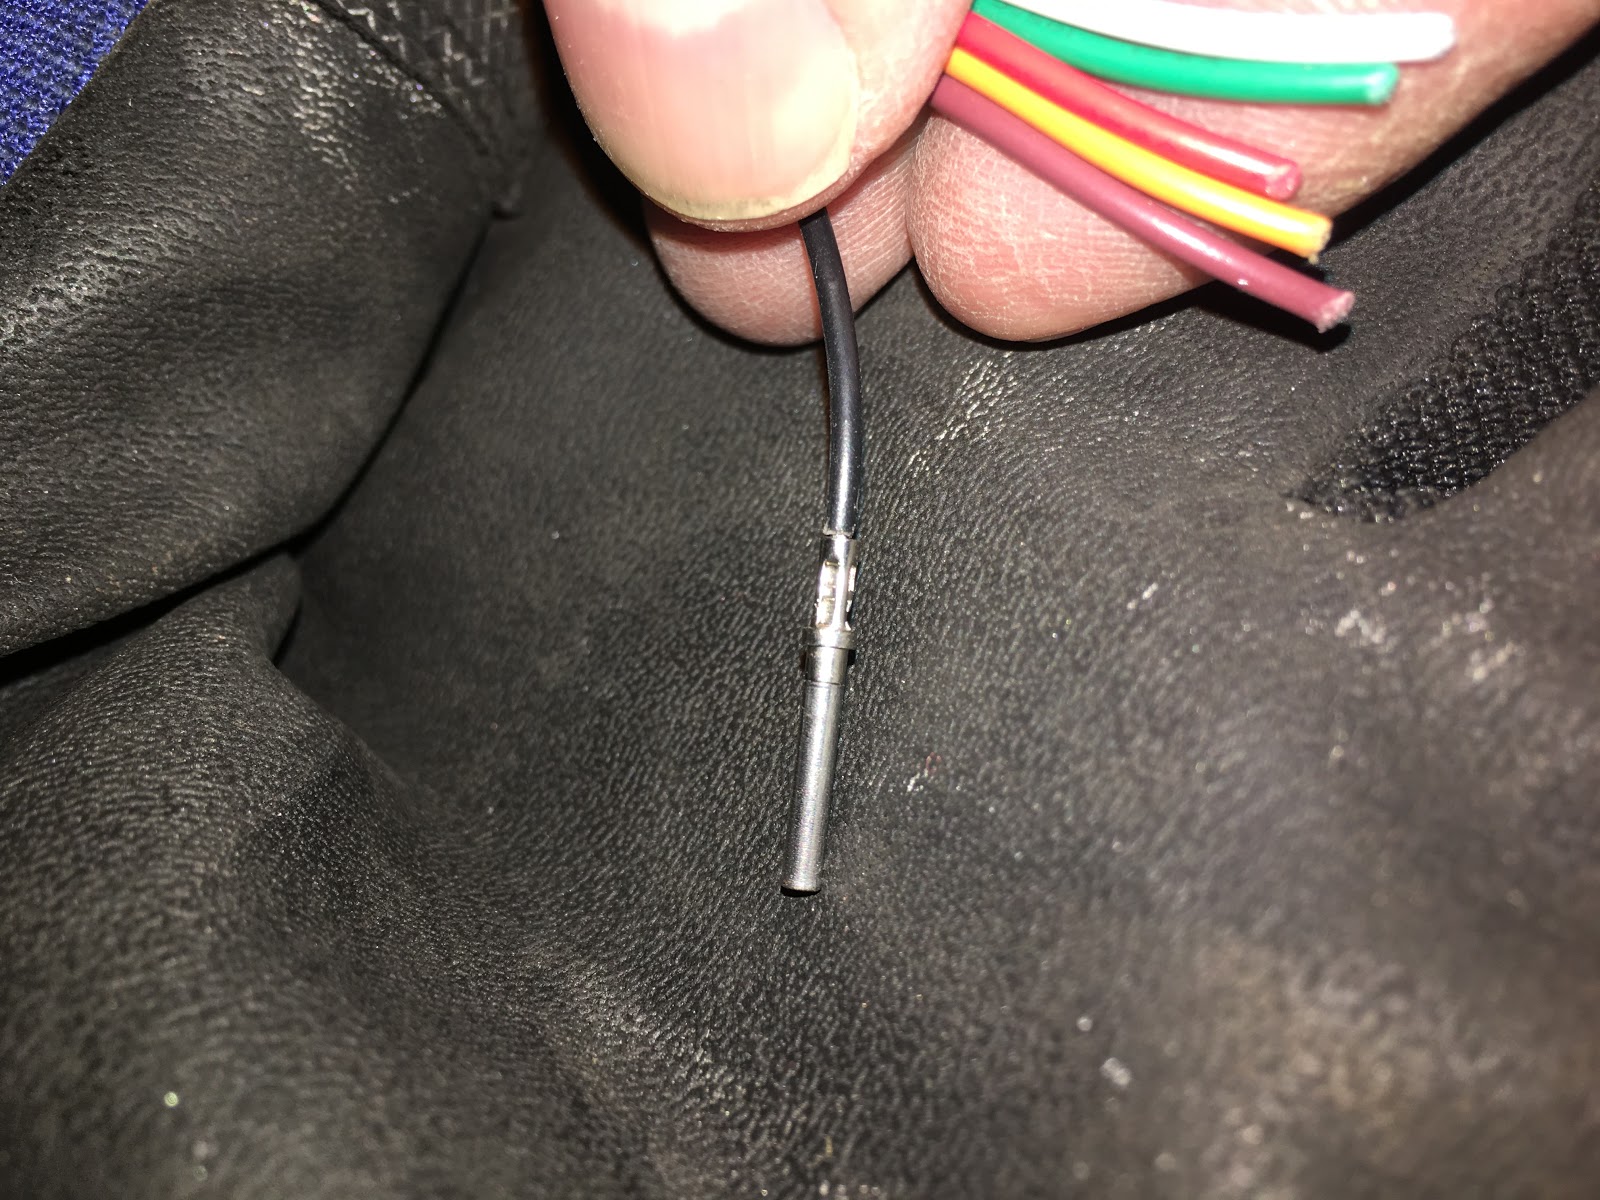 </div>
End result. The housing and the silicon weather tight seal supports the wire such that there is no movement inside the housing. This way the crimp does not need to clamp around the insulation for stability like is common on other connectors.
<div class="separator" style="clear: both; text-align: center;"> </div>
I also used connectors when I had to tee into some wires as I was able to squeeze two wires into one crimp. I did strip a bit extra wire so I could add a solder after the crimp. There is enough room inside the connector for this.
<div class="separator" style="clear: both; text-align: center;">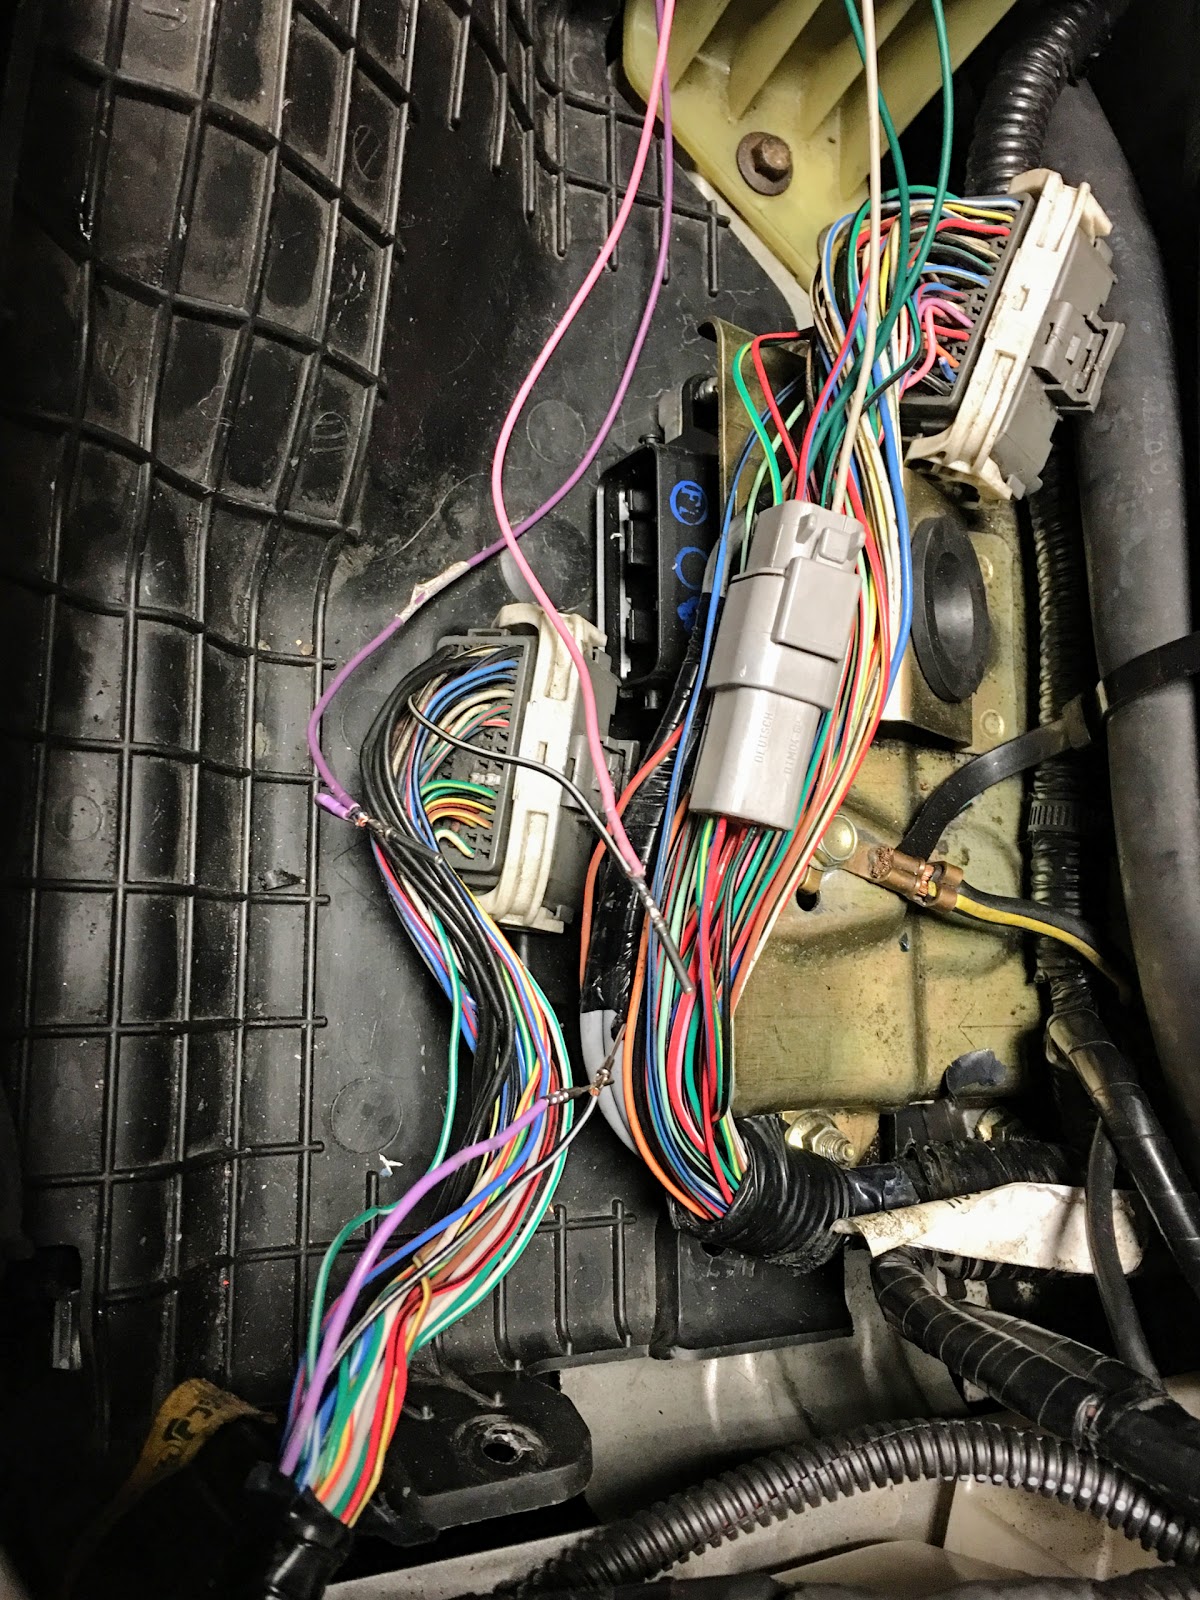 </div>
Quick, fun and with perfect results each time.
No affiliation. Just excited to work with a good product.
Comments